


Who doesn’t love good ol’ fashioned birthday cake with sprinkles… in the form of a cookie?? That is the sort of brilliant baked innovation found in pretty much, well, every recipe in the Momofuku Milk Bar cookbook. Currently, Milk Bar is one of my biggest culinary influences; it has single-handedly changed the way I think about baking. They are known for breaking the rules of traditional baking and pushing the envelope in their bold use of ingredients. I was immediately intrigued by both their approach and results— a baking nerd’s dream! Clearly, I had to go investigate in person, so I made a beeline for their Midtown bakery location the minute I arrived in New York City in June. And again the day after that… and the day after that. AND… the day after that. Don’t judge; if you’ve been there, you understand. 😉 Milk Bar’s creator and pastry goddess, Christina Tosi, is the genius behind sugar coma-inducing treats like Crack Pie, Cereal Milk Ice Cream, and Compost Cookies. I couldn’t wait to find out if my home-baked versions of her recipes resembled the originals (or even came within striking distance), so naturally I came home with a treasure trove of cookies, pie slices, and cake truffles– my favorite kind of “research & development”! In some cases, I was very pleased that my replications looked and tasted pretty close; in other cases, quite frankly, there is no way that the published recipe is the same as the bakery recipe, but the finished product is always delicious nonetheless. (These particular cookies were not available at the bakery during my visit for a head-to-head scientific comparison, but they look very similar to the photo in the book.) If you want a gastronomical baking challenge, this is the book for you. You will need to locate obscure –and sometimes expensive– ingredients, employ non-traditional techniques, and be open to unusual flavor combinations. You really do need to follow the directions and use the prescribed ingredients in order to achieve the desired results. One thing is for sure: you will learn a lot about baking science, which is right up my alley!
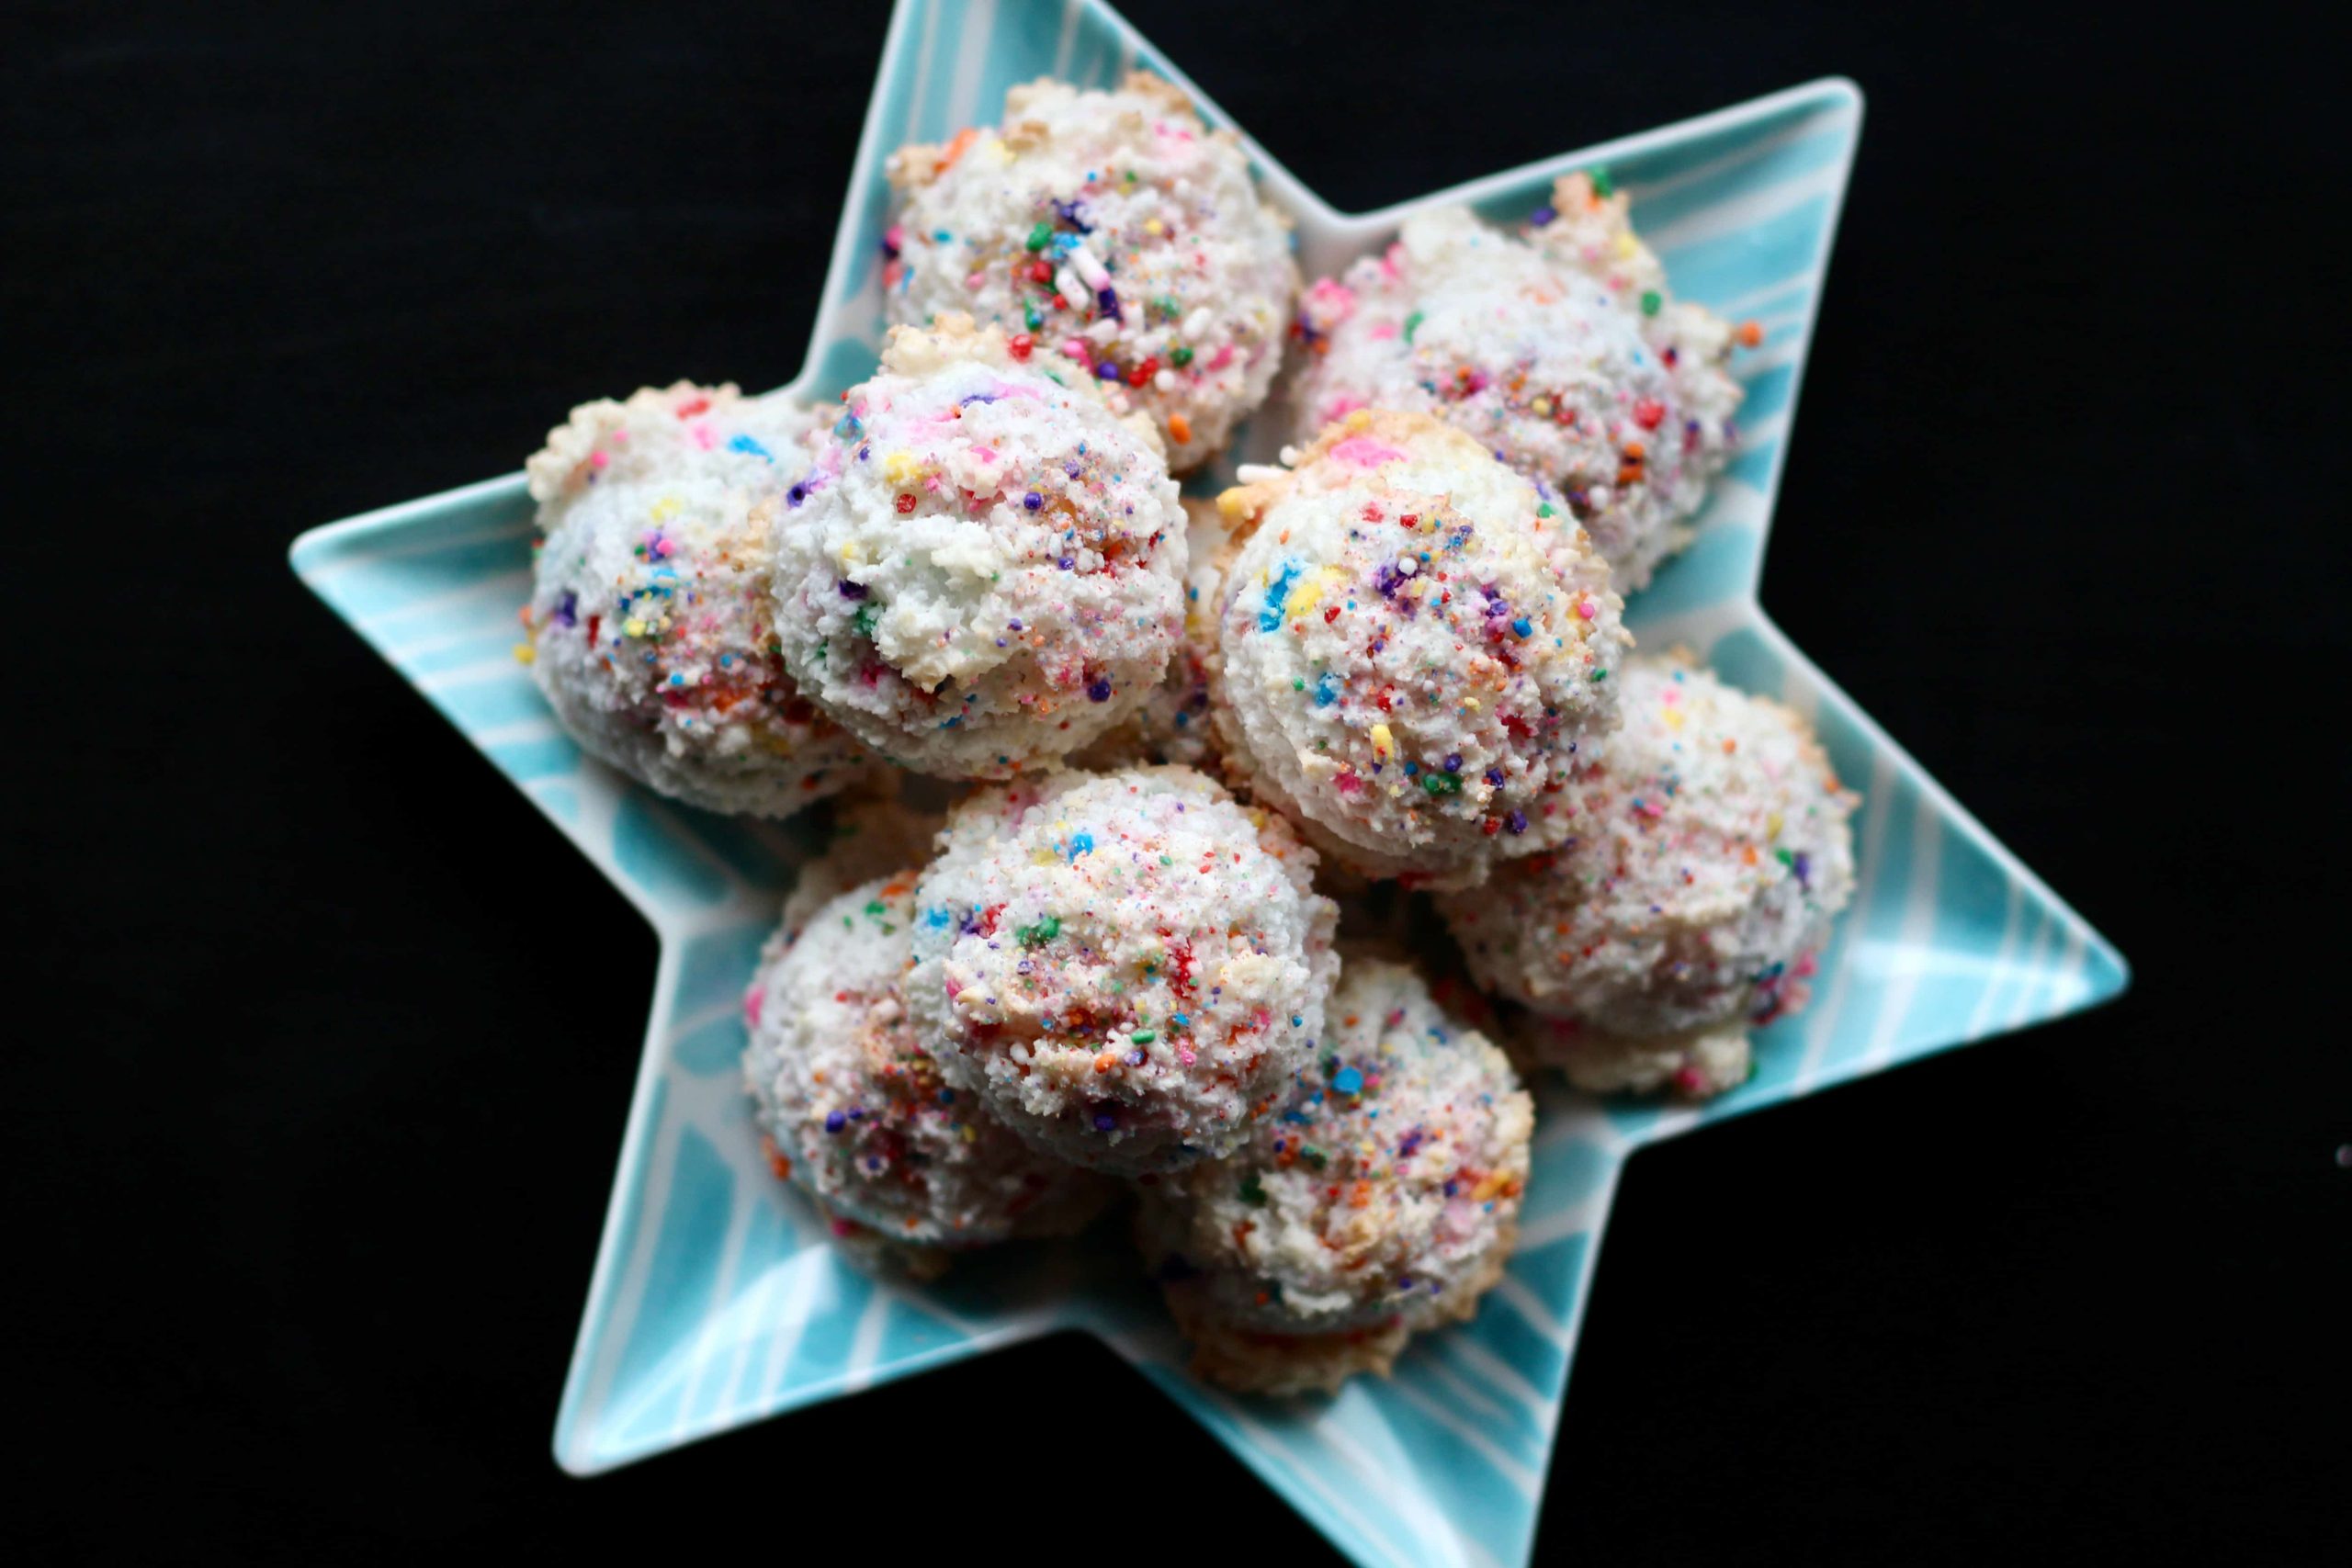
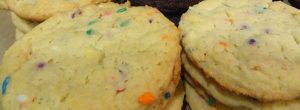
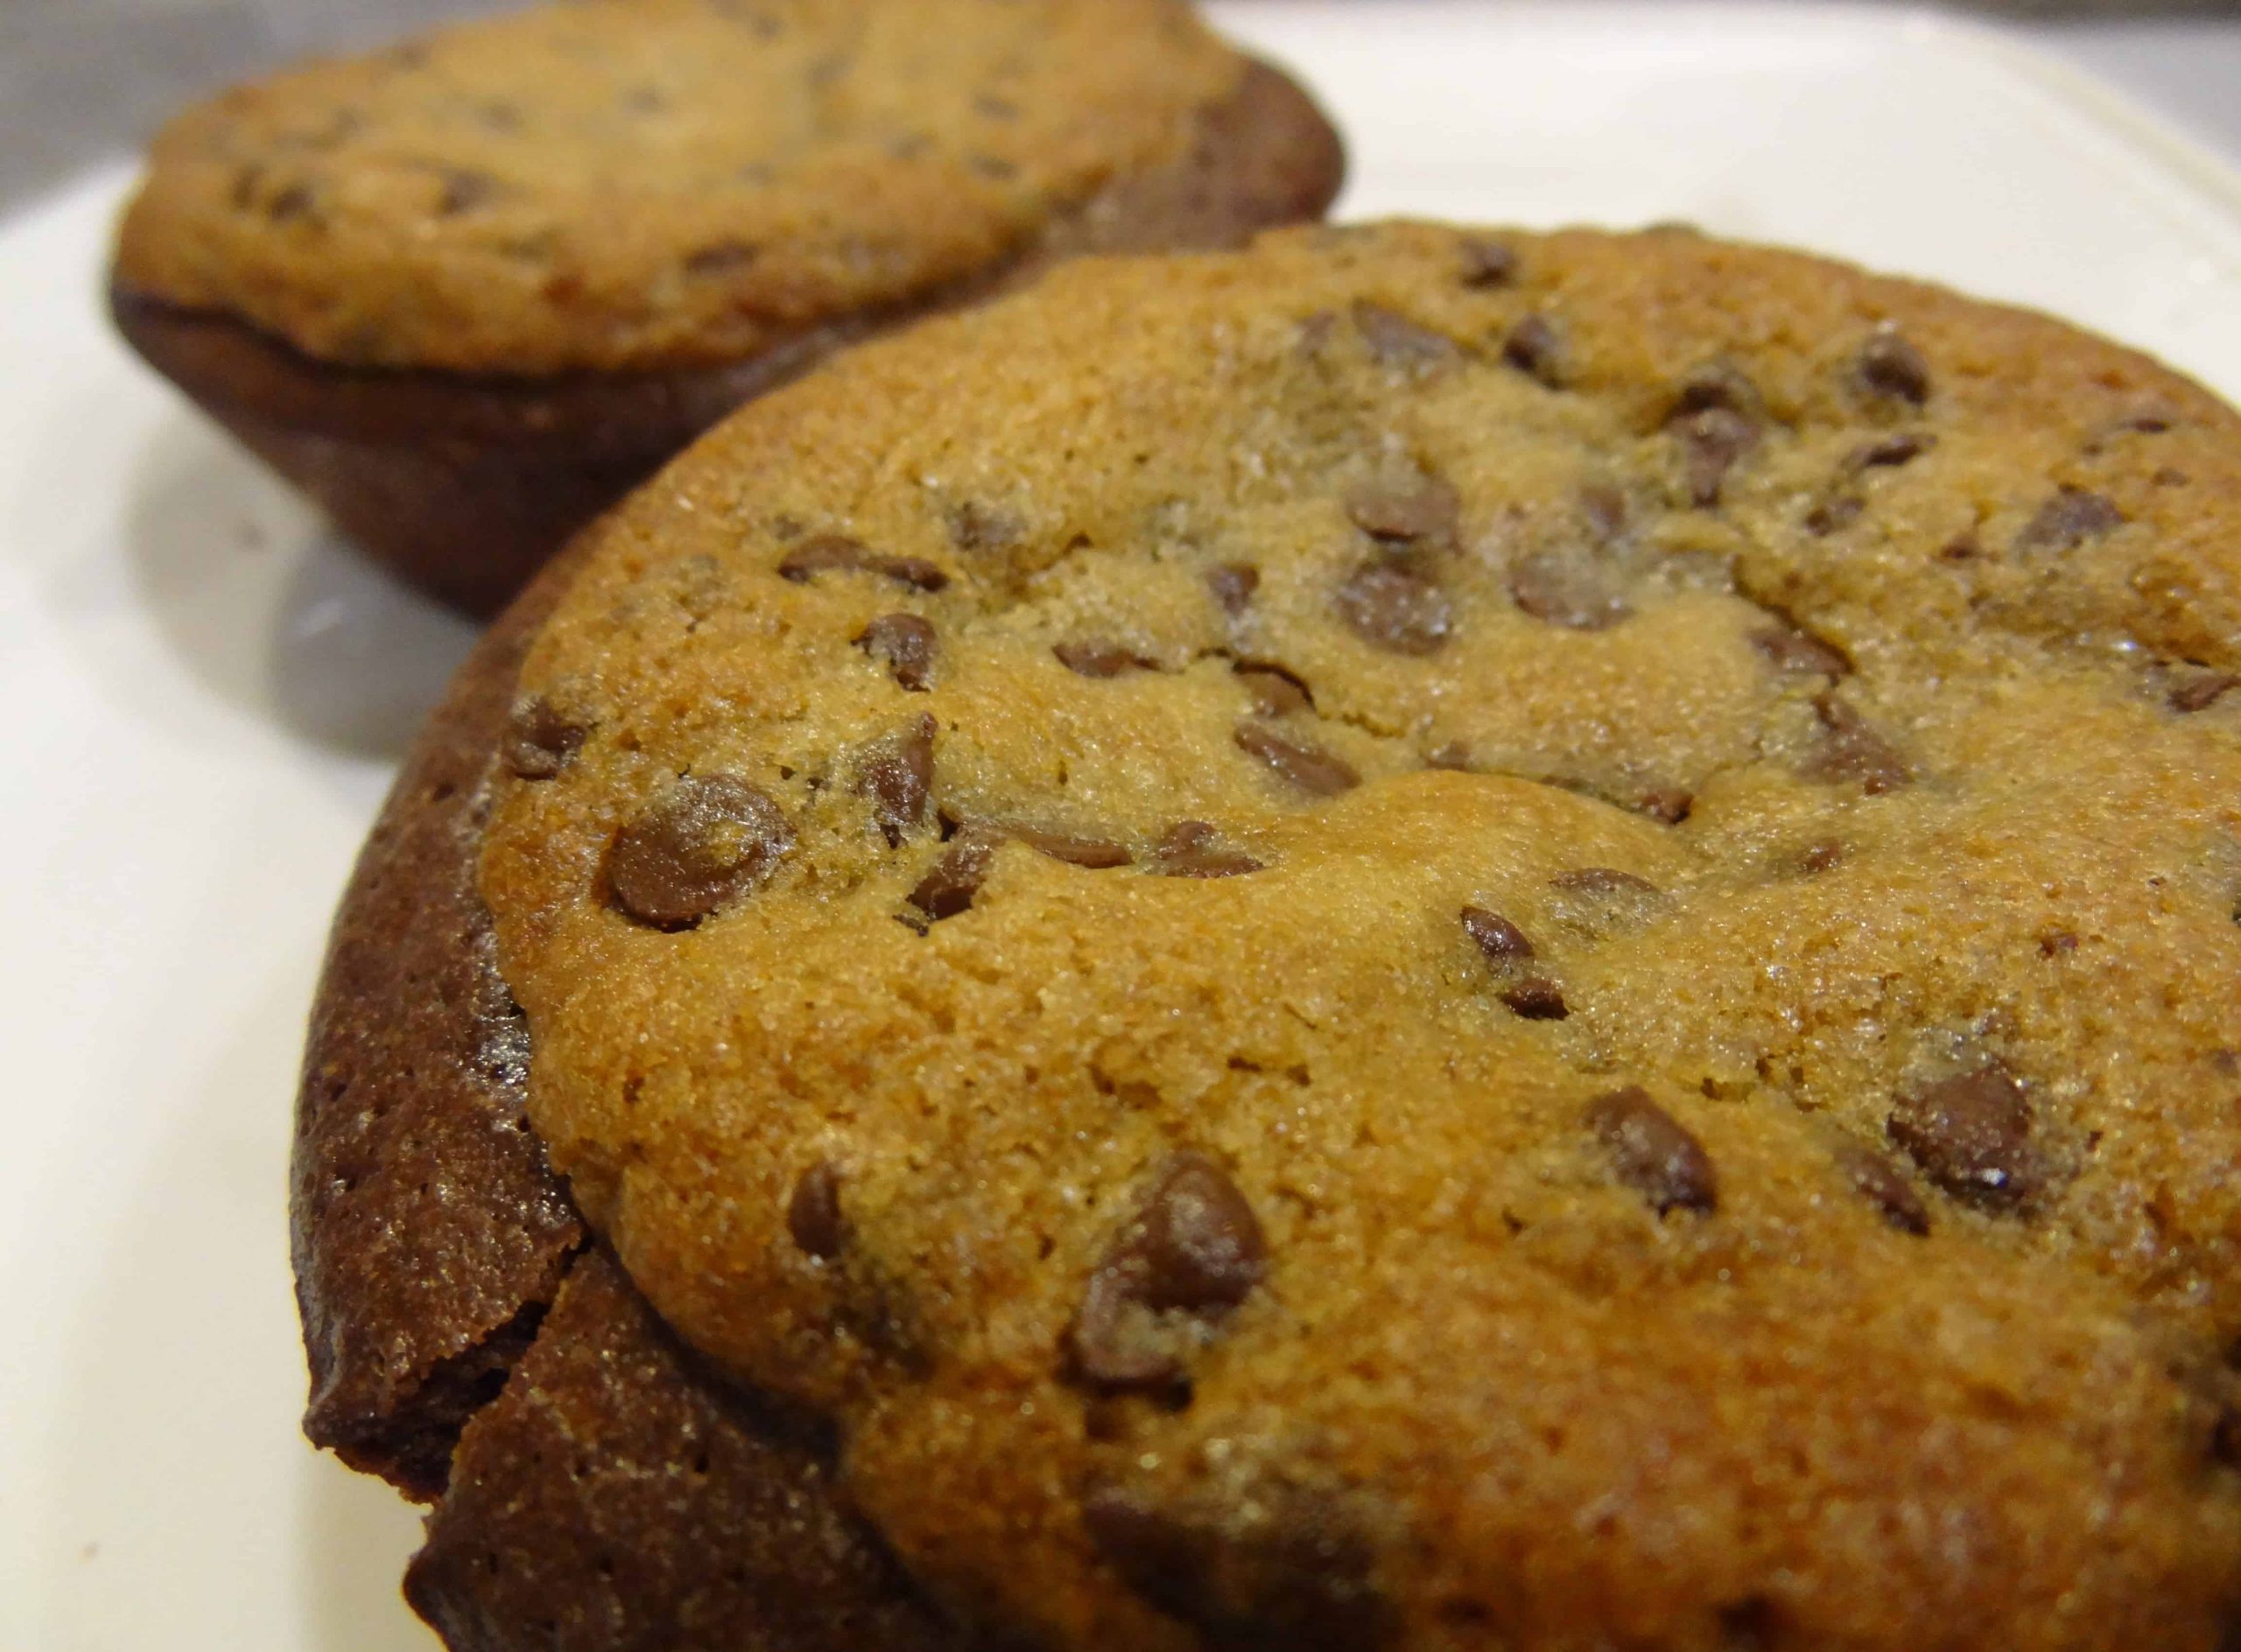
And with that, I present… Confetti Cookies! This is possibly my favorite *ever* sugar cookie. It is dense and chewy, with beautiful crackles on top and a burst of bright colors, reminiscent of the sprinkles on your childhood birthday cake. This cookie will appeal to kids, but it is deceptively modest in its sophistication. Nothing that Milk Bar makes is boring, simple, or basic; there is always something to pique a foodie’s interest.
Most of Milk Bar’s cookie recipes are constructed from a few steps that follow the same general template:
- Make the base/foundation “element” (more on that in a moment)
- Make the cookie dough
- Add the mix-ins, if applicable
- Portion the dough onto a cookie sheet
- Refrigerate at least one hour
- Bake the dough cold
One of Milk Bar’s signature techniques is to build their recipes upon a foundational element, one of which is called “the crumb”. This is usually a combination of flour, milk powder, melted butter, and a starring ingredient, which in this case, is colored sprinkles. The dry ingredients are combined with the butter, which forms small clusters when mixed together. These clusters are then baked in a low oven, from which they emerge toasty, buttery, and crunchy. These “birthday cake crumbs” are then folded into the cookie dough, adding a subtle dimension that elevates this cookie to confectionery heights hitherto unknown for an ordinary sugar cookie.

Now, in most respects, I bow humbly before Momofuku Milk Bar; their teachings have colored my baking world with rainbows and glitter and magic fairy dust. One of the few things we disagree on is vanilla– Milk Bar does not care for the flavor of real vanilla beans. I believe that vanilla is one of the most important pillars upon which baked goods are built; low-quality vanilla will often ruin an otherwise tasty item. I take issue with usage of the term “vanilla” to describe something plain, flavorless, or without character; good vanilla has layers of complexity that shine on their own and bring out the best in other ingredients. I always use Nielsen-Massey Madagascar Bourbon Vanilla extract, which exudes an intoxicating fragrance and imparts beautiful depth to everything it touches. You know, kind of like holy baking water. From orchids.
Given my inflexible extremist views on this essential ingredient, I was rather shocked that Milk Bar uses… artificial vanilla extract. On purpose. (Don’t worry, the panic you feel welling up inside you is completely normal and will subside as soon as you bite into one of these cookies.) Once I got over the initial horror, I was able to appreciate the fact that they use it solely to produce a specific flavor that evokes memories of the boxed Funfetti cake mix that we all grew up eating. I love that Milk Bar deconstructs and reinvents these sorts of guilty pleasures, and because of that creative mission, I can justify tolerate the use of imitation vanilla here. This type of vanilla extract is clear and is not made with any actual vanilla beans. It may be difficult to locate in your local grocery store, but you should be able to find it at craft stores that carry cake supplies, such as Michael’s. I have to concede that it really does make a difference in producing that old-school birthday cake flavor, even though it goes against every moral fiber in my being. As a compromise, I reduced the amount of vanilla in the crumbs by half to lessen its prominent flavor. If you choose to bake with real vanilla instead, the cookies will still be delicious, just slightly different. Alright, I’ve said my piece about vanilla. Moving on…
The other ingredient here that I’m not totally stoked on is glucose, a very thick, clear sugar syrup. It just feels unnatural to me (not that corn syrup ranks much higher in the gourmet pantry), but again, it makes a big difference in the texture and mouthfeel of the finished cookie, so I can roll with it. Hard to locate in your local grocery store, but worth the effort.
The third and final ingredient that I want to mention is milk powder. Milk Bar uses it in many of their recipes and it’s described as a “secret” ingredient that bestows a certain je ne sais quoi upon baked goods. As opposed to clear vanilla and glucose, it is relatively easy to find. I use King Arthur Flour’s Baker’s Special Dry Milk, and there are a number of brands readily available at your local supermarket.
While these cookies are meant as an homage to birthday cake, they can be easily customized for other festive occasions. Instead of multi-colored sprinkles, you can use green/lime/white for St. Patrick’s Day, red/pink/white for Valentine’s Day, red/white/blue for 4th of July, and so on. There is a good chance that an orange and black version will be making an appearance around my house for Halloween… or perhaps to celebrate a Giants World Series victory??? 🙂

Confetti Cookies
Adapted from Momofuku Milk Bar Cookbook
Yields 35-40 cookies
One thing I’ve learned about Momofuku recipes is that the weight and volume measurements vary quite a bit sometimes; I highly recommend weighing your ingredients whenever possible, though I generally don’t bother weighing butter or teaspoon measurements.
- 100g sugar (½ cup)
- 25g light brown sugar (1 ½ tablespoons, tightly packed)
- 90g cake flour (¾ cup)
- ½ teaspoon baking powder
- ½ teaspoon kosher salt
- 20g rainbow sprinkles (2 tablespoons)
- 40g grapeseed oil (¼ cup)
- ½ tablespoon clear vanilla extract (original recipe calls for 1 tablespoon)
- 16 tablespoons unsalted butter, at room temperature (2 sticks)
- 300g sugar (1 ½ cups)
- 50g glucose (2 tablespoons)
- 2 eggs
- 2 teaspoons clear vanilla extract
- 400g bread flour (2 ½ cups)
- 50g milk powder (⅔ cup)
- 2 teaspoons cream of tartar
- 1 teaspoon baking soda
- 1 ¼ teaspoons kosher salt
- 40g rainbow sprinkles (¼ cup)
- ½ recipe Birthday Cake Crumb (140 g)

First make the birthday crumbs, which can be stored for a week at room temperature or up to a month in the fridge/freezer.
Preheat the oven to 275°F. (The original recipe says to bake the crumbs at 300°F, but I find that they over-brown and get too crunchy.)
On low speed, paddle the sugars, flour, baking powder, salt, and rainbow sprinkles in the bowl of a stand mixer until well combined. The mixture should resemble sparkly sand.
Add the grapeseed oil and vanilla extract to the bowl and mix again to combine. The wet ingredients will bind to the dry ingredients, forming small clusters; continue paddling until that happens.
Line a rimmed baking sheet with parchment paper and spread the clusters in a single layer on the pan. Bake for 15-20 minutes, breaking up the clusters occasionally. Keep a careful eye on them in the last few minutes– they should be no darker than “pale golden”. When the crumbs are done, they should be slightly moist to the touch; they will dry and firm up as they cool, and should retain a soft crunch.
While the crumbs are cooling to room temperature, start making the cookie dough. Prepare a rimmed half-sheet pan with parchment paper and set aside.
Combine the butter, sugar, and glucose in the bowl of a stand mixer with the paddle attachment and cream together on medium-high speed for 2-3 minutes. Scrape down the sides of the bowl, add the eggs and vanilla extract, and beat for 7-8 minutes. Scrape the bowl again when finished.
Note: Momofuku Milk Bar employs some specific mixing techniques in their cookie doughs to create their crispy-on-the-outside, chewy-in-the-middle texture. I would not suggest under-mixing, even though eight minutes of the mixer grinding away can get a little grating after a while! (Rest assured that you will quickly forget this annoyance.) Milk Bar explains the complex molecular process behind their mixing techniques in detail in the book; suffice it to say, the butter, sugar, and egg molecules must bind together very thoroughly. The visual evidence of this chemical process is that your mixture will be smoother and fluffier than other cookie doughs at this stage. You can often see sugar granules after creaming butter and sugar, but after Milk Bar’s longer mixing times, you will notice that it is difficult to see them because they are so thoroughly incorporated into the butter. So pretty.
While the wet ingredients are getting intimately acquainted, combine the bread flour, milk powder, cream of tartar, baking soda, salt, and rainbow sprinkles in a small bowl. Add the dry ingredients to the butter mixture with the mixer set to low speed. Mix just until the dough comes together, no more than 1 minute. Scrape down the sides of the bowl with a spatula. It’s important not to over-mix at this stage, and I find that pre-mixing the dry ingredients helps to evenly incorporate them into the butter/sugar mixture more quickly.
On low speed, add the birthday cake crumbs and mix just until evenly distributed in the cookie dough, no more than 30 seconds.
The next step is to portion out the dough onto the prepared baking sheet. The book says to use a 2 ¾-ounce ice cream scoop, which produces cookies of enormous proportions. I prefer a smaller one, which holds about ¼ cup dough, because it produces a nicely sized cookie—not too big, not too small. Gently flatten the tops of the cookie dough scoops. Cover the sheet pan with plastic wrap and refrigerate for at least 1 hour, or up to 1 week. I usually make my dough and bake it the next day. Do NOT bake your cookies from room temperature, as they will not bake up correctly.
When you’re ready to bake, heat the oven to 350°F.
Line two unrimmed cookie sheets with parchment paper. Place 6-8 chilled cookie portions on one pan, leaving a few inches between them. Don’t be tempted to crowd them onto the pan because they will spread quite a bit.
The book says to bake the cookies for 18 minutes, but in my oven this would produce very sad, charred cookie remains. All my Milk Bar cookies are baked to perfection every single time at exactly 11 minutes. Keep an eye on them towards the end of baking as needed for your own oven. When the cookies are done, they will be very puffed up, lightly crackled, and slightly golden. And you will want to eat all of them.
Allow the cookies to cool for 5-10 minutes on the pan and then transfer to a wire rack to cool completely.
Repeat with the second cookie sheet, and keep putting in small batches until you’ve used up the dough. With the smaller cookie scoop, I yield about 35-40 cookies. This dough freezes really well, so you can also bake them “to order”. Wrap them individually in plastic wrap and tuck them into a Ziploc bag, and you can pull them out for baking any time on demand. Once baked, they will keep fresh in an airtight container for 5 days. Not that they would last that long. 🙂


5 Responses
Those look great! I love the Milk Bar cookbook almost as much as the Baked trilogy. 🙂
Thanks you! Same here– BAKED is my all-time favorite bakery/cookbook source, followed by Milk Bar! 🙂