


I have never made soft caramel candy before; the thought of this would normally strike fear into my heart and cause shivers down my spine. My mother would likely chuckle at the idea of me working with sugar in the first place– she likes to remind me of the time, when I was a teenager, that she asked me to put sugar in her tea, but I accidentally grabbed the jar of salt on the kitchen countertop, and needless to say, the tea was not exactly what she expected… (In my defense, the jars were right next to each other and looked the same to my untrained teenaged eye!) Indeed, as I’ve written about several times, sugar is often the bane of my existence when it comes to baking; however, my outlook on sugar work is evolving. I felt more confident than usual about this week’s sugar-based Baked Sunday Mornings assignment because the caramel for these sweet lil’ candies is nearly identical to the one I toiled over when making Caramel Coconut Cluster Bars recently. After making that caramel *three* times before achieving success, I felt that I could reasonably recreate it for Soft Candy Caramels. Another source of confidence is the recent candy-making class that I took at Baking Arts in San Francisco, in which I learned some absolutely invaluable techniques. Read my blog post about sugar science for some helpful info that will increase your chances of caramel success, especially if you’re new to working with sugar.
There is a great deal of controversy about whether or not corn syrup is horribly bad for human beings to consume. Based on many sources that I’ve read over the years, my understanding is that regular corn syrup (not its insidious high-fructose cousin) is okay to eat in moderation. In candy recipes, it serves the purpose of hindering crystallization of the sugar mixture, and it contributes to the candy’s chewy consistency. When I saw that this recipe calls for 2 cups of it (gasp!), I shuddered; even if a little corn syrup won’t kill me, it still gives me the heebie-jeebies, and I try to avoid using it. That being said, sometimes it’s necessary in order to achieve a certain type of finished sugar product; after making the aforementioned bars, I knew I had to just suck it up, because that caramel is utterly luscious. Plus, the candies would be cut into small pieces, so with a little *will power*, I figured it wouldn’t be so bad. (Easier said than done…) Sometimes I’m willing to compromise a little on my belief in natural ingredients– you know, for the greater good. 😉
The caramel is made in a two-stage process. The sugars, corn syrup, and water are heated to a temperature of 240-245°F, then removed from the heat to add a warmed mixture of heavy cream and sweetened condensed milk, then heated again to the same temperature before the final addition of vanilla extract and fleur de sel (hand-harvested sea salt– the good stuff). In my experience with the caramel bars, taking the sugar into the mid-240°F range results in hardened caramel that is extremely difficult to eat and may cost you a trip to the dentist! I went to 235°F for the bars, which should have a slightly softer caramel consistency than these candies. After consultation with fellow bakers, a temperature of about 240°F seemed reasonable.
First order of business: make sure to use a big enough pot. I generally use a 2-quart saucepan for caramel because it’s rarely a huge quantity of ingredients. In this case, it’s a double batch of caramel (compared to most recipes where caramel is an accent or filling), so I used my 4-quart pot to avoid the caramel bubbling overboard. My first stage of sugar boiling went according to plan, except for a few stubborn chunks of brown sugar that refused to break up at first. Remember to brush down any sugar crystals that form on the sides of your pan with a wet pastry brush, though this is less likely to occur because of the massive amount of corn syrup (…that I’m trying not to think about).
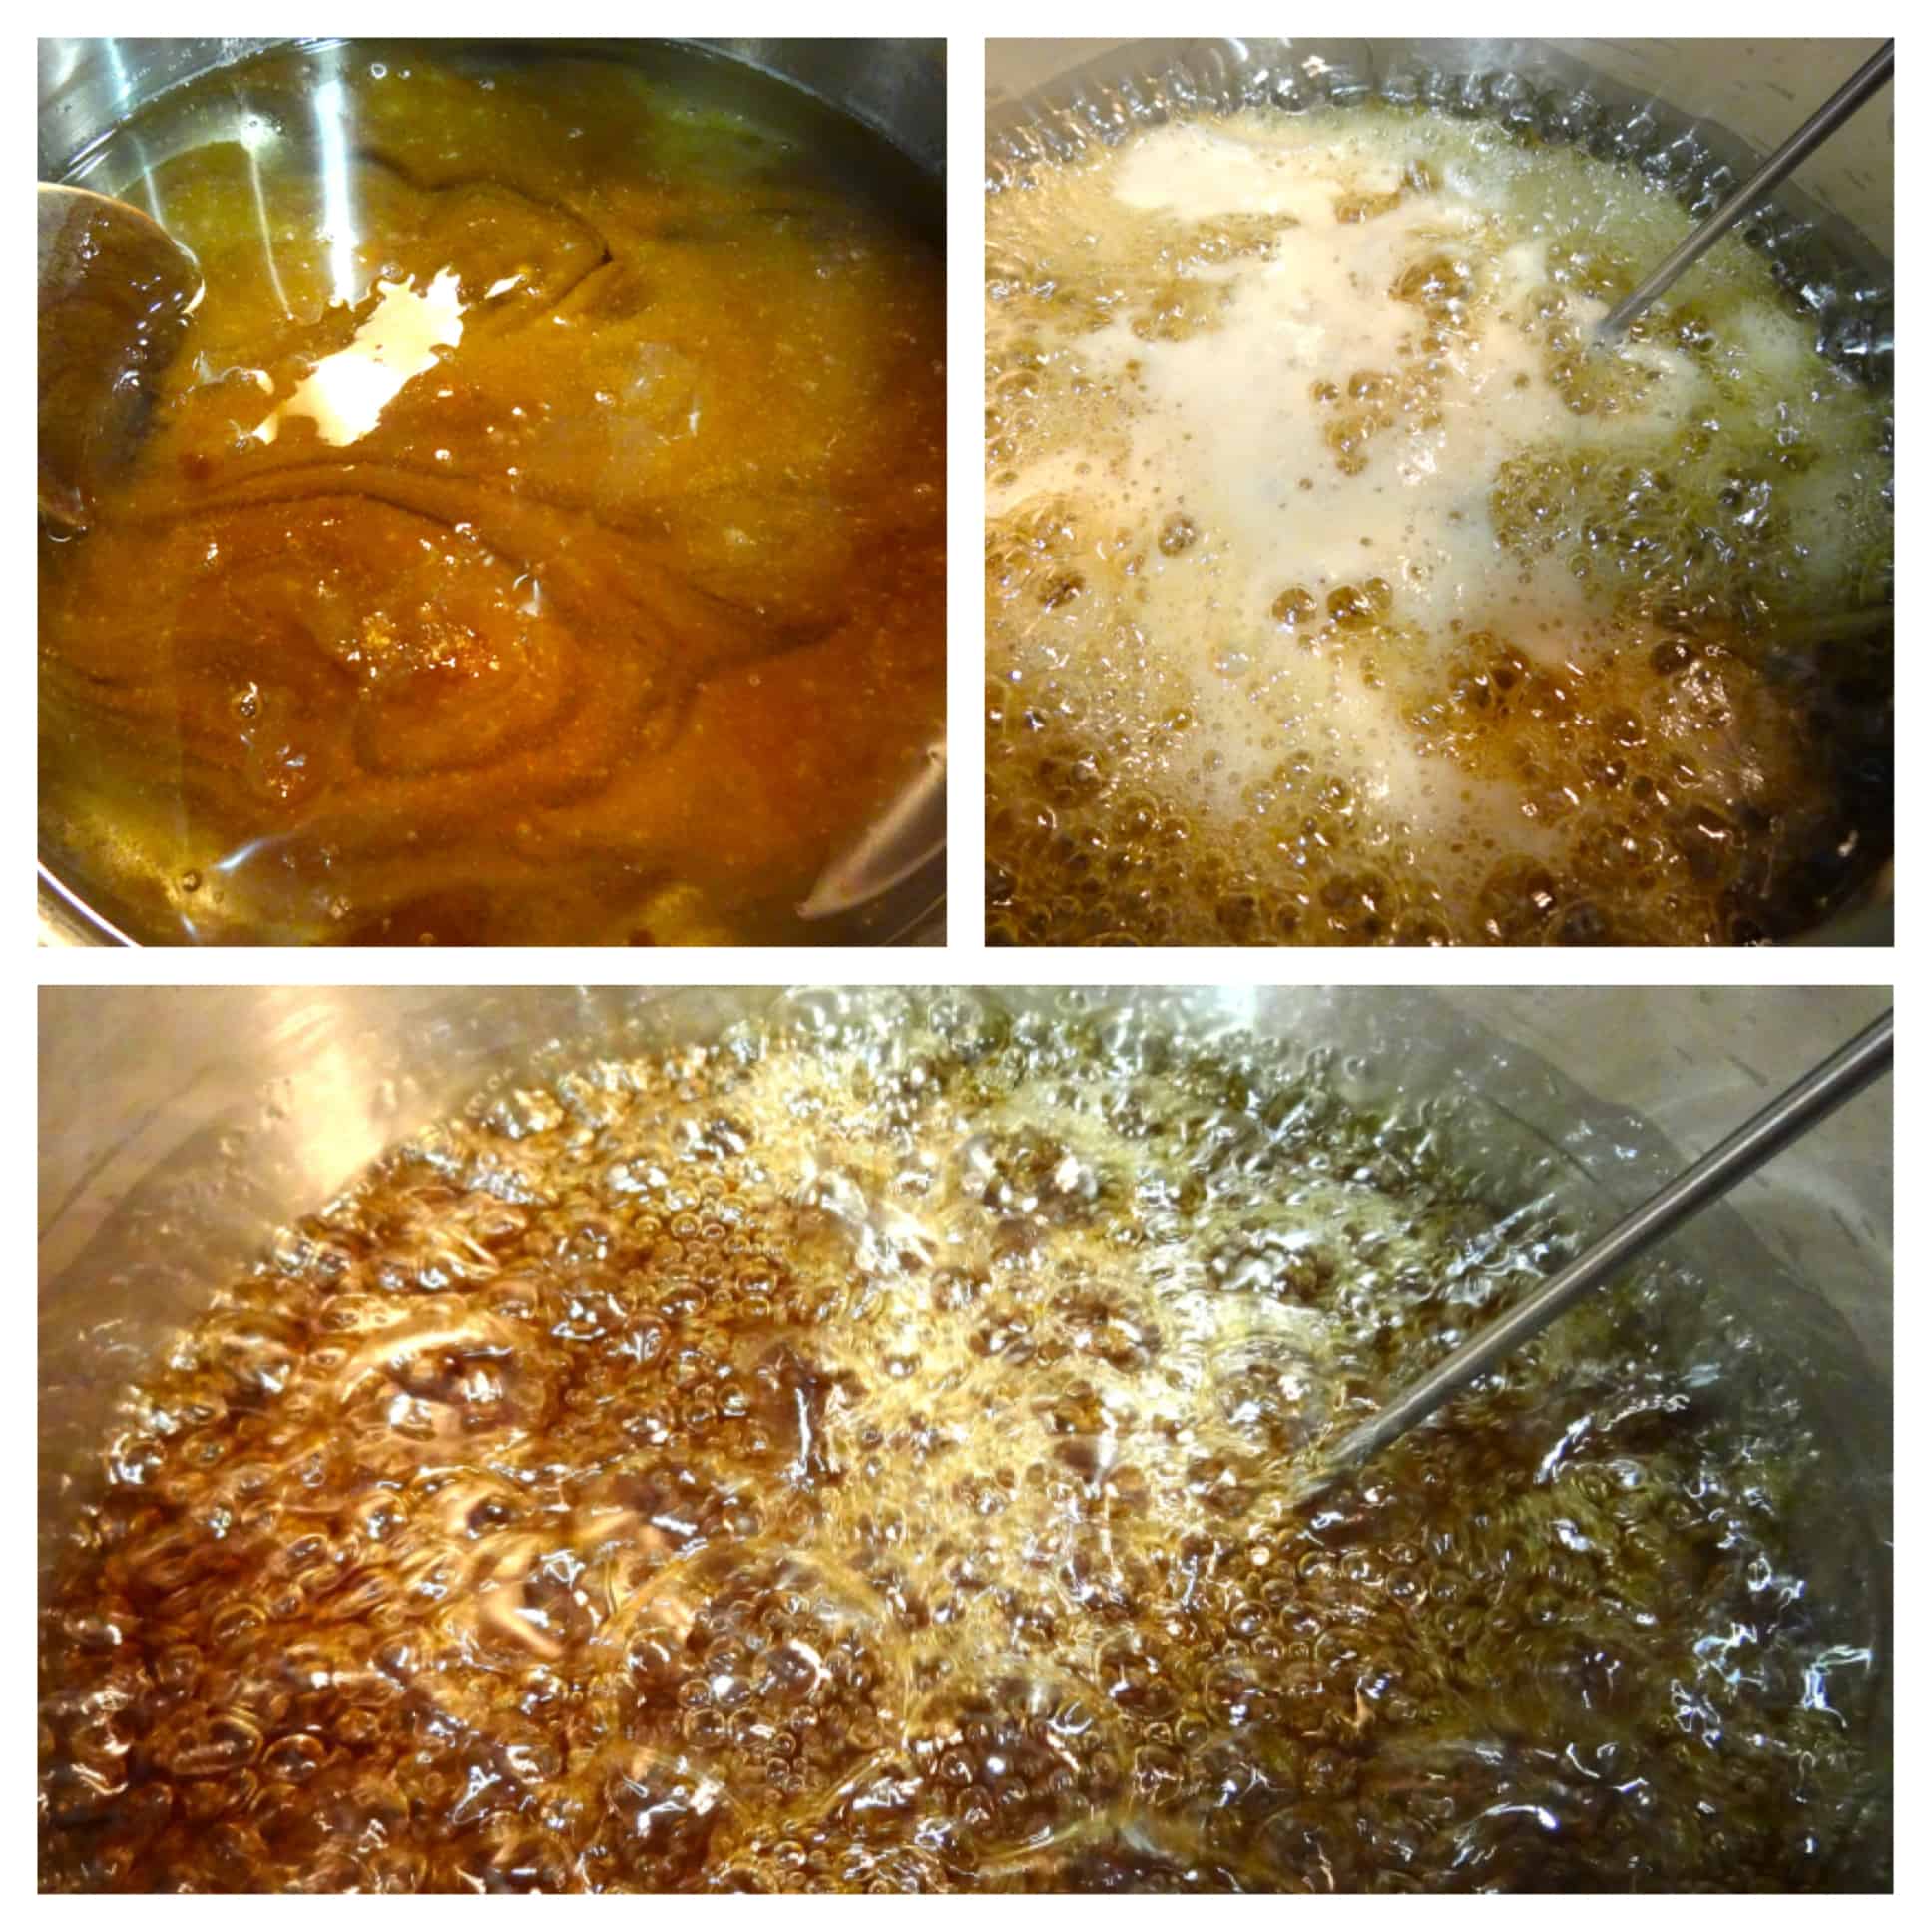 The mixture maintained a beautiful dark boil, and I added the butter and cream/milk mixture once the sugar reached 240°F after about 8 minutes. (The recipe says to remove the pan from the heat when the mixture has attained an “amber” color; the trouble with this is that the sugar has a light brown color the whole time due to the brown sugar, so this is not the best way to judge doneness here, which I learned from making the caramel bars.) It will supposedly sputter and bubble rapidly when you add the dairy ingredients, but I had nothing more than a touch of frothing. I think the reason for this is that the cream/milk mixture has already been warmed up in a separate saucepan, whereas if I was adding cold liquid, the hot sugar would surely protest angrily.
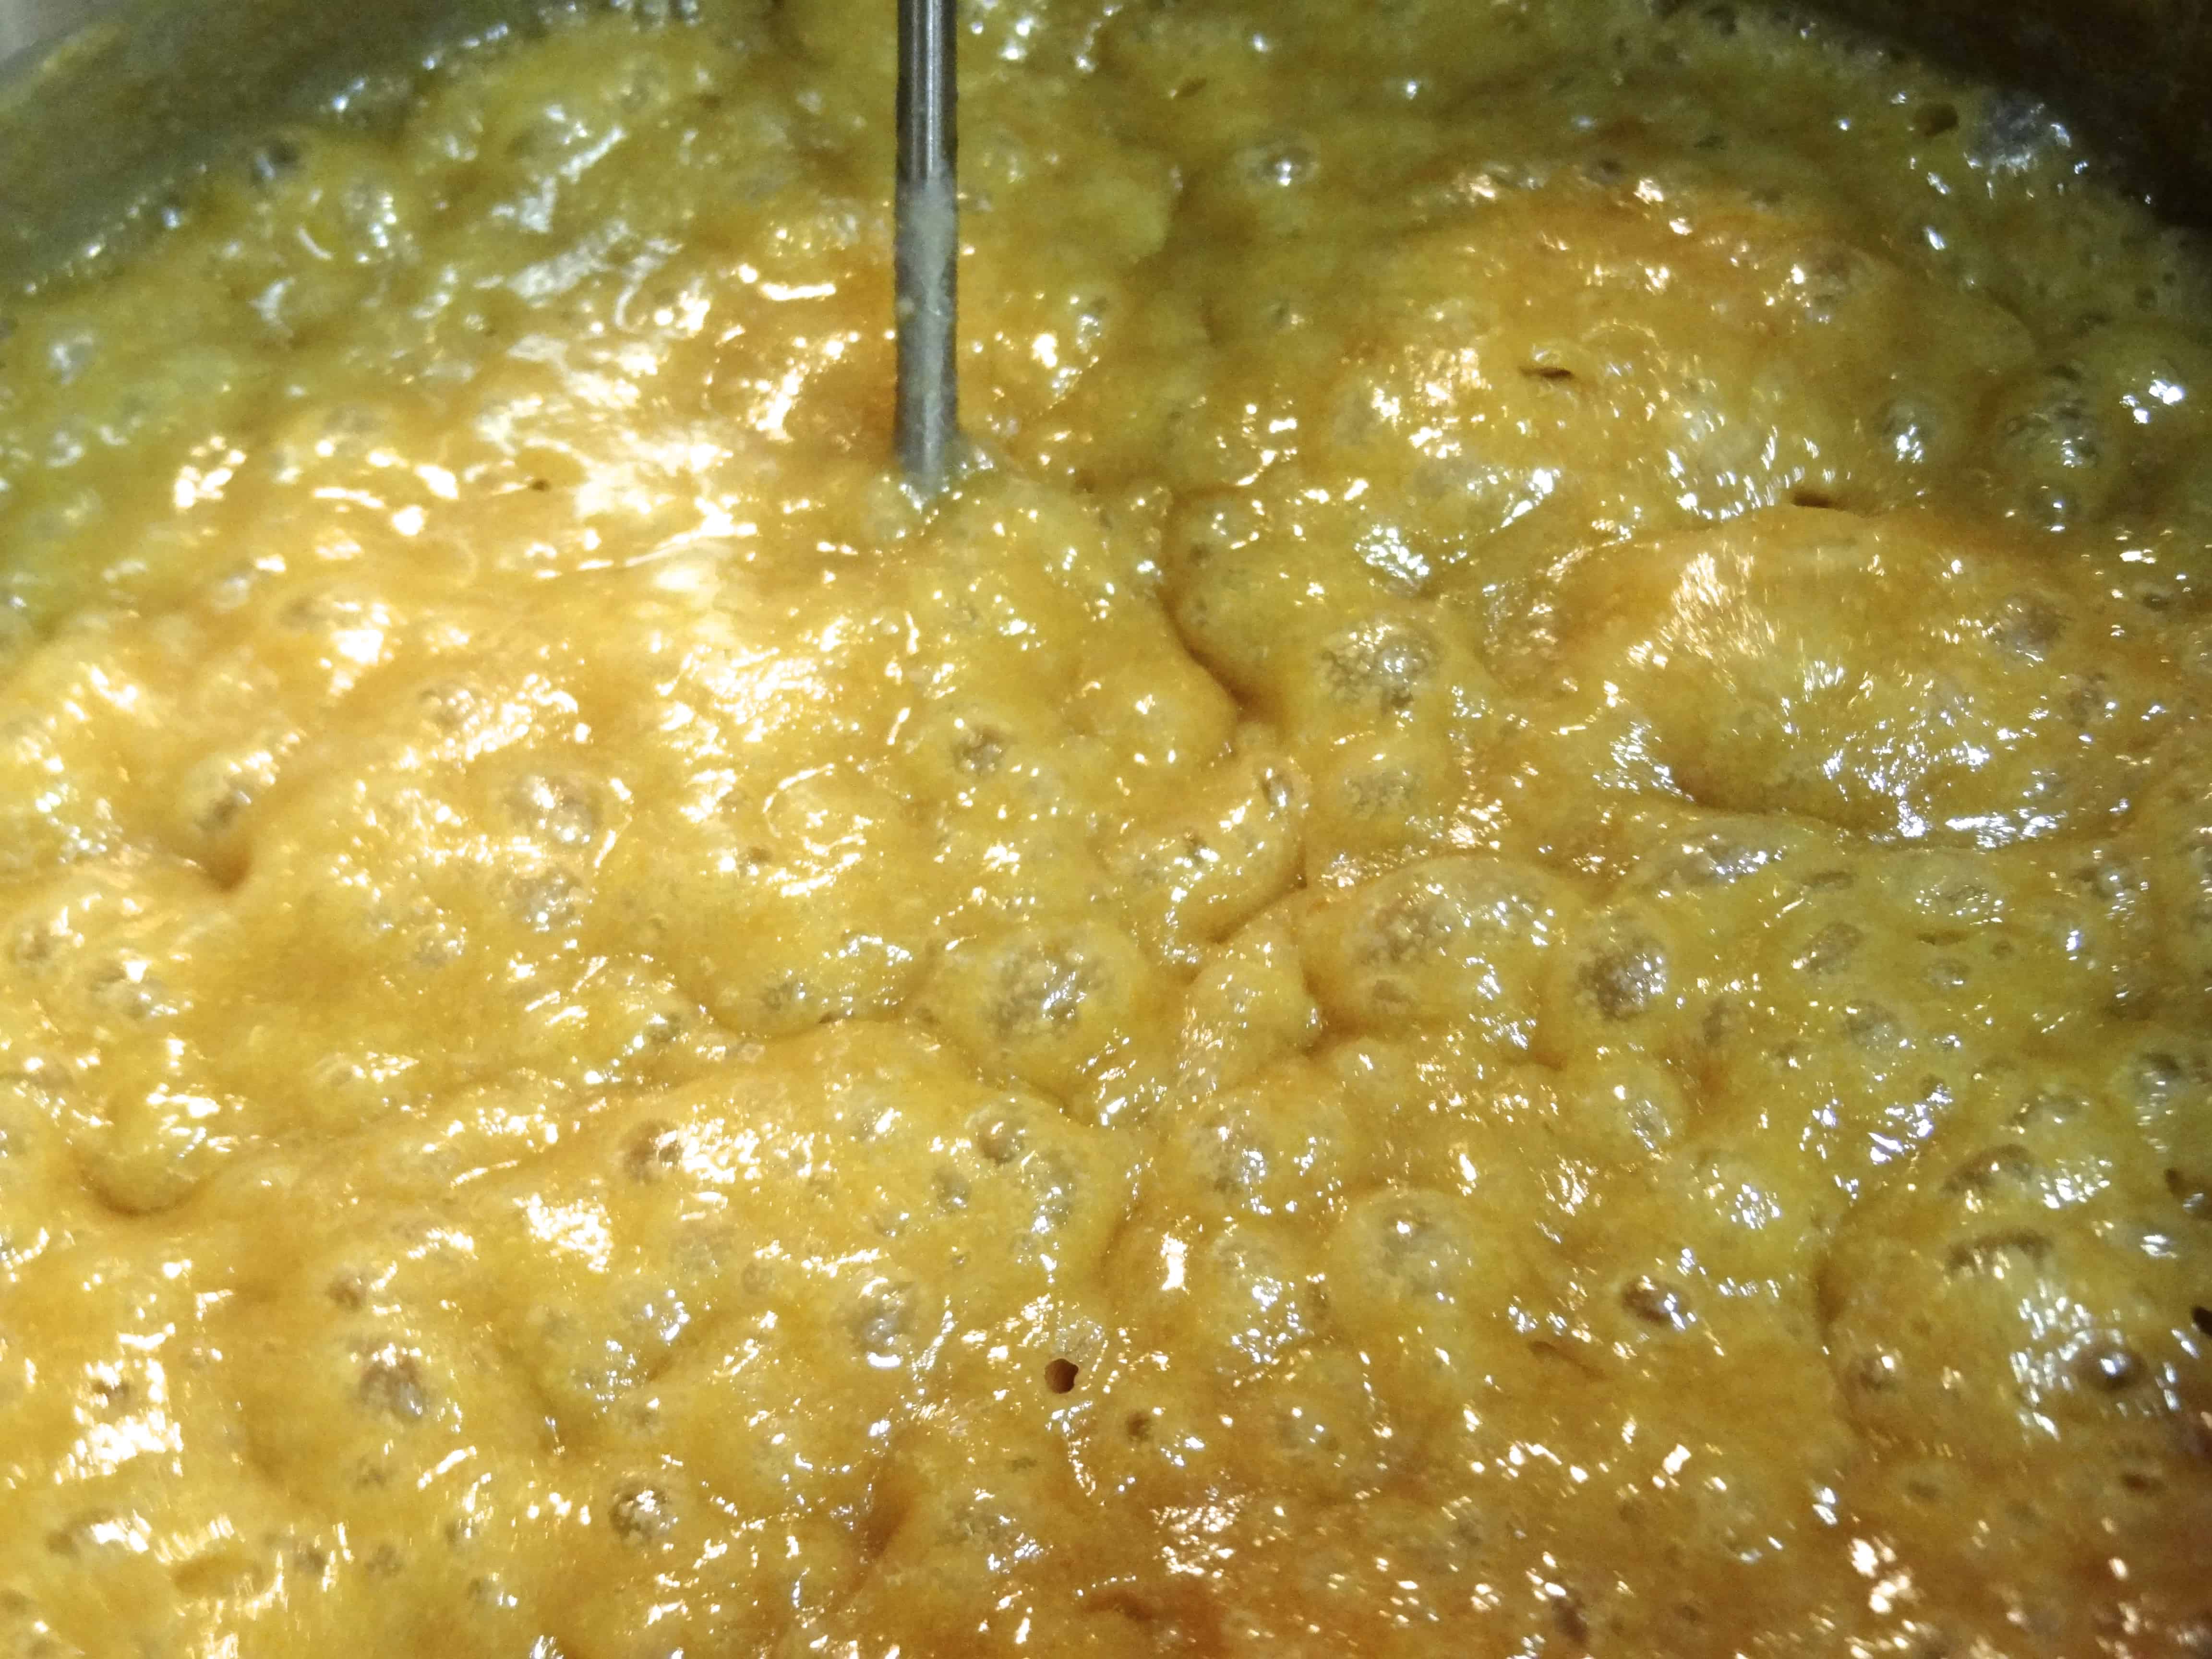
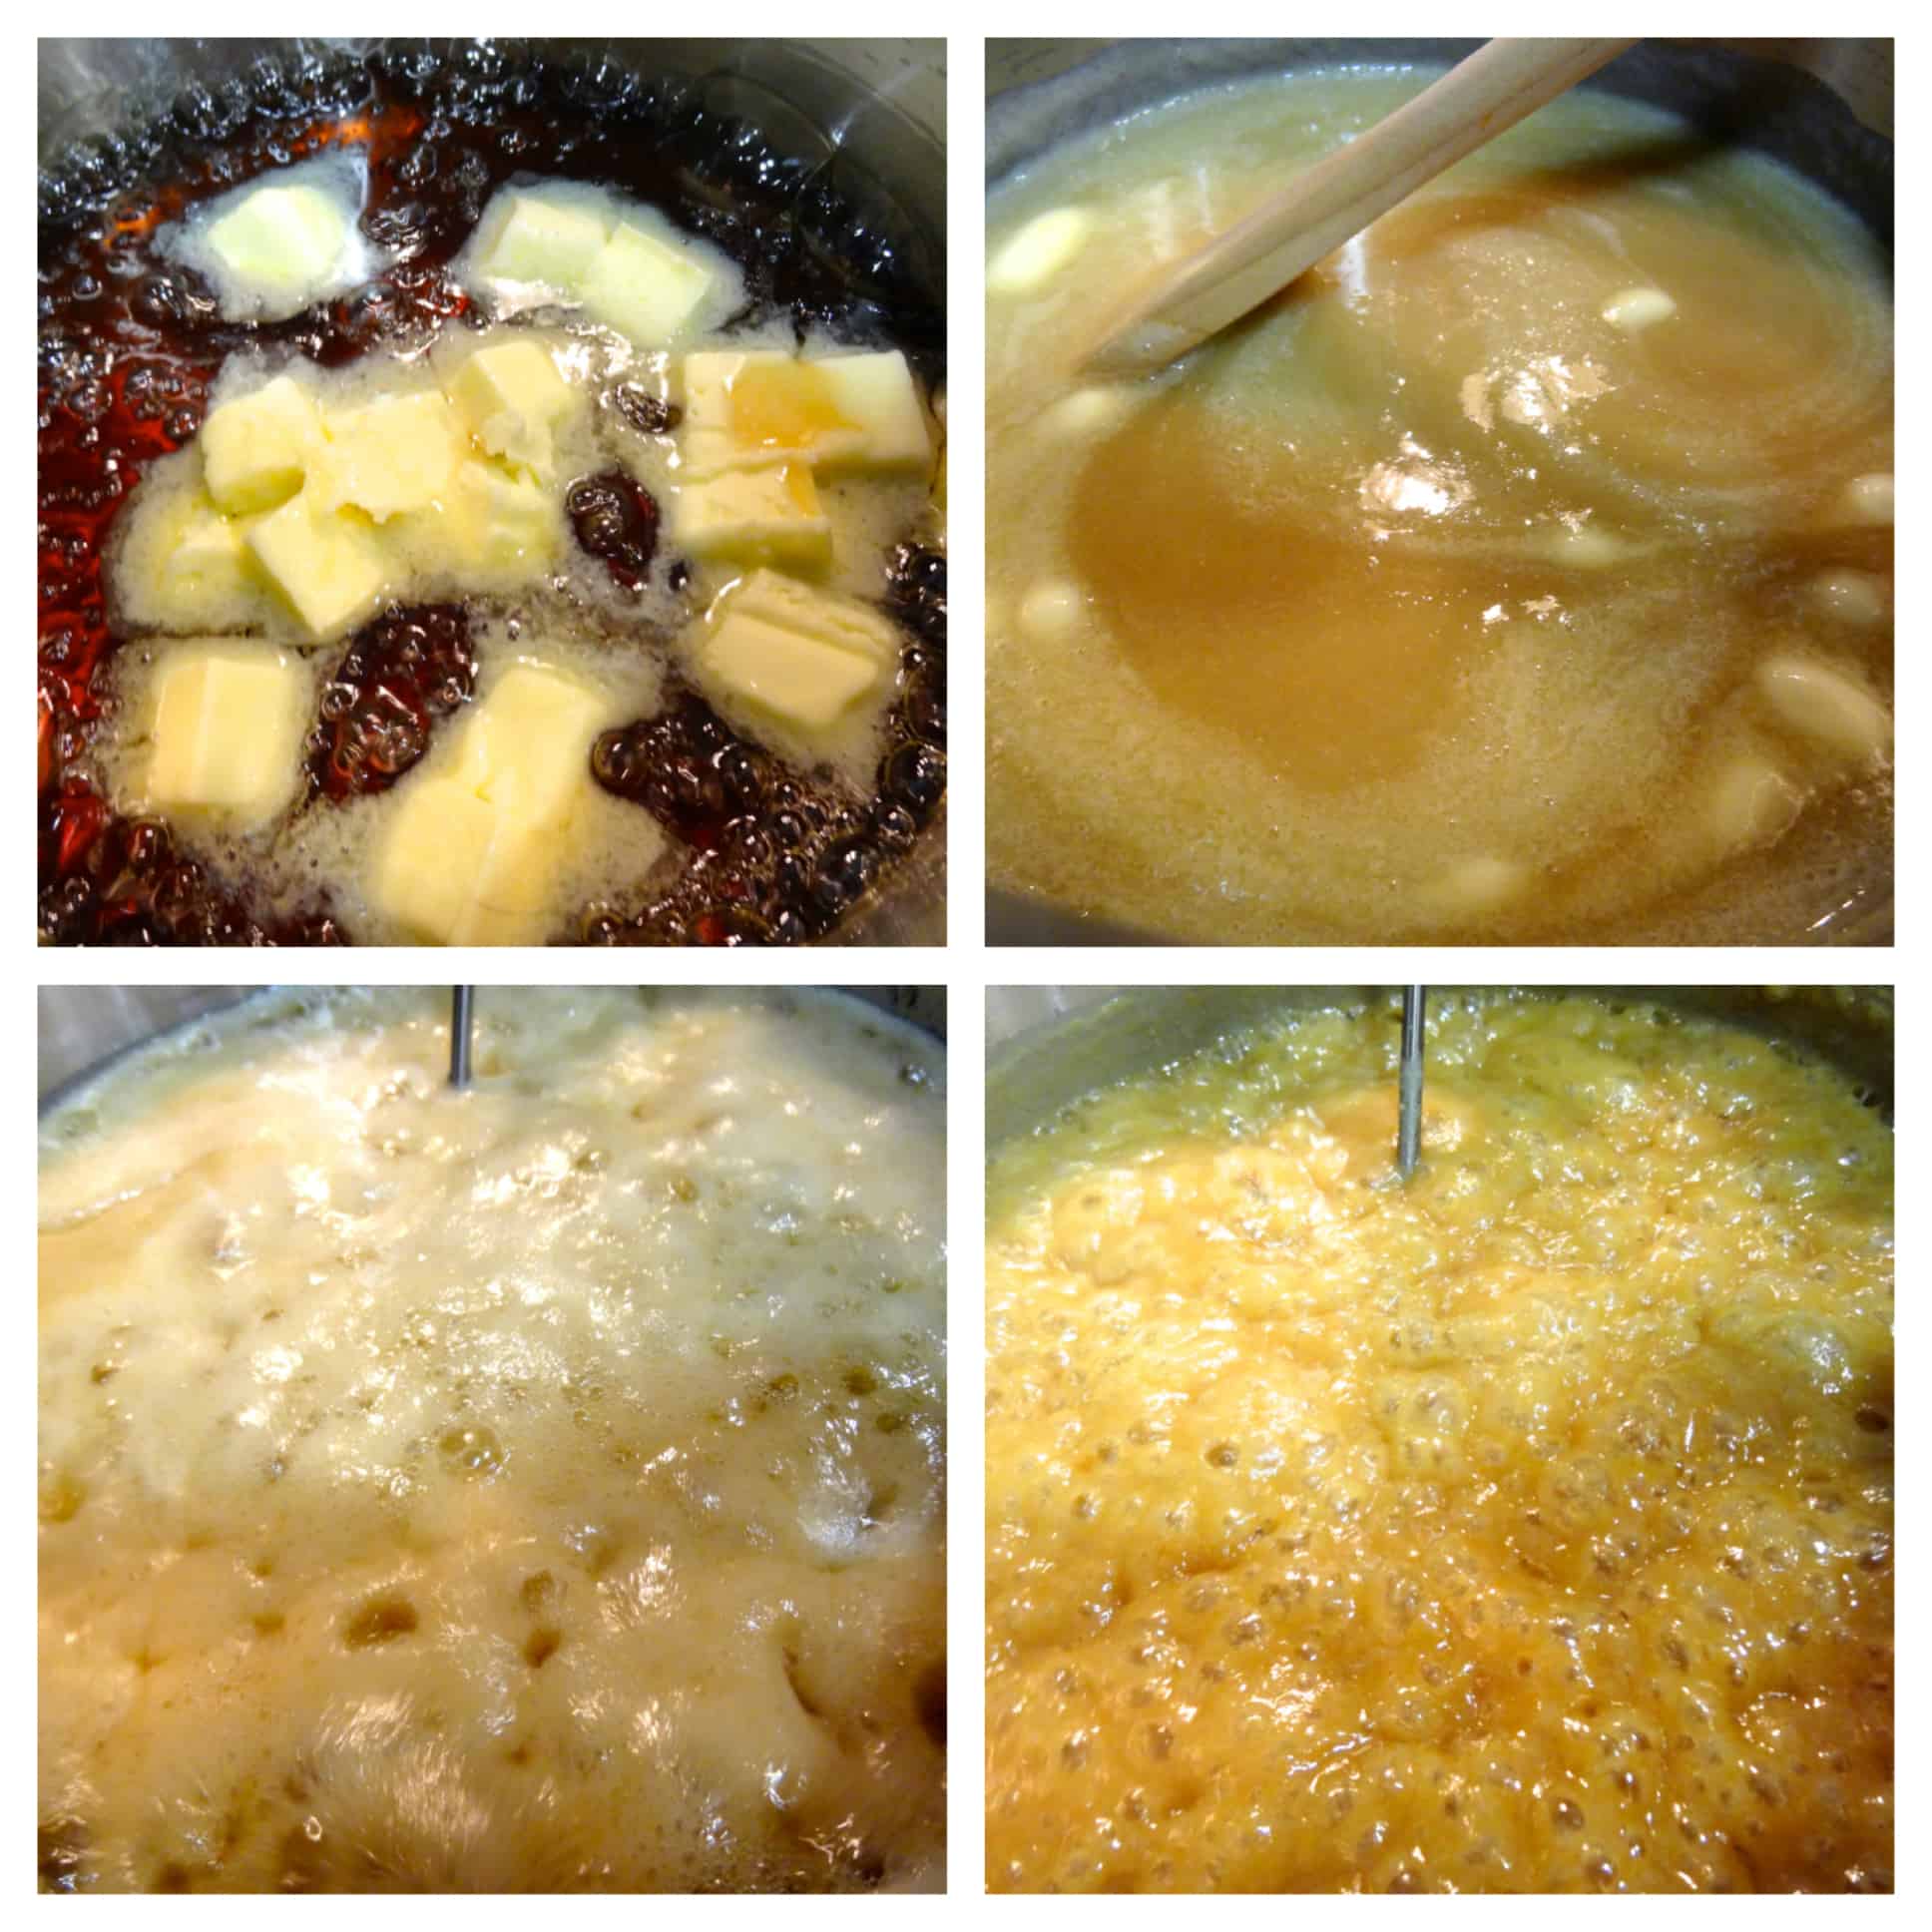 I was slightly concerned about the lack of molecular excitement demonstrated by my sugar syrup, but I remembered that the same thing happened when I made the bars. No matter, when I set the pot over the heat again, it seemed to have the right consistency and color. This time, the boiling process took much longer, despite the higher heat, so I was a little worried again. The temperature stalled in the low- to mid-220°F range, but eventually it crept up to 240°F again after close to a half-hour. You will notice that your beautifully bubbling mixture will thicken as the temperature rises, and it will take on a handsome caramel hue.
Once you’ve reached 240°F for the second time, the cooking process is complete, and you just need to pour the scalding hot caramel into a 9×9 pan lined with greased aluminum foil. Try pouring in one layer; in order words, move the pot around over the pan as you’re pouring so you don’t pour it all into a puddle in the middle. Also, do not scrape the last bits of sugar from the bottom and sides of the pot, tempting as it seems! The cooling stage is crucial– this is where the sugar must crystallize properly in order to achieve the right finished consistency. Excessive agitation may cause your candy to be grainy or not set correctly.
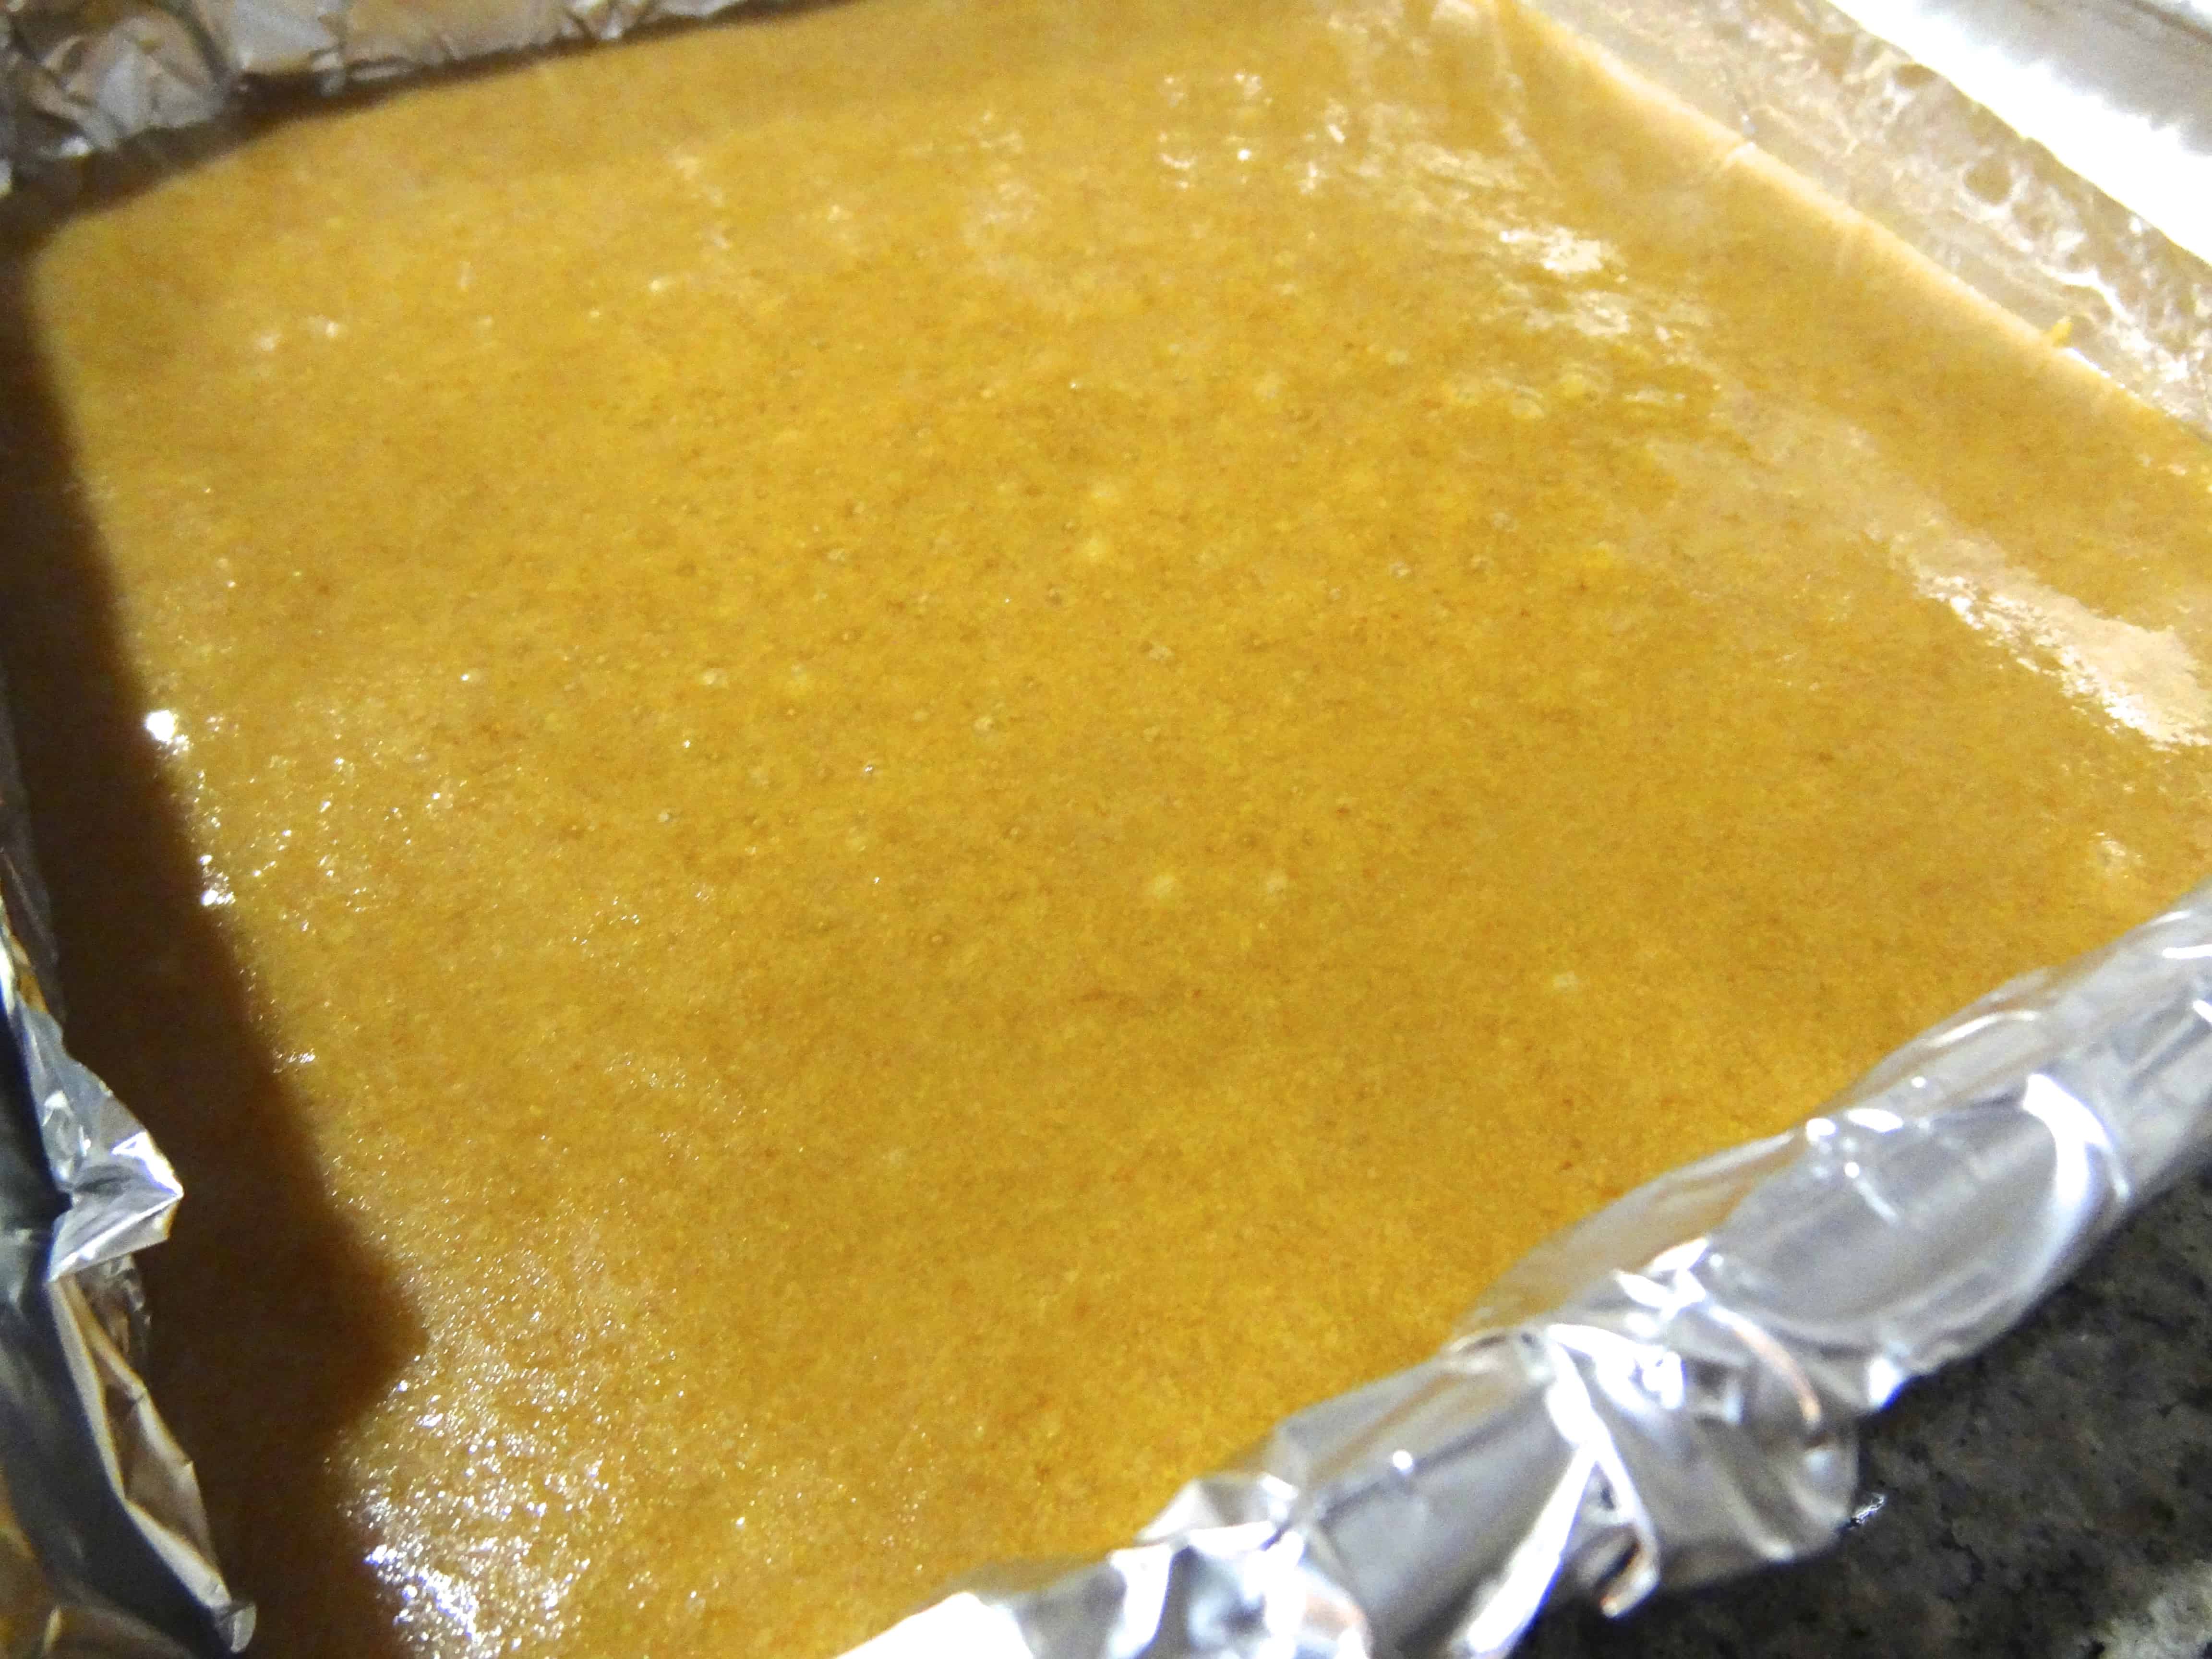
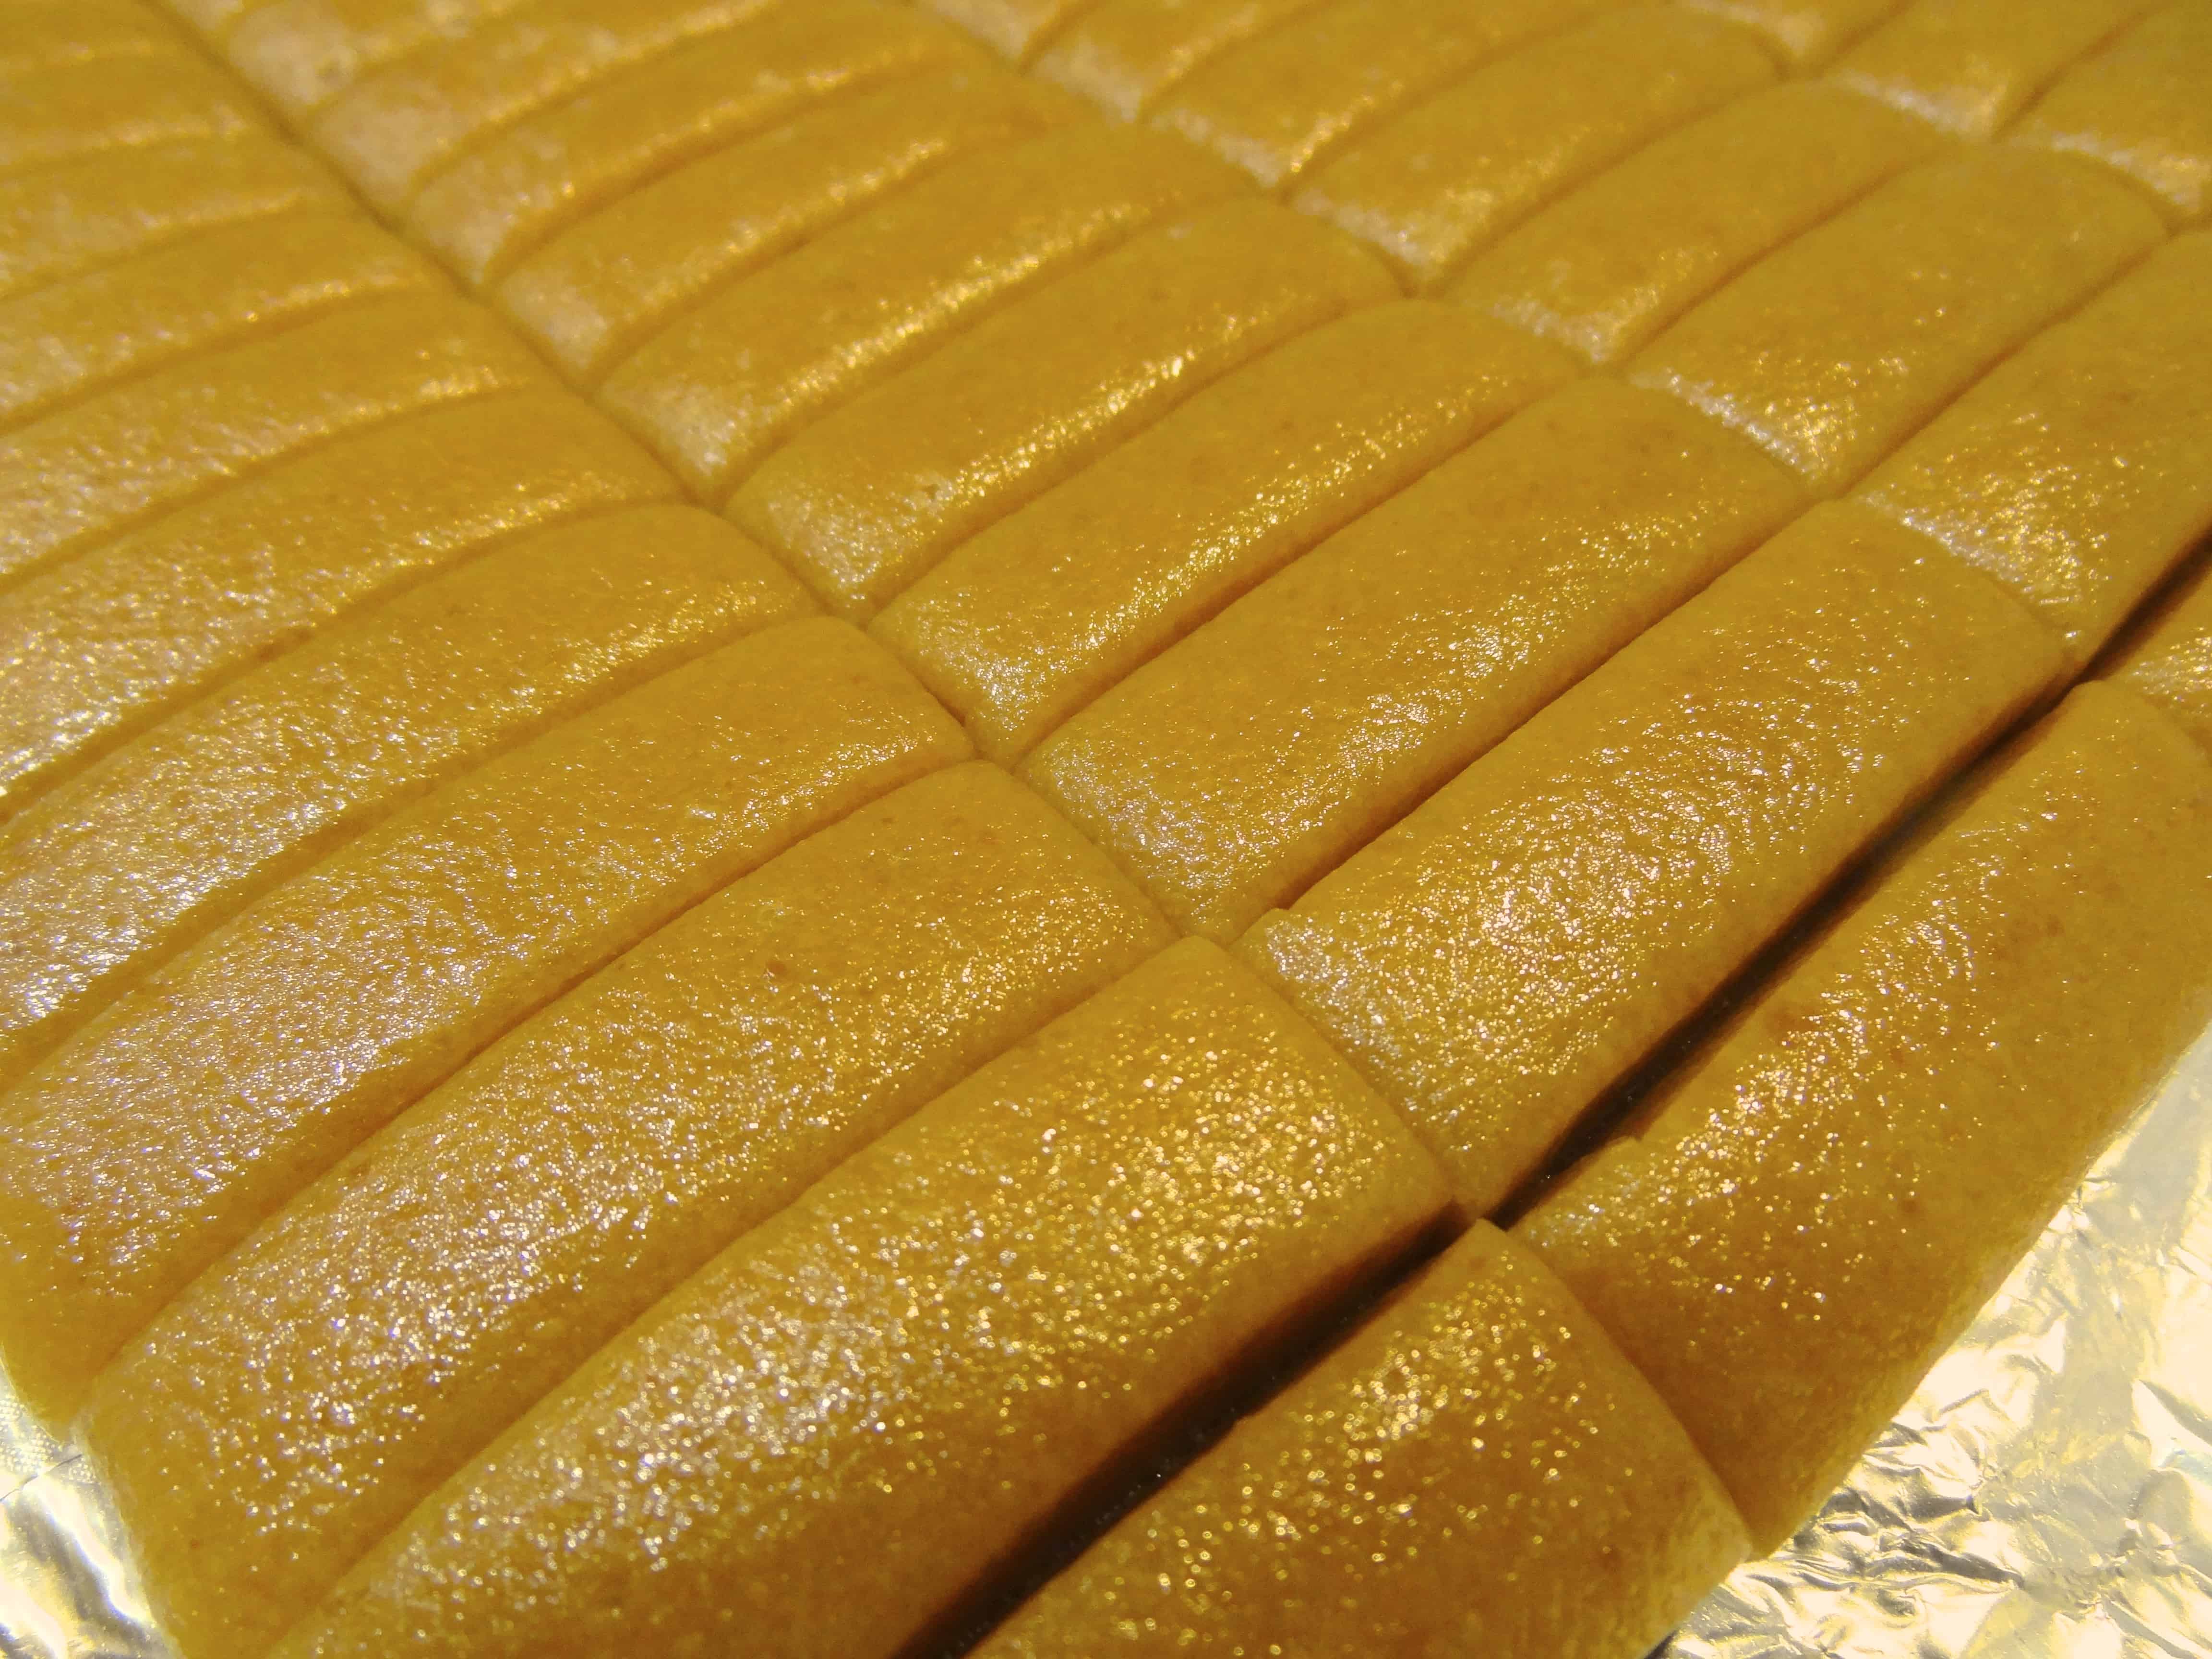
I was really nervous about the texture of the candy because it looked a little grainy when I poured it, but I would have to wait a whole day to find out… The next evening, I pulled the solid candy square out of the pan using the overhanging foil and peeled the foil down around the sides– this is mighty sticky stuff, and I even used nonstick foil! I then cut off the jagged edges (imprinted with foil marks) to make a smooth-edged square and cut it into 70 little rectangles with a greased chef’s knife. Hmmm, what to do with the scraps……..
I examined the tiny bricks– would they be too hard, too soft, too grainy, too sticky?? I was ecstatic to discover that my candy was… freaking awesome. (*happy caramel dance*) When I bit into my first piece and pulled it away, it stretched into a smooth, golden ribbon, just like the interior of a 100 Grand candy bar! (Aaaand the gears started turning…) The flavor was warm, buttery, and heavy on the vanilla and dark caramel notes– I couldn’t believe it.
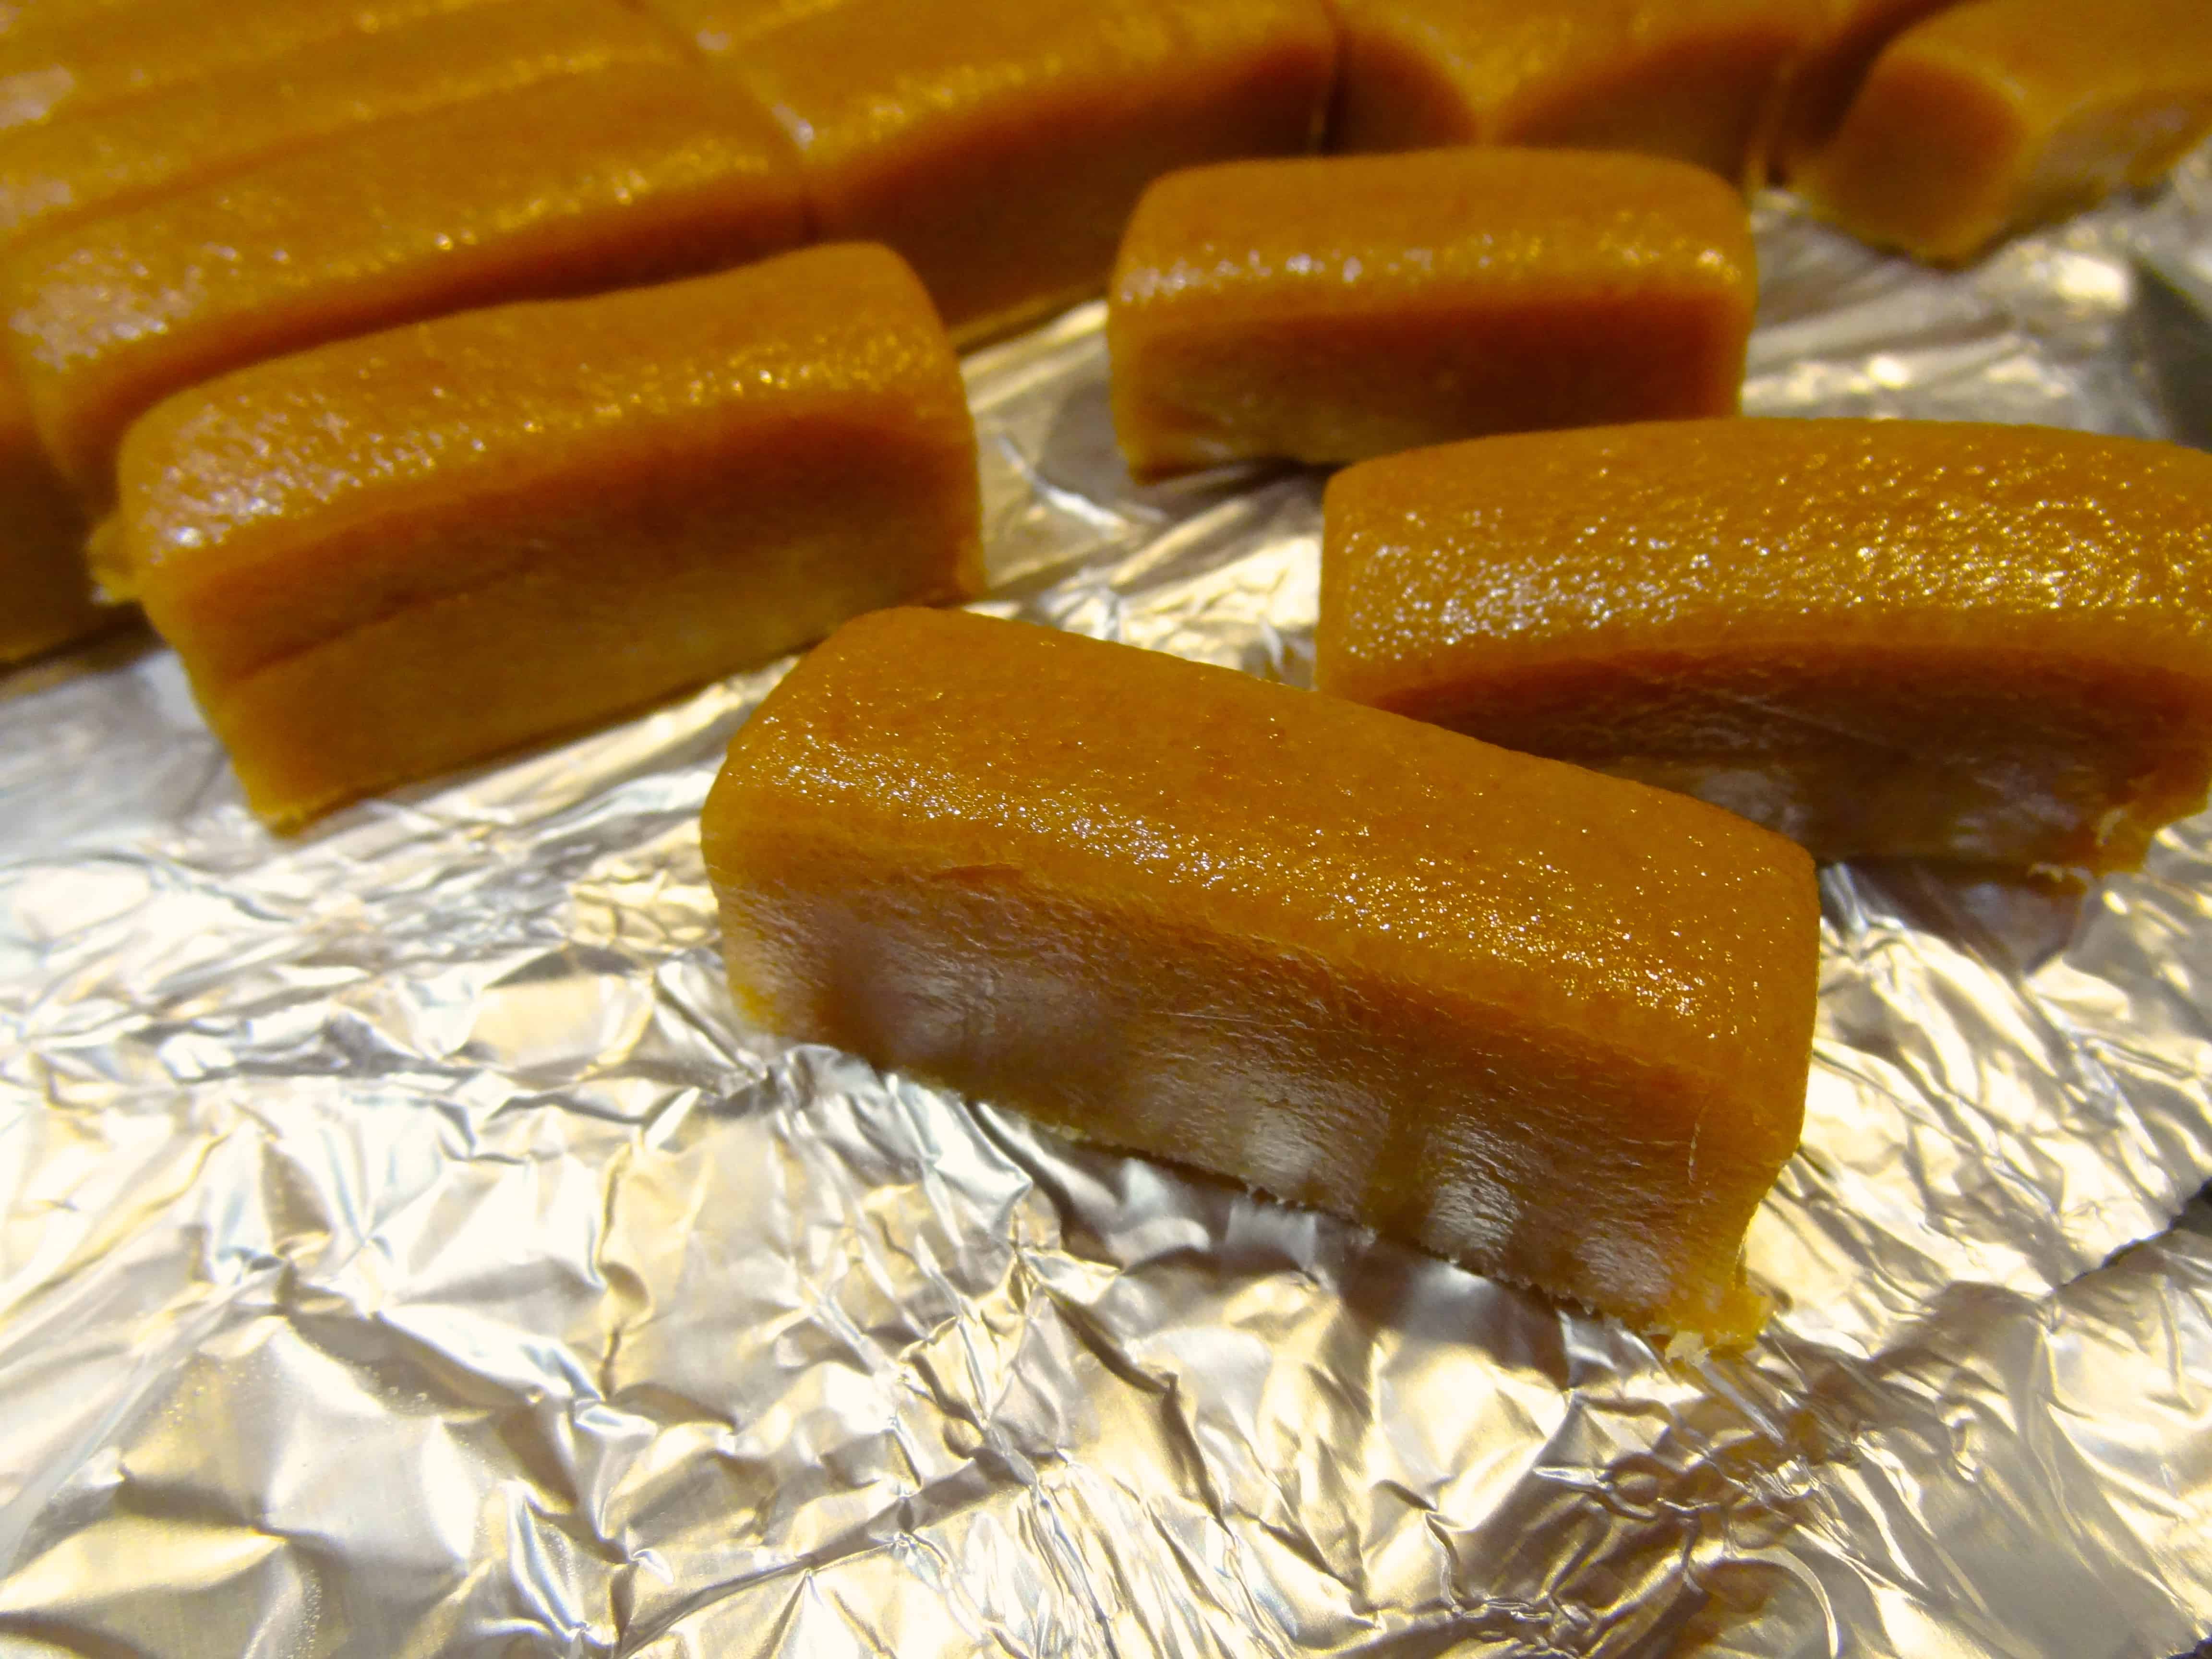
I’m really learning a great deal about the effect of temperature on caramel after having worked with this recipe several times now; heating to 235°F is perfect for the softer caramel layer of a bar, and anything higher than 245°F may cause dental damage. Taking the sugar to 240°F yields just the right texture and consistency for taffy-like candy: smooth, shiny, chewy, and soft, but firm enough to hold its shape when cut.
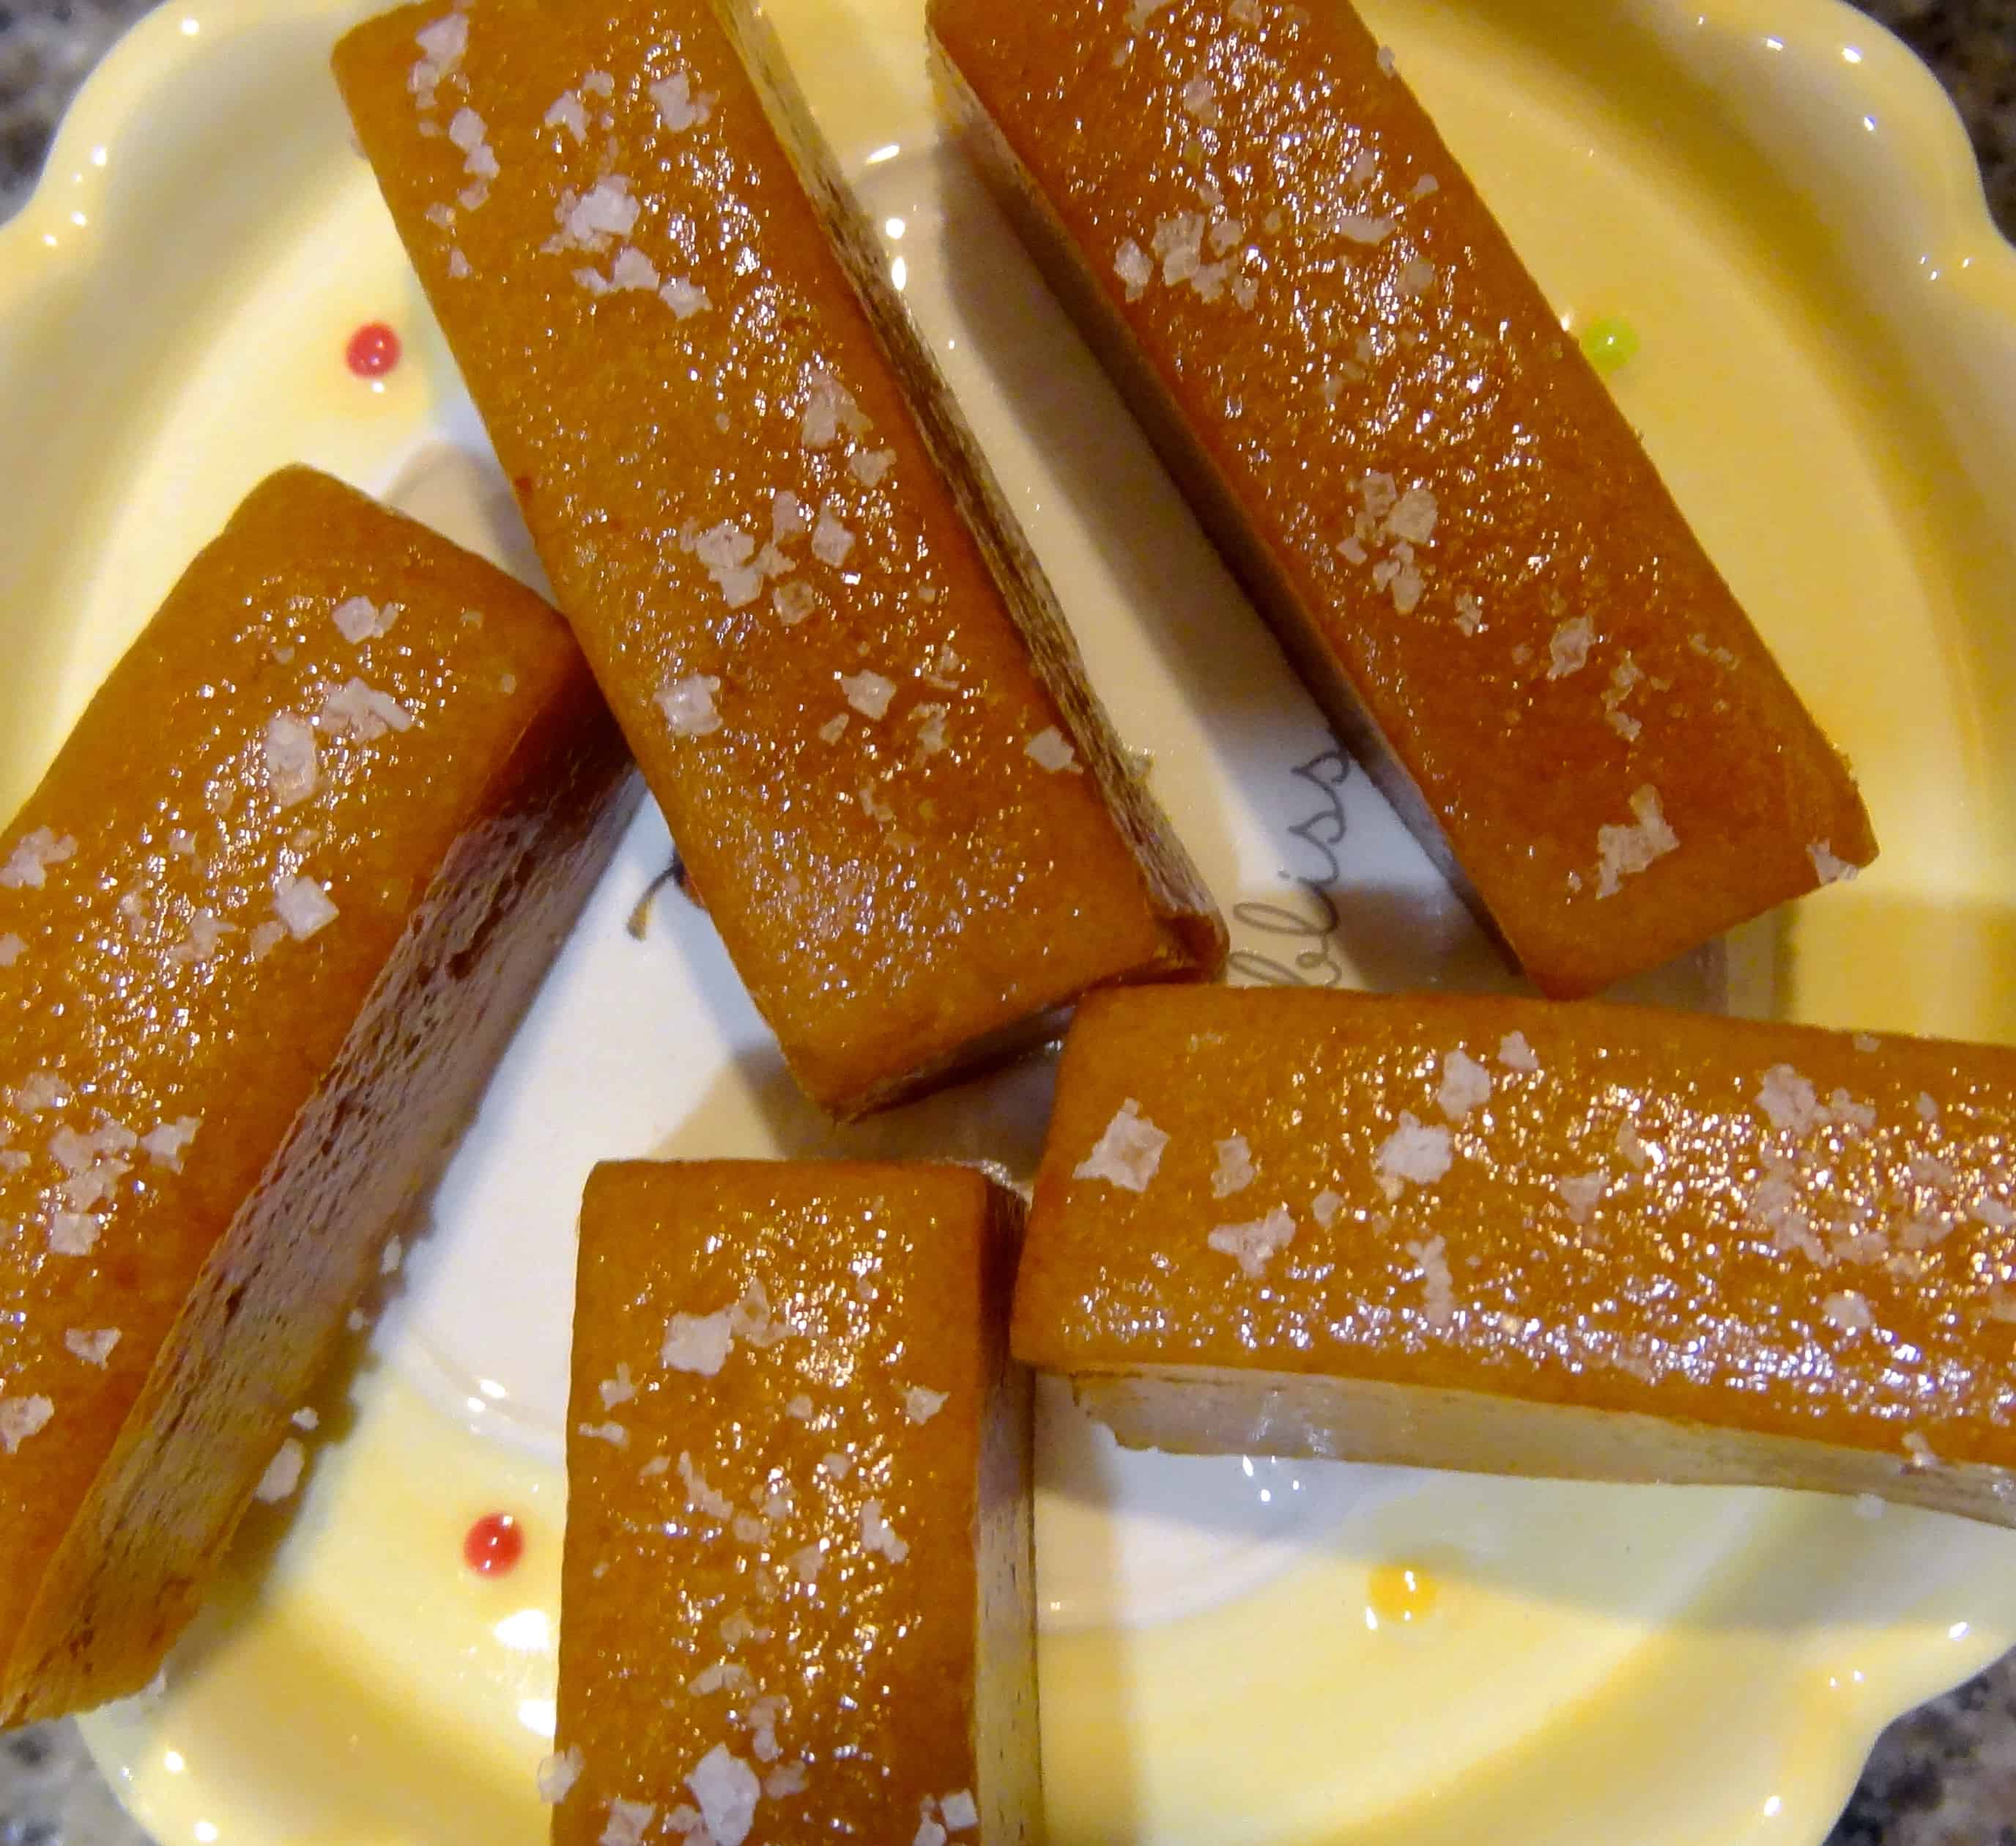
Now let’s talk about variations… because that’s how I roll. I wondered if the candy would be a little salty due to the teaspoon of fleur de sel in the recipe, but it’s not enough to impart a salty flavor. I adore salted caramel– this love affair started way back in 2000 when I was studying abroad in Paris and first tasted the wonderment of salted caramel on a trip to Brittany (the region where fleur de sel is harvested). It has become quite a prominent flavor profile in the States now too, but I have a particular affinity for it because of my experience in France. Anyway, it seemed natural to sprinkle a little fleur de sel on top of the caramels– this really takes them over the top! Oh, and it makes them pretty. 🙂
You can also experiment with other types of finishing salt, such as smoked sea salt, Himalayan pink salt, and other exotic varieties– go wild!
If I’d had more time that evening, I would have tempered some bittersweet chocolate and drizzled it over the candies in zigzag or swirl patterns. Alternatively, these would make perfect centers for chocolate-dipped caramels. To do this, temper a pound or so of chocolate, and use a dipping fork to dip the caramels carefully in the melted chocolate. Set them on a parchment-lined sheet pan and do not touch them while they’re wet. You can even sprinkle that salt we talked about on top of the chocolate!
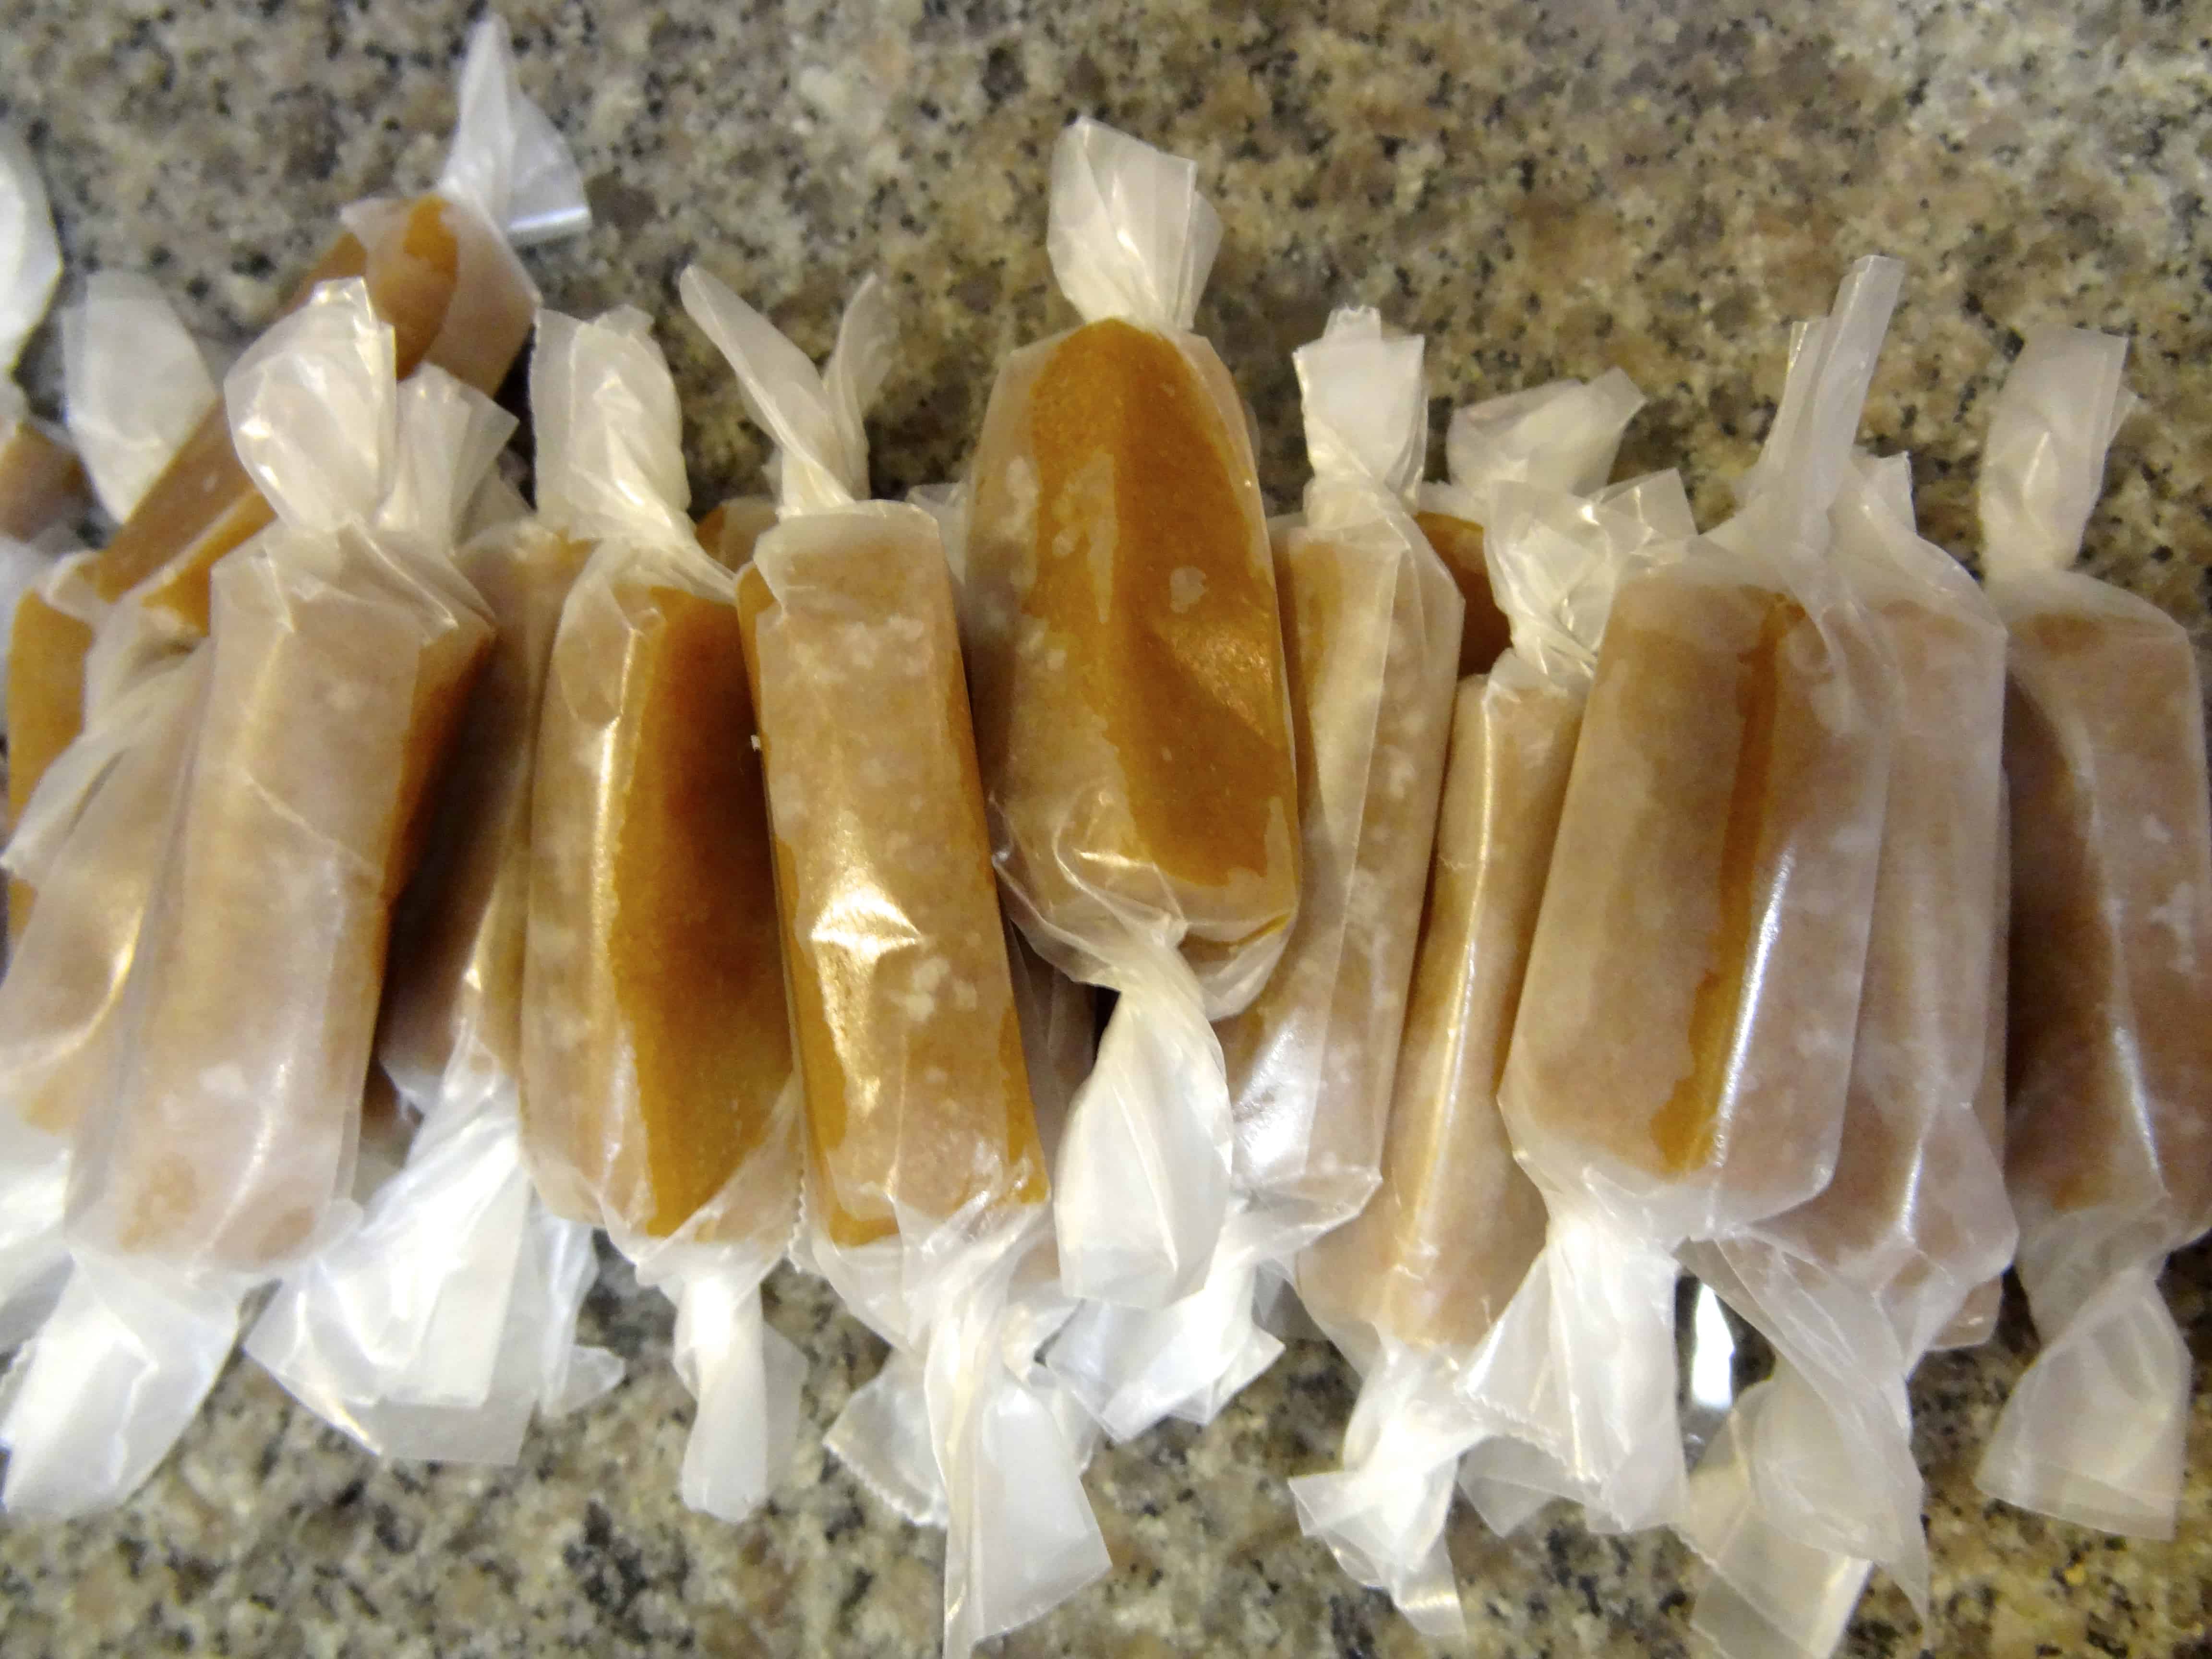
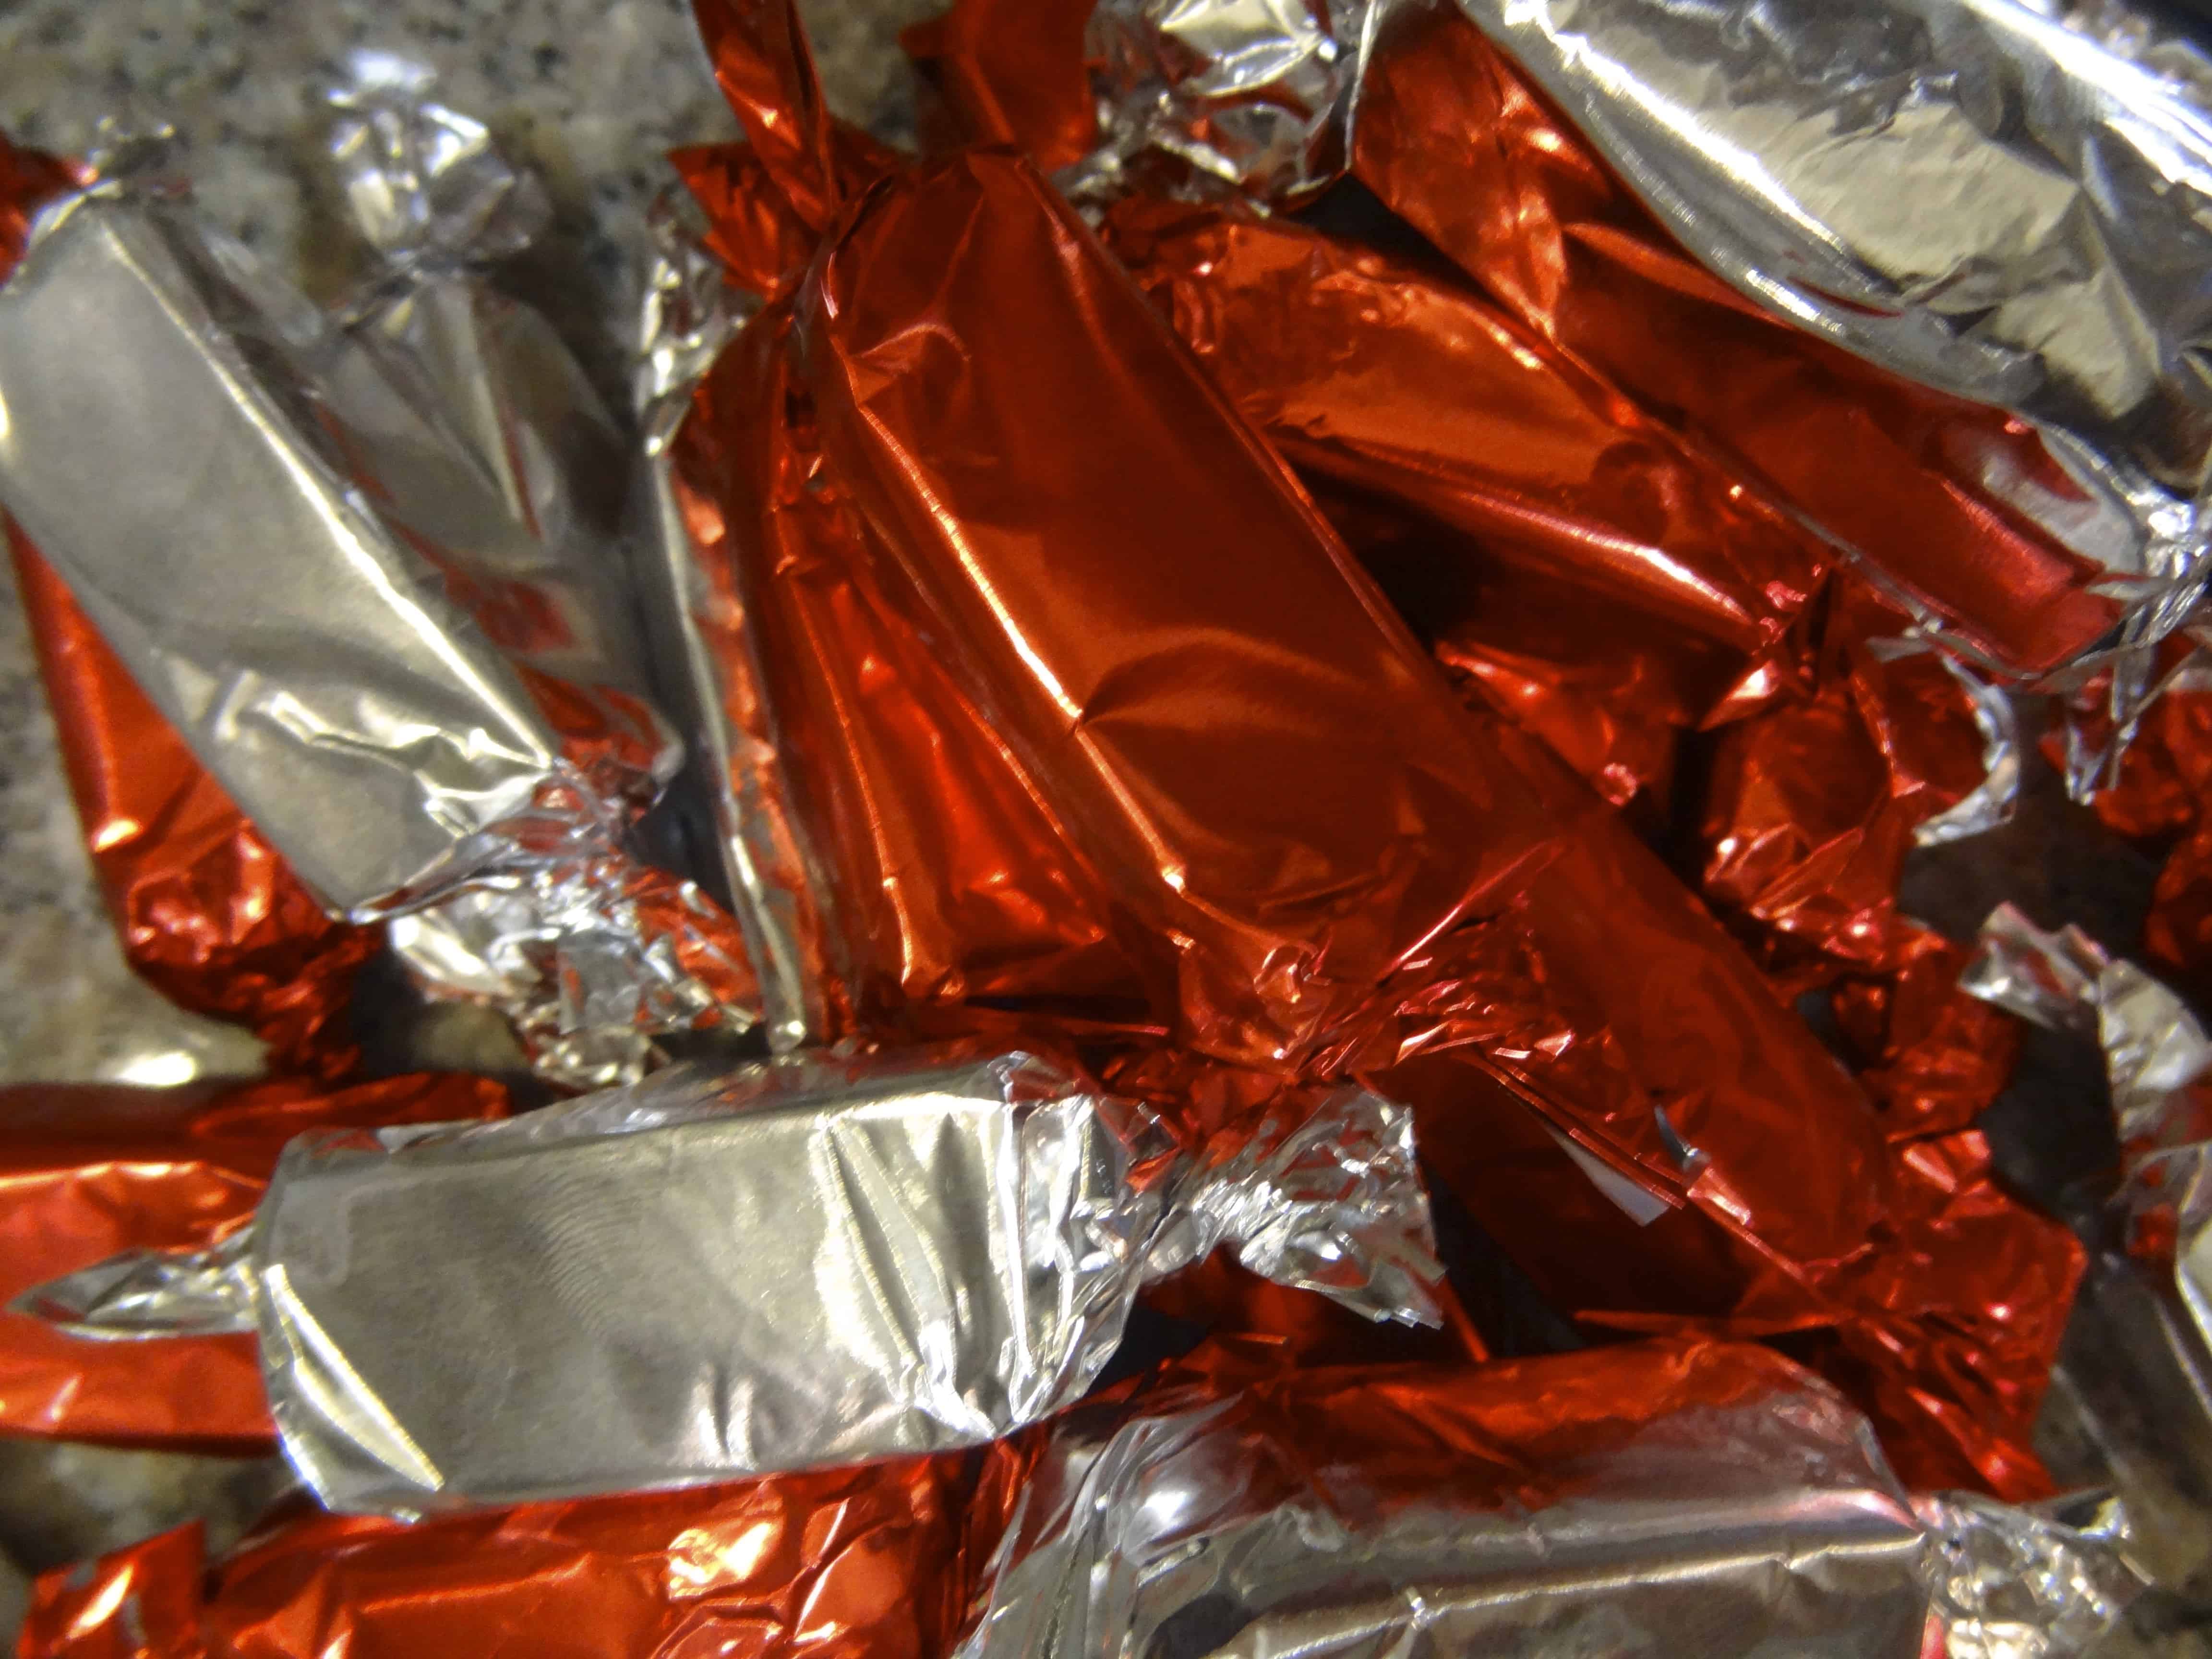
After basking in the glow of my confectionary miracle, it was time to wrap these sweet nuggets for holiday gifts. I bought festive foil candy wrappers, but to tell you the truth, I prefer the look of simple wax paper, because it shows that lovely caramel color and looks a little more rustic. I wrapped the salted candies in wax to show off the salt and differentiate them, and the rest were wrapped in shiny red and silver foil. To wrap each candy, place it on top of a wrapper, near the edge closest to you. Tightly wrap the paper/foil around the candy and twist the ends to look like old-school candy shoppe treats. The wrappers are a little delicate, so this must be done with gentle hands.
 Note that the candies do need to be wrapped individually. The caramel is so sticky that if you stack the pieces on a plate, for example, they will stick to each other in a giant caramel-y mass. Yes, the wrapping was time-consuming and slightly tedious, but the reward of making my own beautifully packaged caramel candy was well worth it!

My favorite part of the recipe is the final instruction, which is to “distribute with brio to friends and family”. The word ‘brio’ makes me think of the toy wooden trains of the same name, but con brio is actually an Italian expression meaning “with energy”, and that’s the best part, as these are perfect for holiday gifting. Unless you want to hoard them all for yourself, in which case I wouldn’t blame you because they are THAT good. 🙂
The recipe for Soft Candy Caramels can be found at Baked Sunday Mornings, along with the weekly baking adventures of my fellow talented blogging bakers!
© Dafna Adler & Stellina Sweets, 2012.


9 Responses
perfect! Beautiful candies, photos, and wrappers. Great job!
Great blog! It seems like “practice makes perfect” with caramel, and it would appear you’re there! 🙂
One of my favorites of your blogs… terrific. I always love how you talk through the process. I think I was particularly impressed with how uniformly you cut them! Beautiful job! And yes, “with brio” – I latched onto that wording too. Love it! Great job, my friend!
Fabulous pics of your cut caramels, Dafna. You cut them perfectly! And a great post. I now have the urge to sprinkle a little fleur de sel on a piece of my caramel….because it could use a little more salt. yum! I do like seeing the extra salt you put on through the wax paper. Very pretty.
So glad this recipe worked out. I really loved them and am looking forward to making them again. (but with chocolate!!!)
I ate my caramels with major brio!
I love your post, and the one on cooking sugar is really good, too. I totally geek out over the science of cooking sugar.
Bi-Rite carries an organic tapioca syrup that’s supposed to work fine as a sub for corn syrup. I think I’ll try using that next time.
Gorgeous girl! Love the pics, I wrapped mine in foil too since I had some handy, but I think they look better in the wax paper. More rustic or something. Hooray for sugar science! I love that you added the tip about not scraping out the pan when you pour out the caramel – that is SO important! Plus, it leaves some behind to nibble on before you clean out the pot. 😉
You look like an old pro at this! I’m so impressed – I still need a little more practice, but loved the extra salt on top, too.
Wonderful post, so glad your caramels came out so well!
i agree – nice “cutting” job – they look fabulous. And what great prep photos – I never think to include those!