


I recently read a great article about the common experiences of children of immigrants growing up in the United States, which a) kept me in stitches, and b) brought back sooo many food memories. Many immigrant children can commiserate about the experience of bringing food from their native culture to school in their lunchboxes, and being met with questions of “What’s that??” or “How come you never have salami?” Worse yet are the disparaging looks and the snickering of schoolmates peering over their PB & Js at your alien lunch… Fortunately I did discover the virtues of peanut butter and jelly in adulthood, but at the time it was a foreign concept to me. (Though I sometimes got to bring sandwiches with Israeli chocolate spread between my white bread slices, so lunch wasn’t exactly terrible…)
Even though my school lunches were sometimes a little different than most of my classmates’, one treat that I definitely did grow up with was graham crackers. A pillar of good ol’ American snack food if there ever was one– I adored graham crackers! I can’t recall if I would spread anything on them or eat them plain; suffice it to say that they were a frequent after-school snackie.
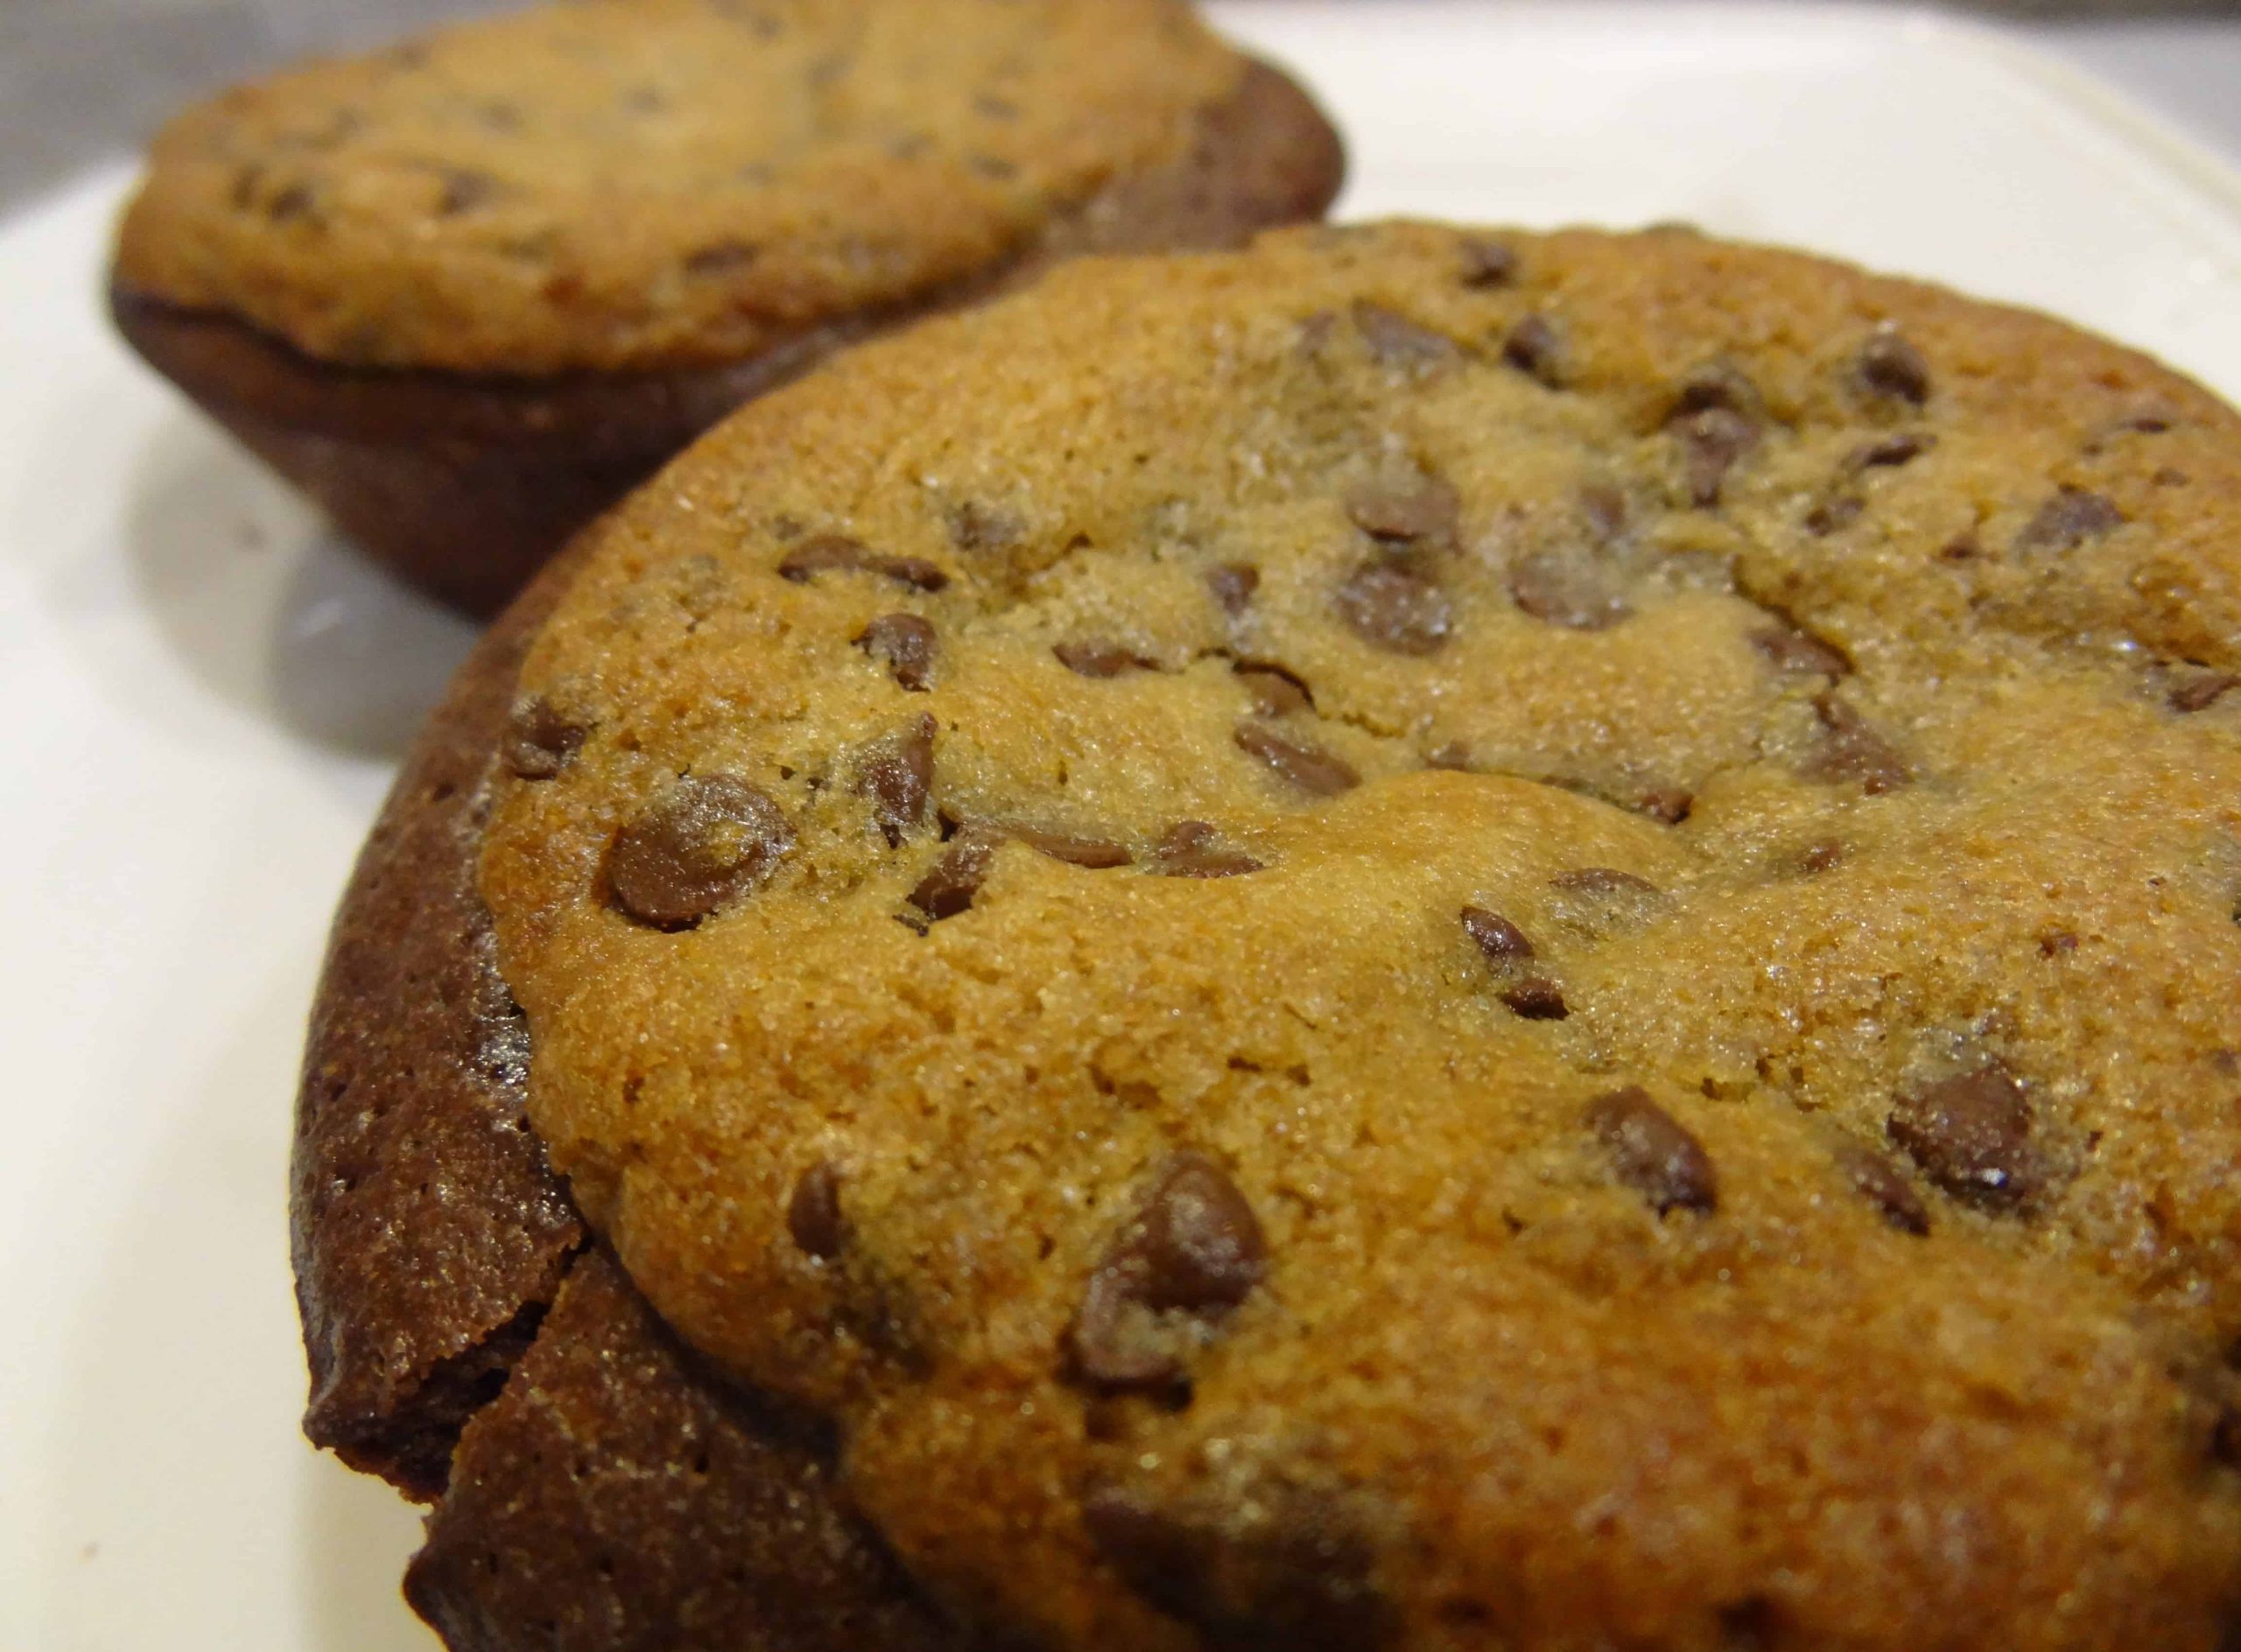
And now, as a baker, I’ve developed this intent need to analyze, understand, and yes– recreate my favorite treats from scratch. I long for an intimate knowledge of their flavor, texture, and baking process– I must become one with them! Some baked goods like, say, the chocolate chip cookie, have an infinite number of interpretations. This iconic treat is subject to so many variations based on people’s preferences, and there is, objectively speaking, no single right way to make a chocolate chip cookie. (Though of course there are many very passionate opinions out there about this…)
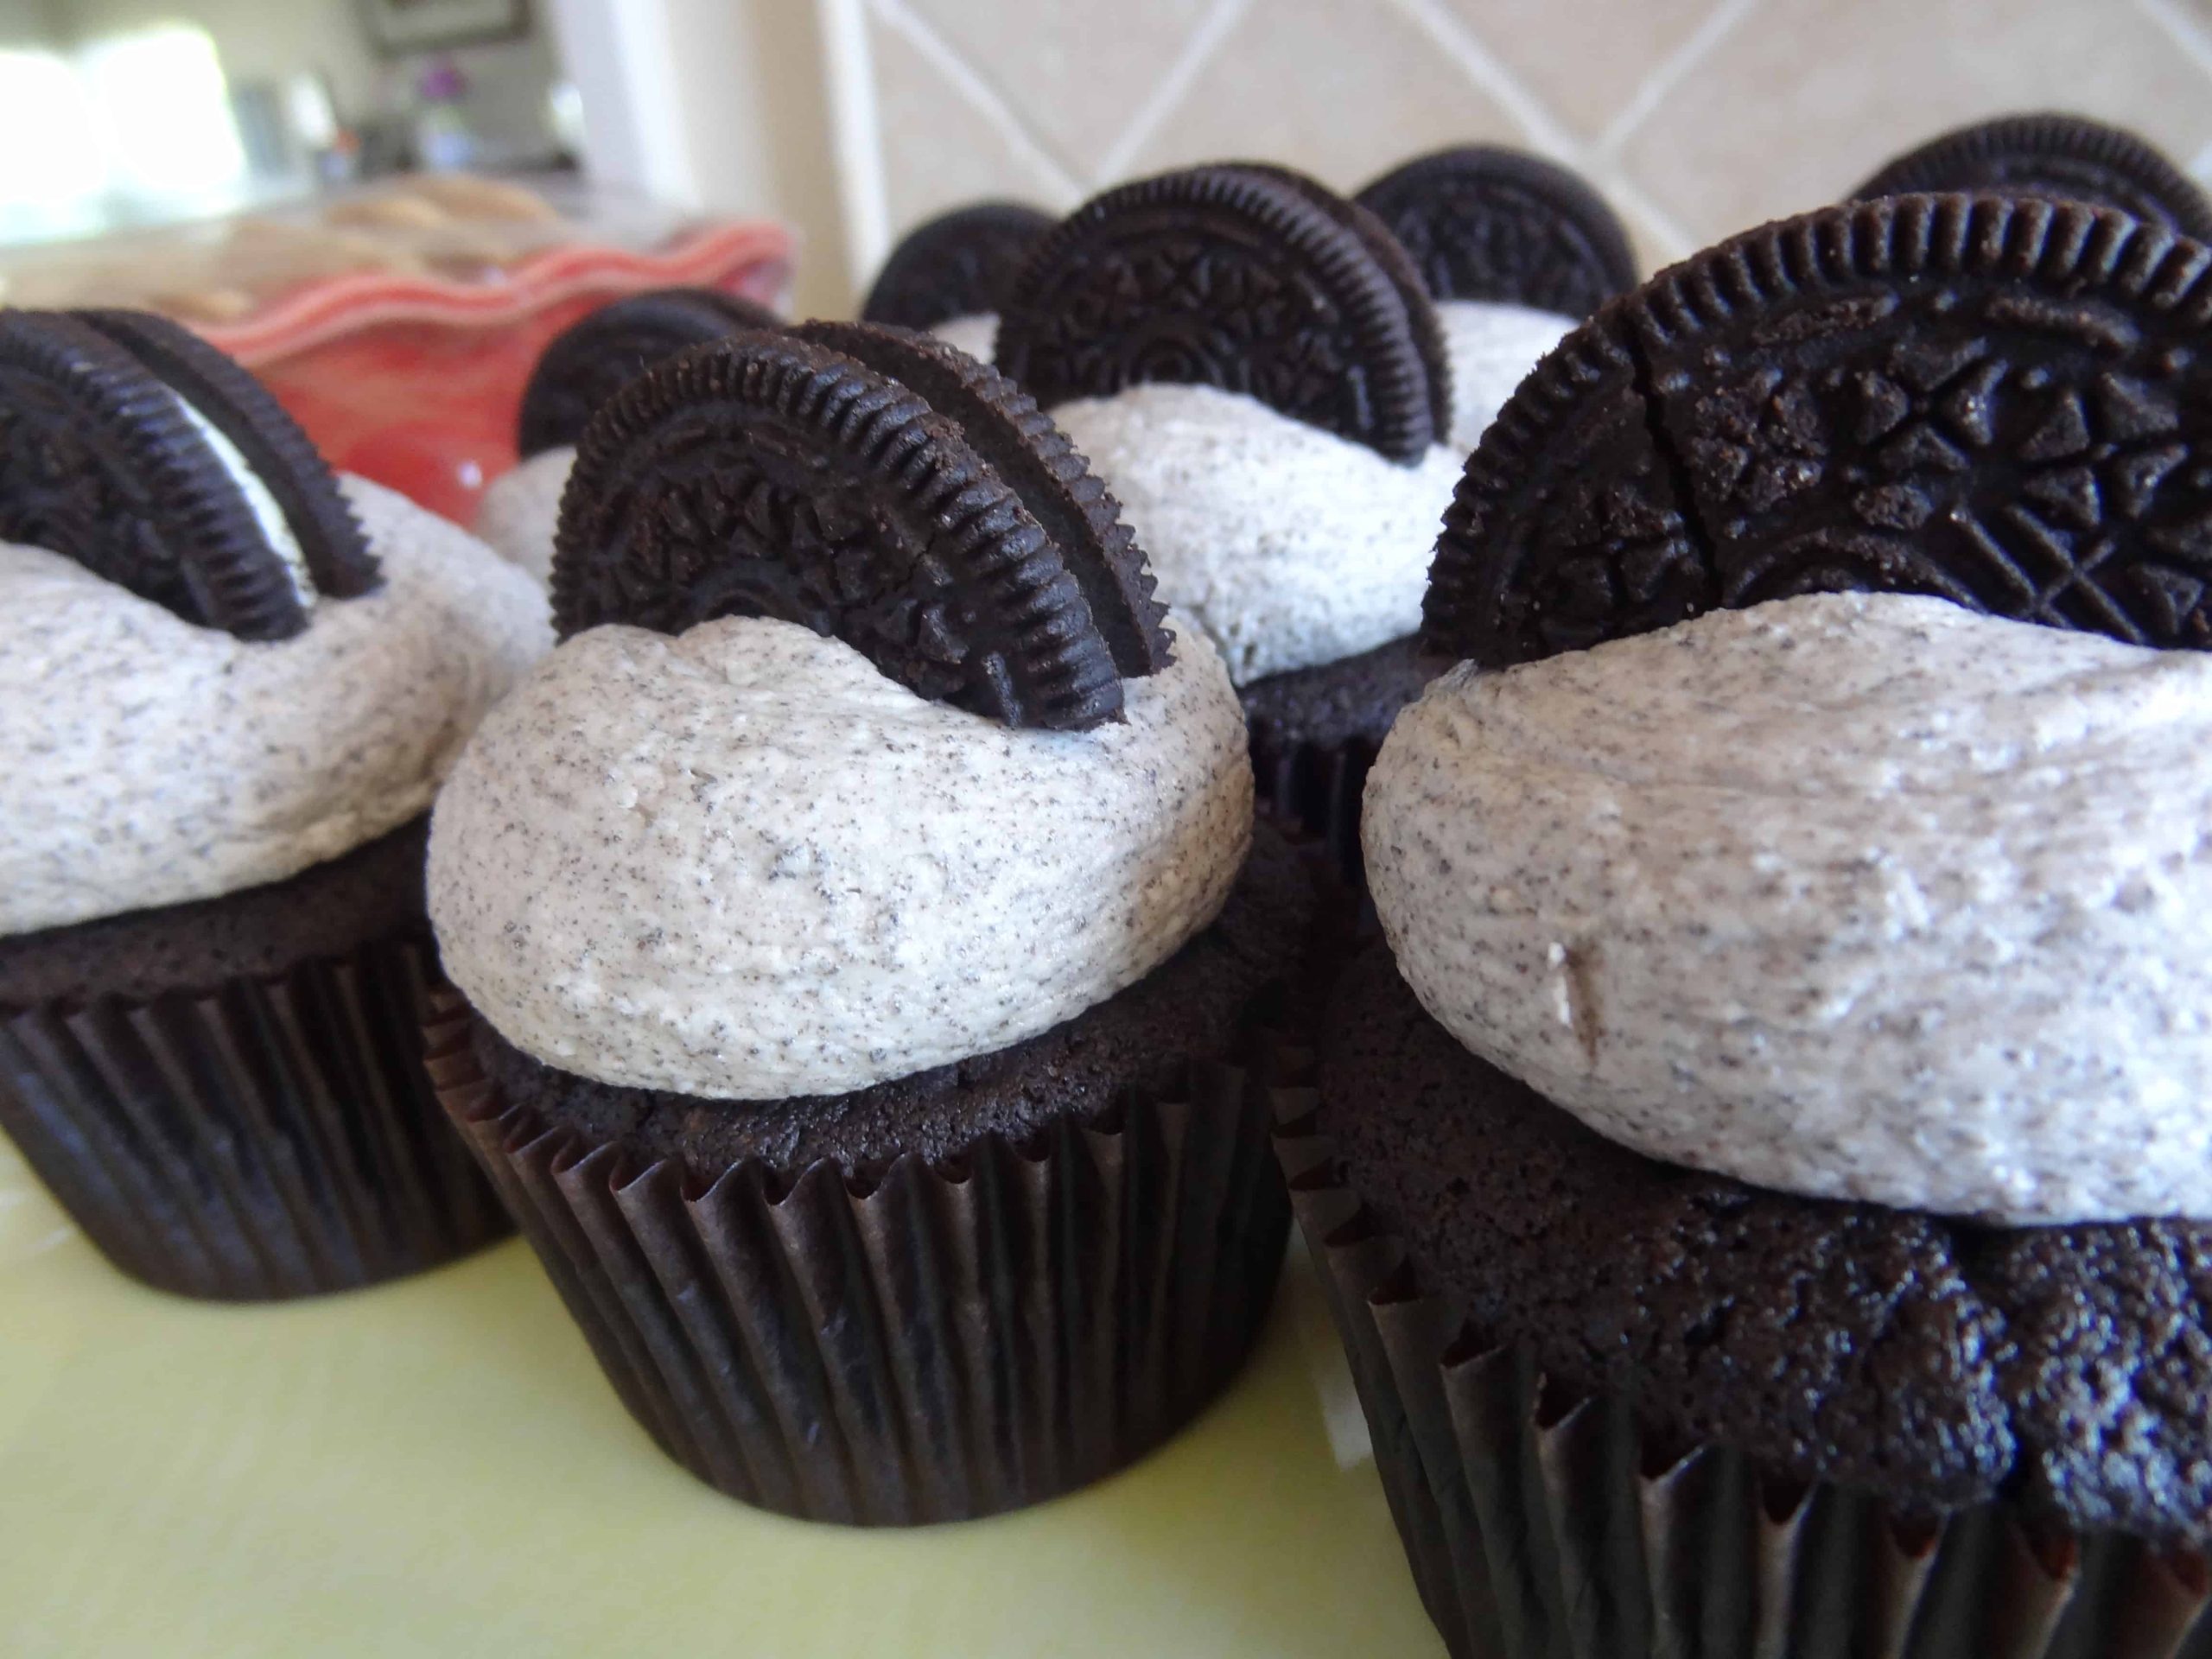
The classic graham cracker, on the other hand, is more like an Oreo cookie– it has pretty much one generally agreed-upon interpretation (with minor variations) in order to be called a “graham cracker”. Despite the prevalence and simplicity of the graham cracker, it has not, for some reason, transcended the singular character profile by which it is traditionally identified today. (Apparently it has changed quite a lot since its invention in 1829 by one Reverend Sylvester Graham, hoping to cure people of their “carnal urges” with bland biscuits… but that’s another story altogether.) The elusive flavor of the graham cracker is remarkably hard to pin down, though you know whether something does or does not taste like a graham cracker! What tastes like graham other than… graham? It’s like red velvet– when someone asks me what red velvet tastes like, I can only reply that it tastes like red velvet, an entity unto itself that is greater than the sum of its parts.
Graham crackers are no exception to my mission of recreating classic treats from scratch; in fact, they’ve been on my list of things to master for a good while. I have tried the graham cracker recipe from the One Girl Cookies book, and while the crackers were both tasty and pretty, they did not taste to me anything like a graham cracker. I then went into research mode (i.e. obsessively searched books, websites, and blogs) to find some more promising recipes that would yield a biscuit akin to the beloved, iconic graham cracker, one that would be worthy of toasted marshmallows and milk chocolate…
At one point, I came across a recipe posted on Smitten Kitchen, originally from Nancy Silverton’s Pastries from the La Brea Bakery cookbook. According to Deb Perelman, “She’s figured it out so everyone else can stop trying.” I just love this because it’s great to see an accomplished recipe writer like her attribute perfection to someone else. It seems like so many celebrity chefs have to put their own riff on every dish they make, and for Ms. Perelman to admit that someone else beat her to it speaks to her humility. As you can see, there is nothing fancy or exotic in this ingredient list– it’s this particular combination that magically produces that cherished flavor we know as ‘graham’.
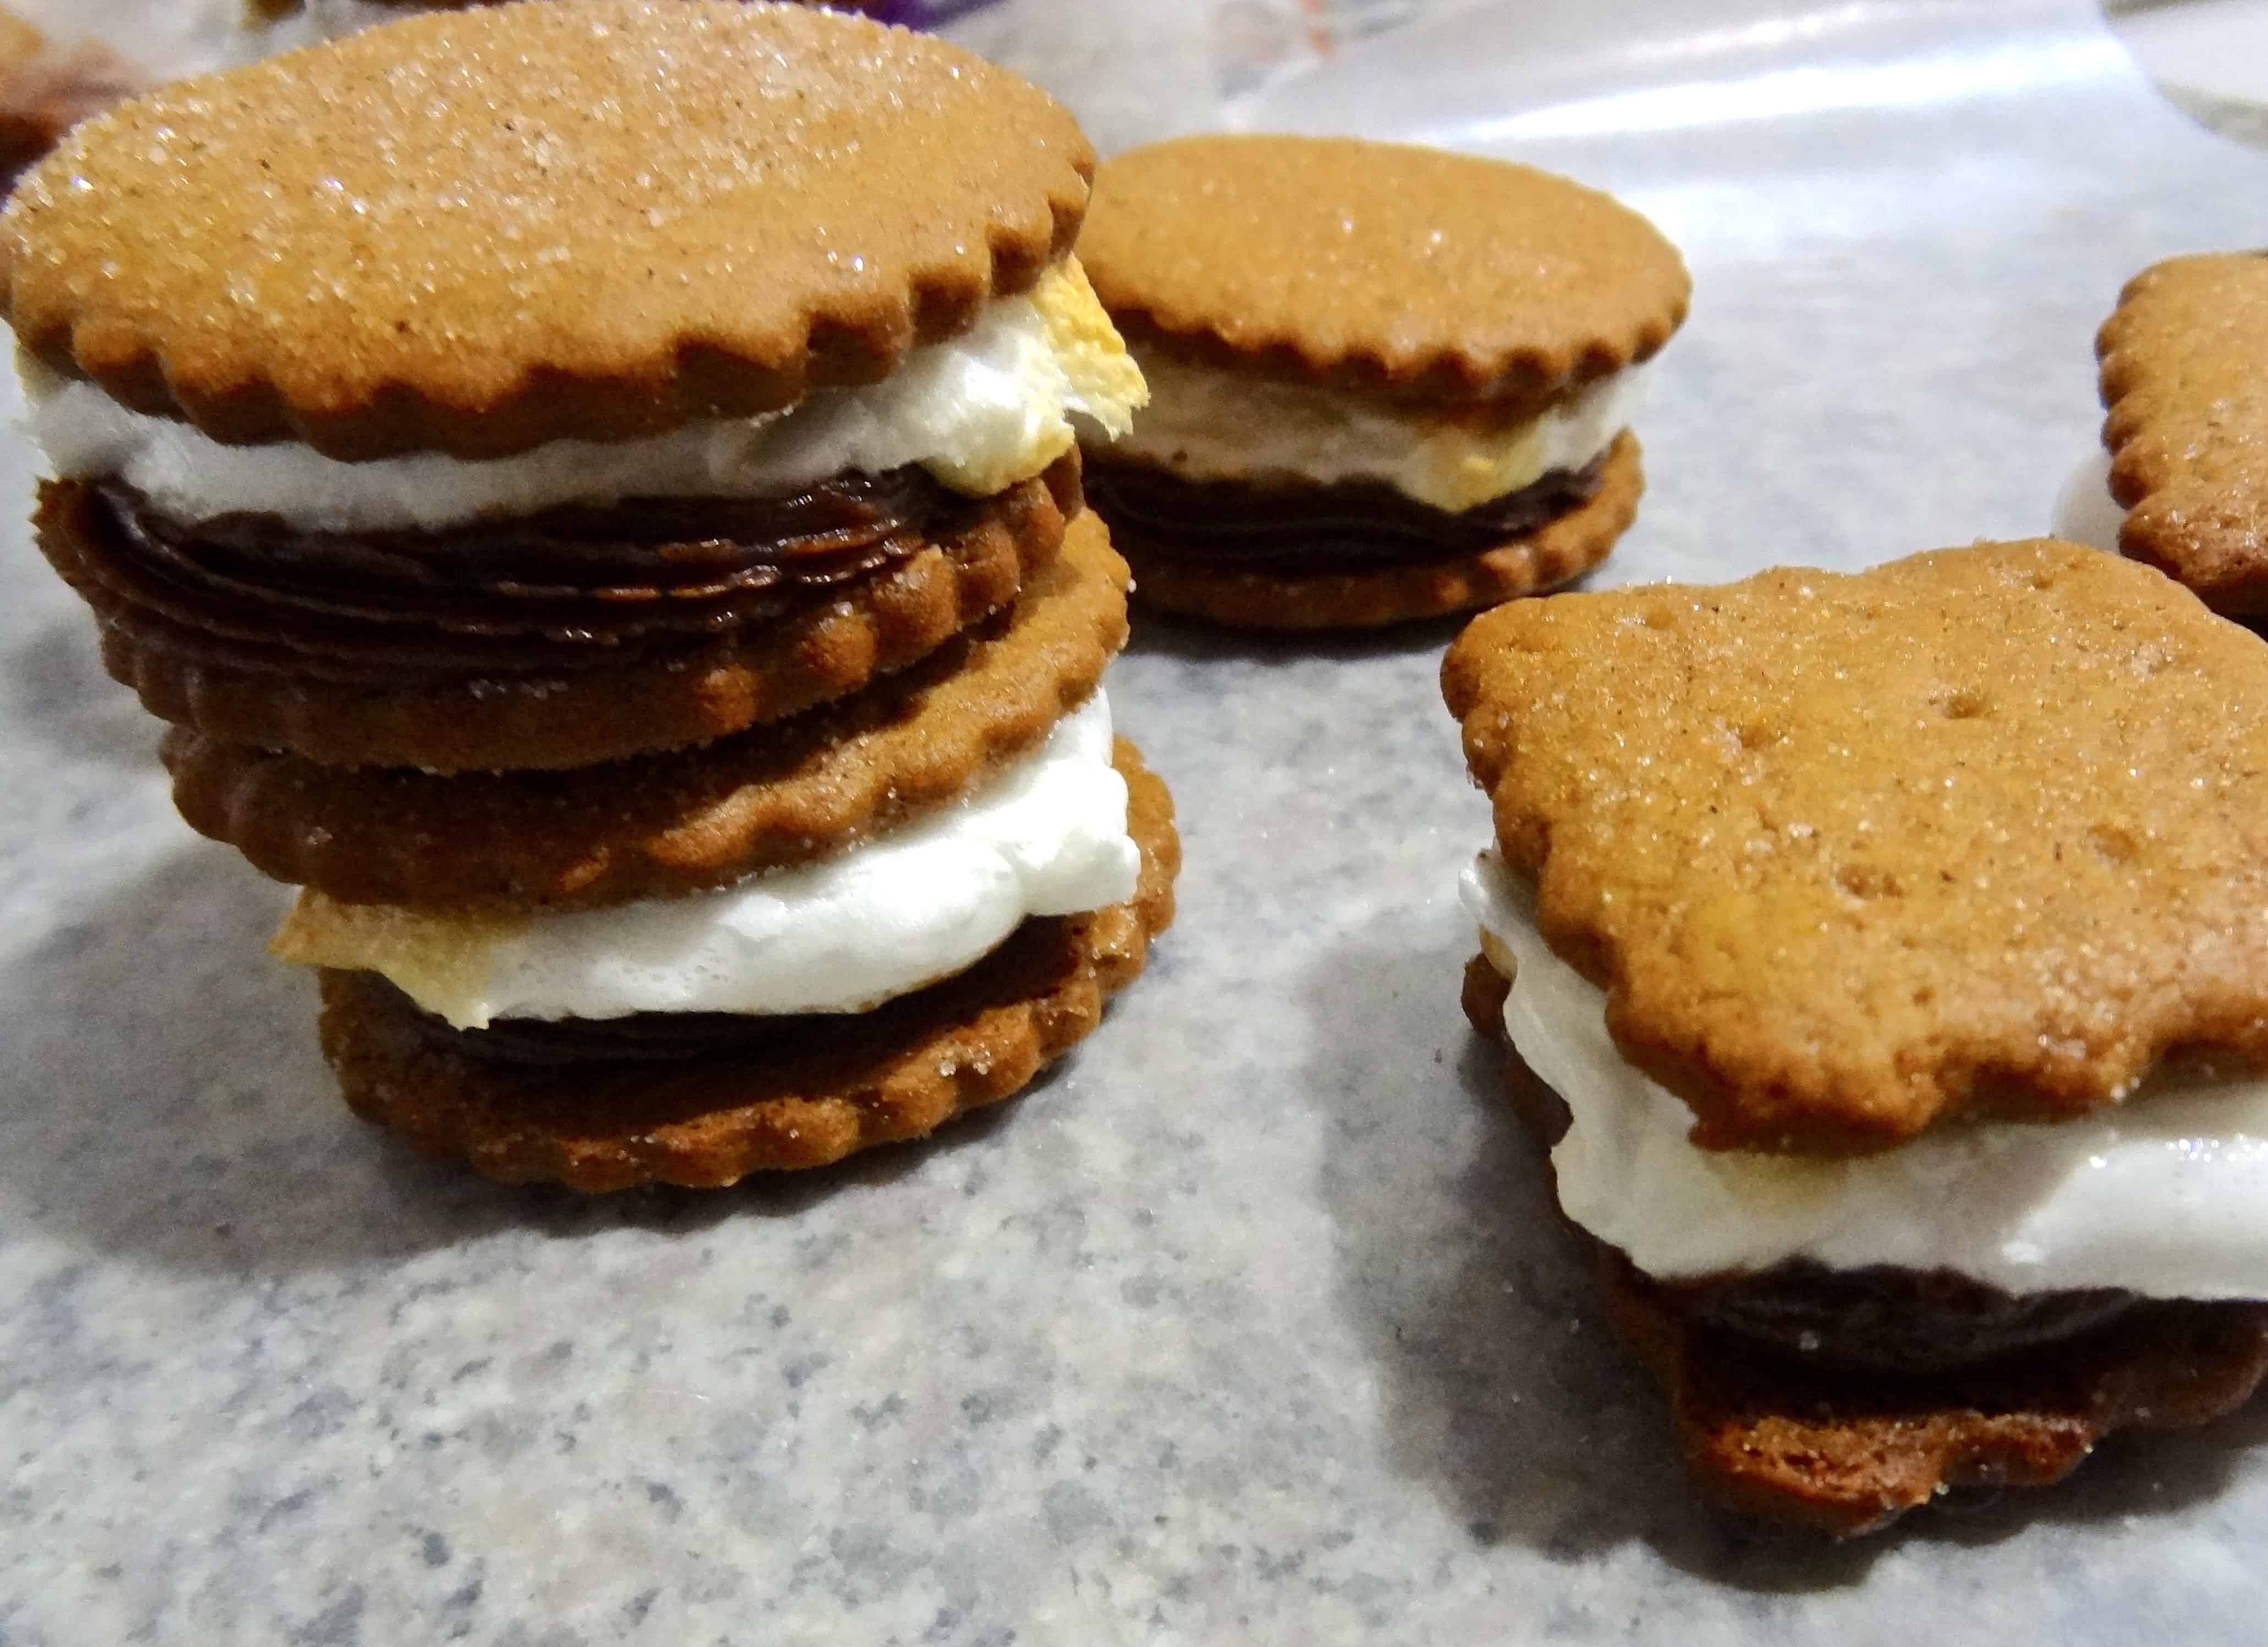
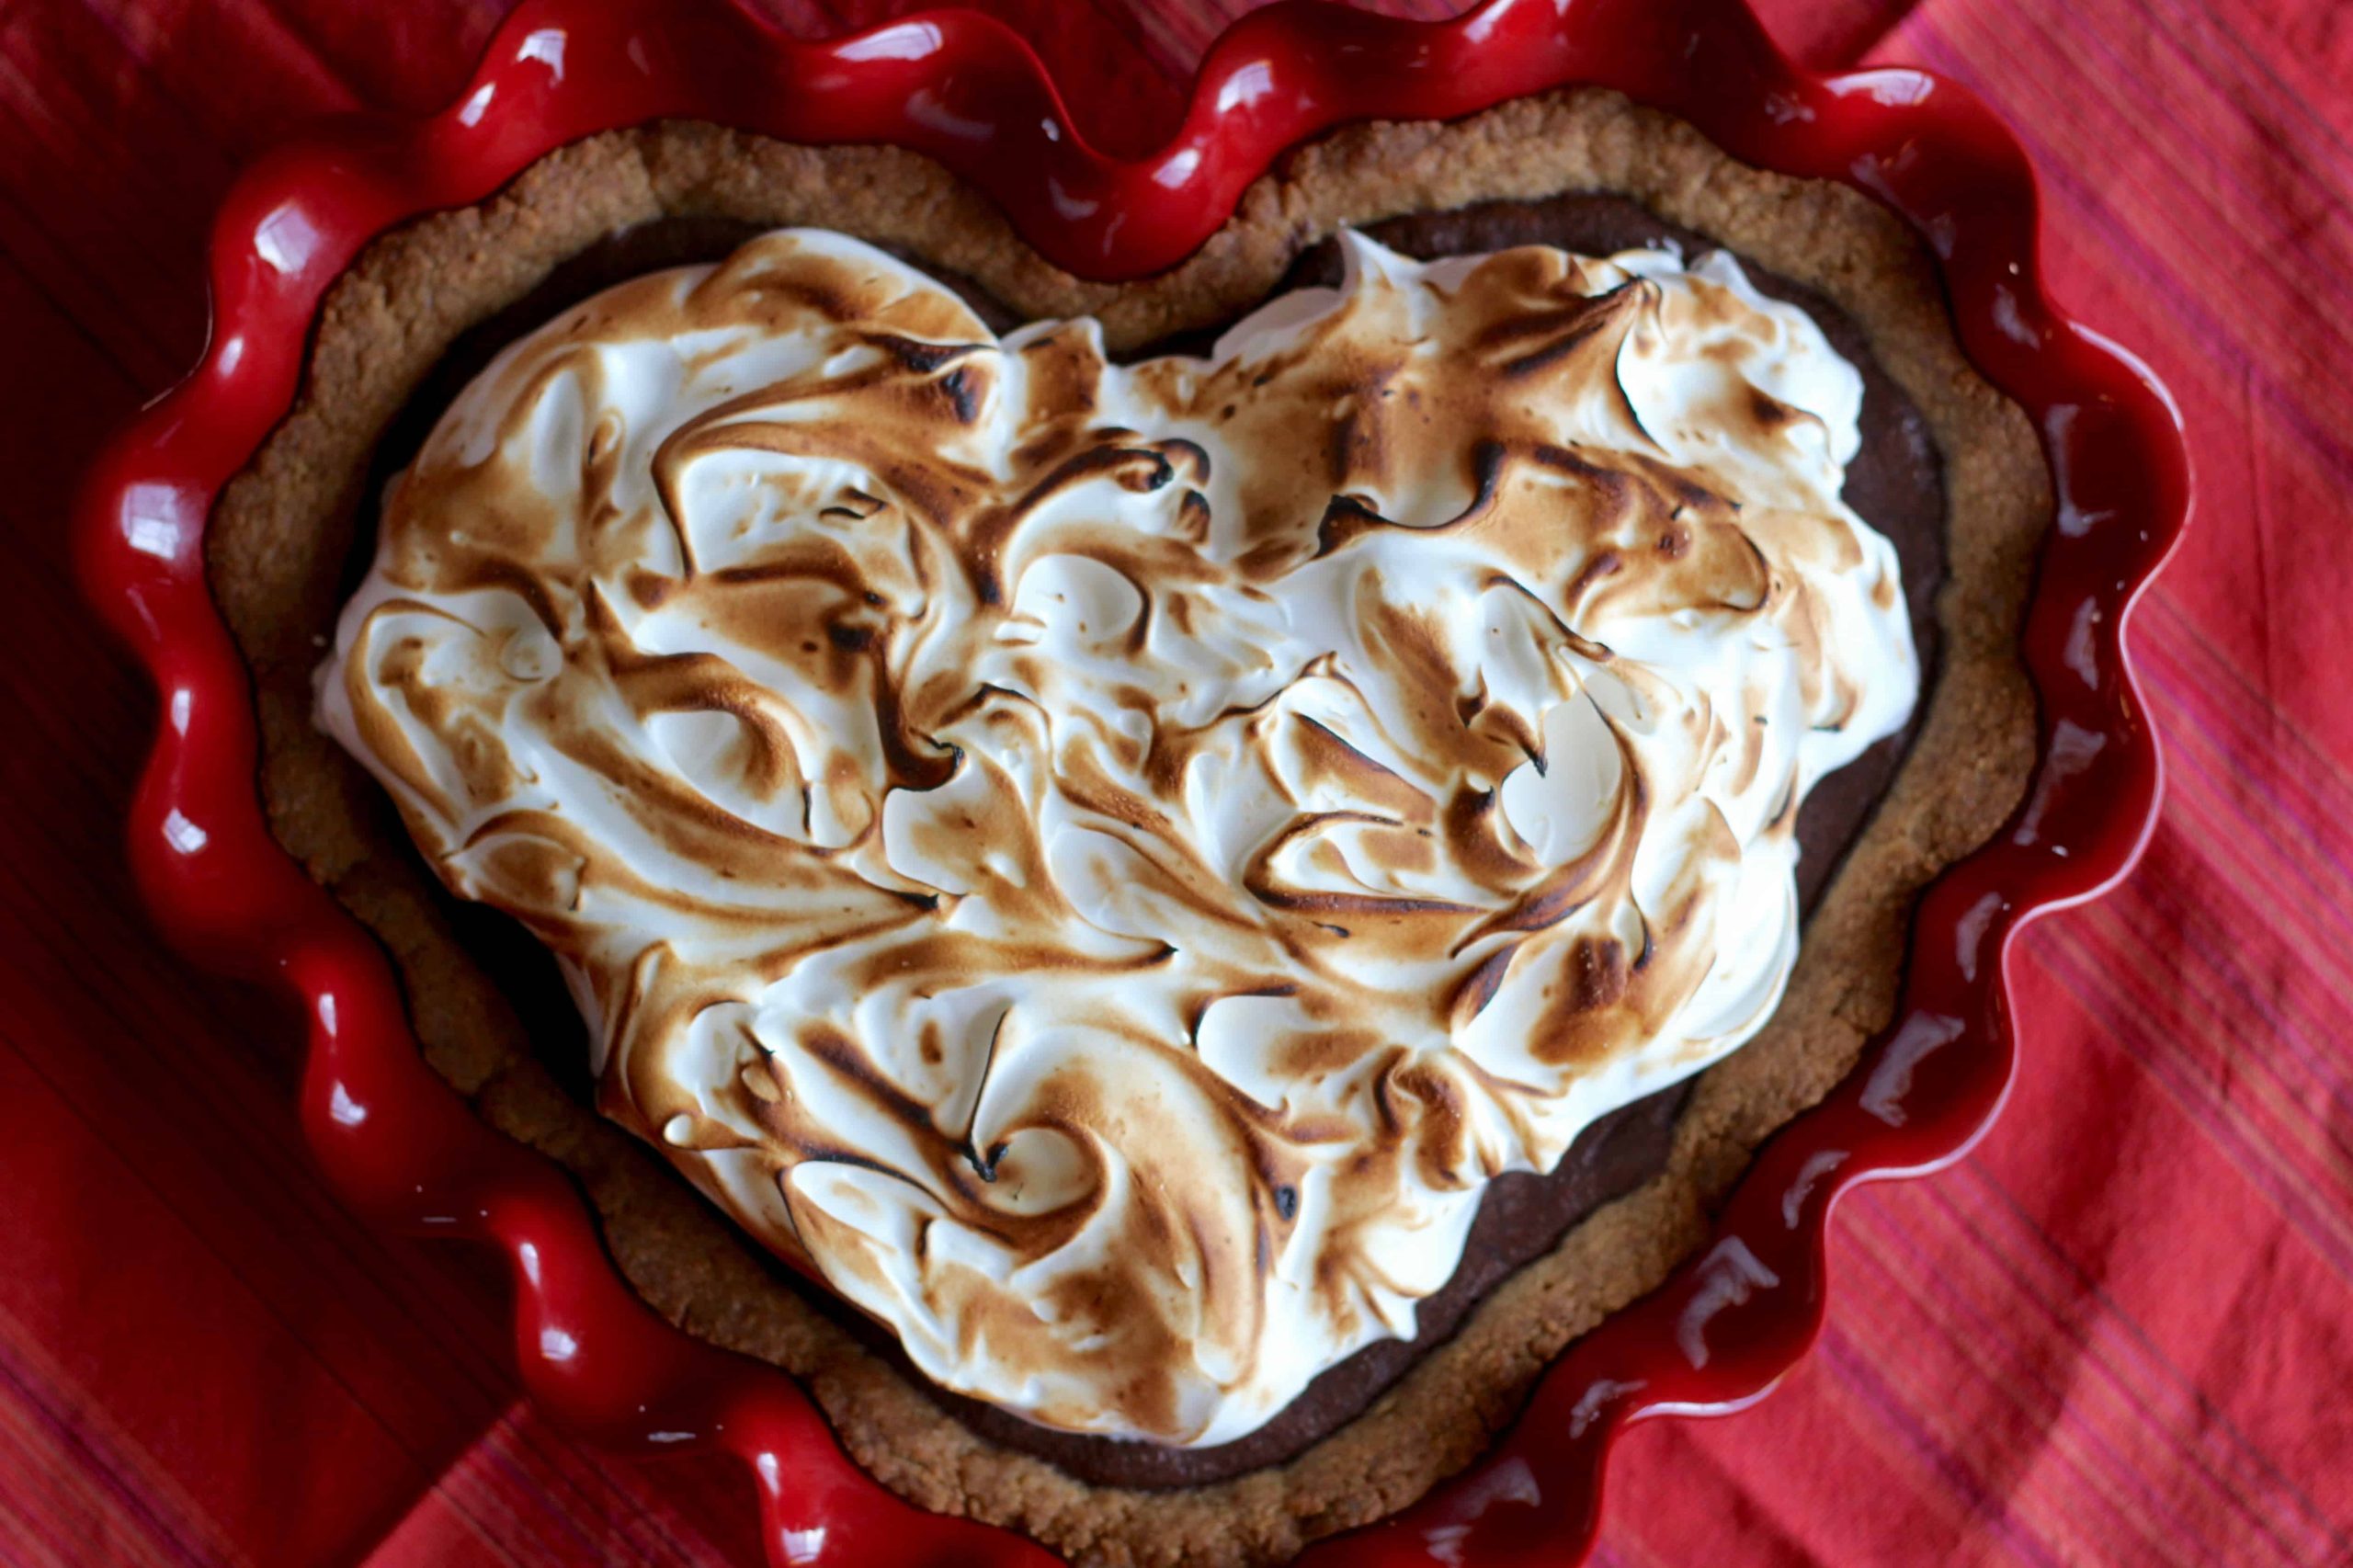
This recipe has been on my list of things to make for ages… so why now? Last week, I discovered a recipe for S’mores Hamantashen (traditional cookies for the Jewish holiday of Purim) that caused me to drop everything and put this project at the top of the list immediately. No two ways about it– those had to be made pronto, even though the holiday had already passed. (Update: I didn’t actually make the hamantashen until a year later… but I had good intentions.) The recipe uses the very same graham cracker recipe from Smitten Kitchen and Nancy Silverton, which I had been meaning to make anyway, for the cookie part of the hamantashen! Clearly it was meant to be.
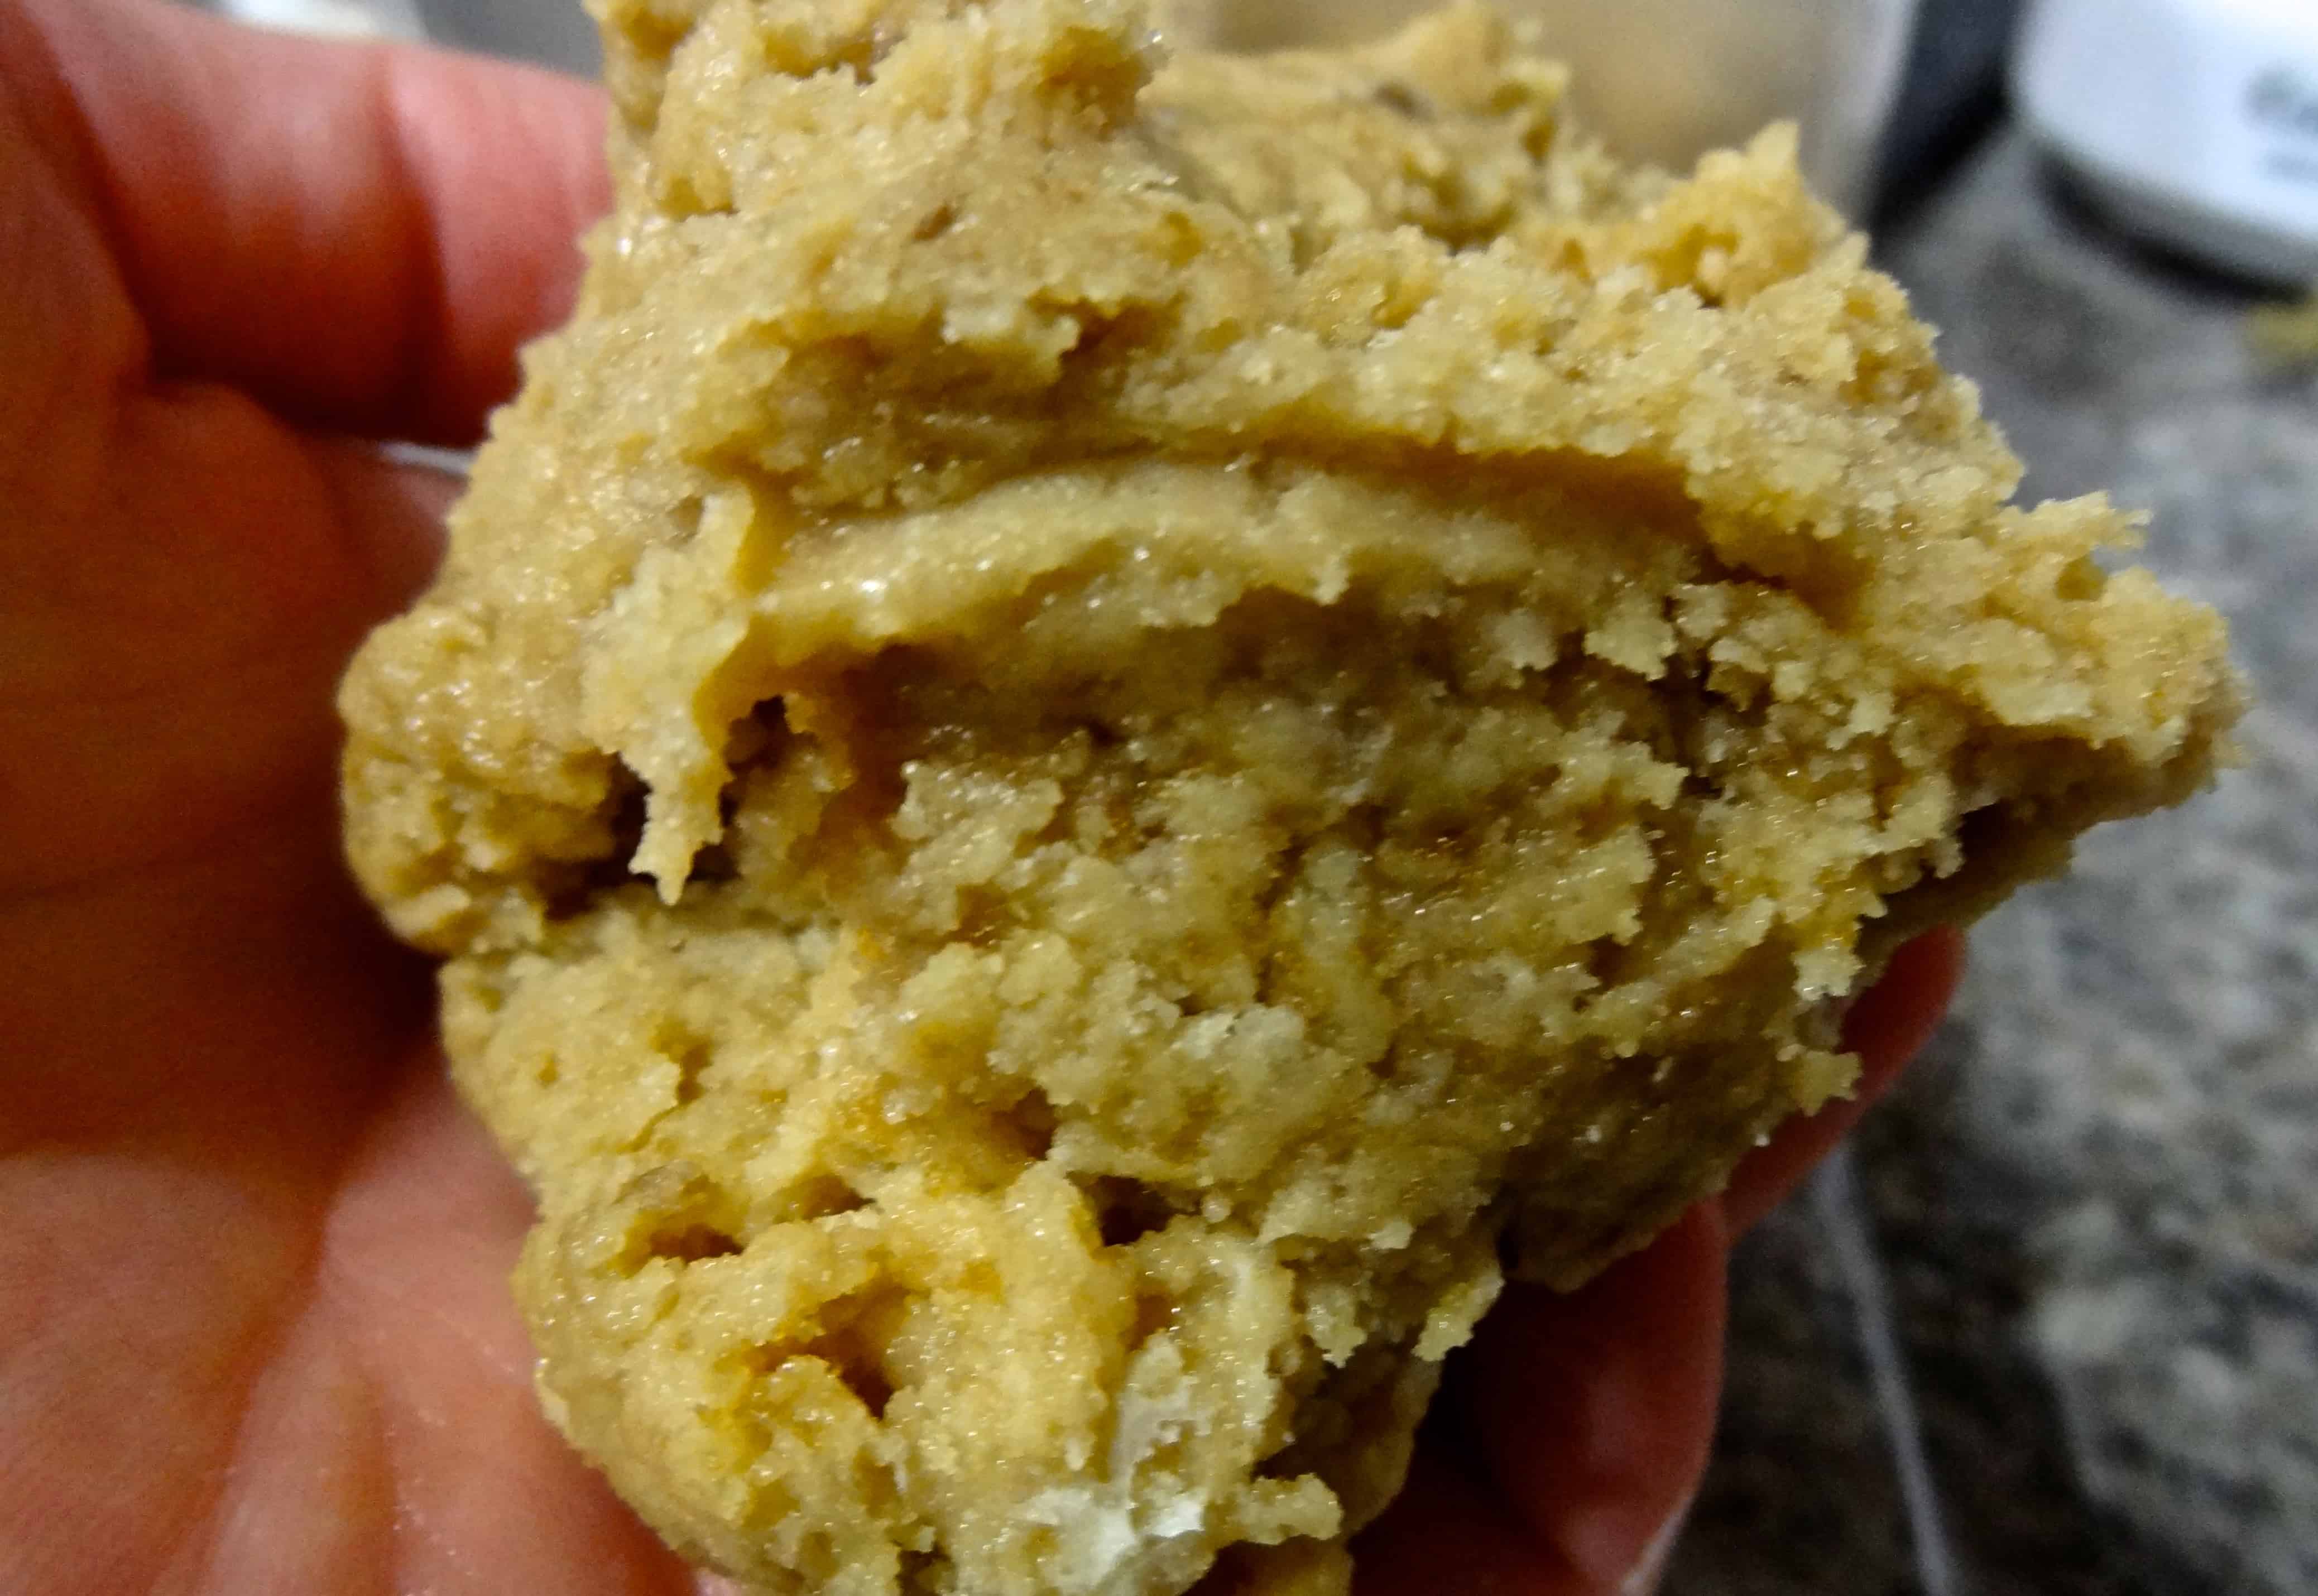
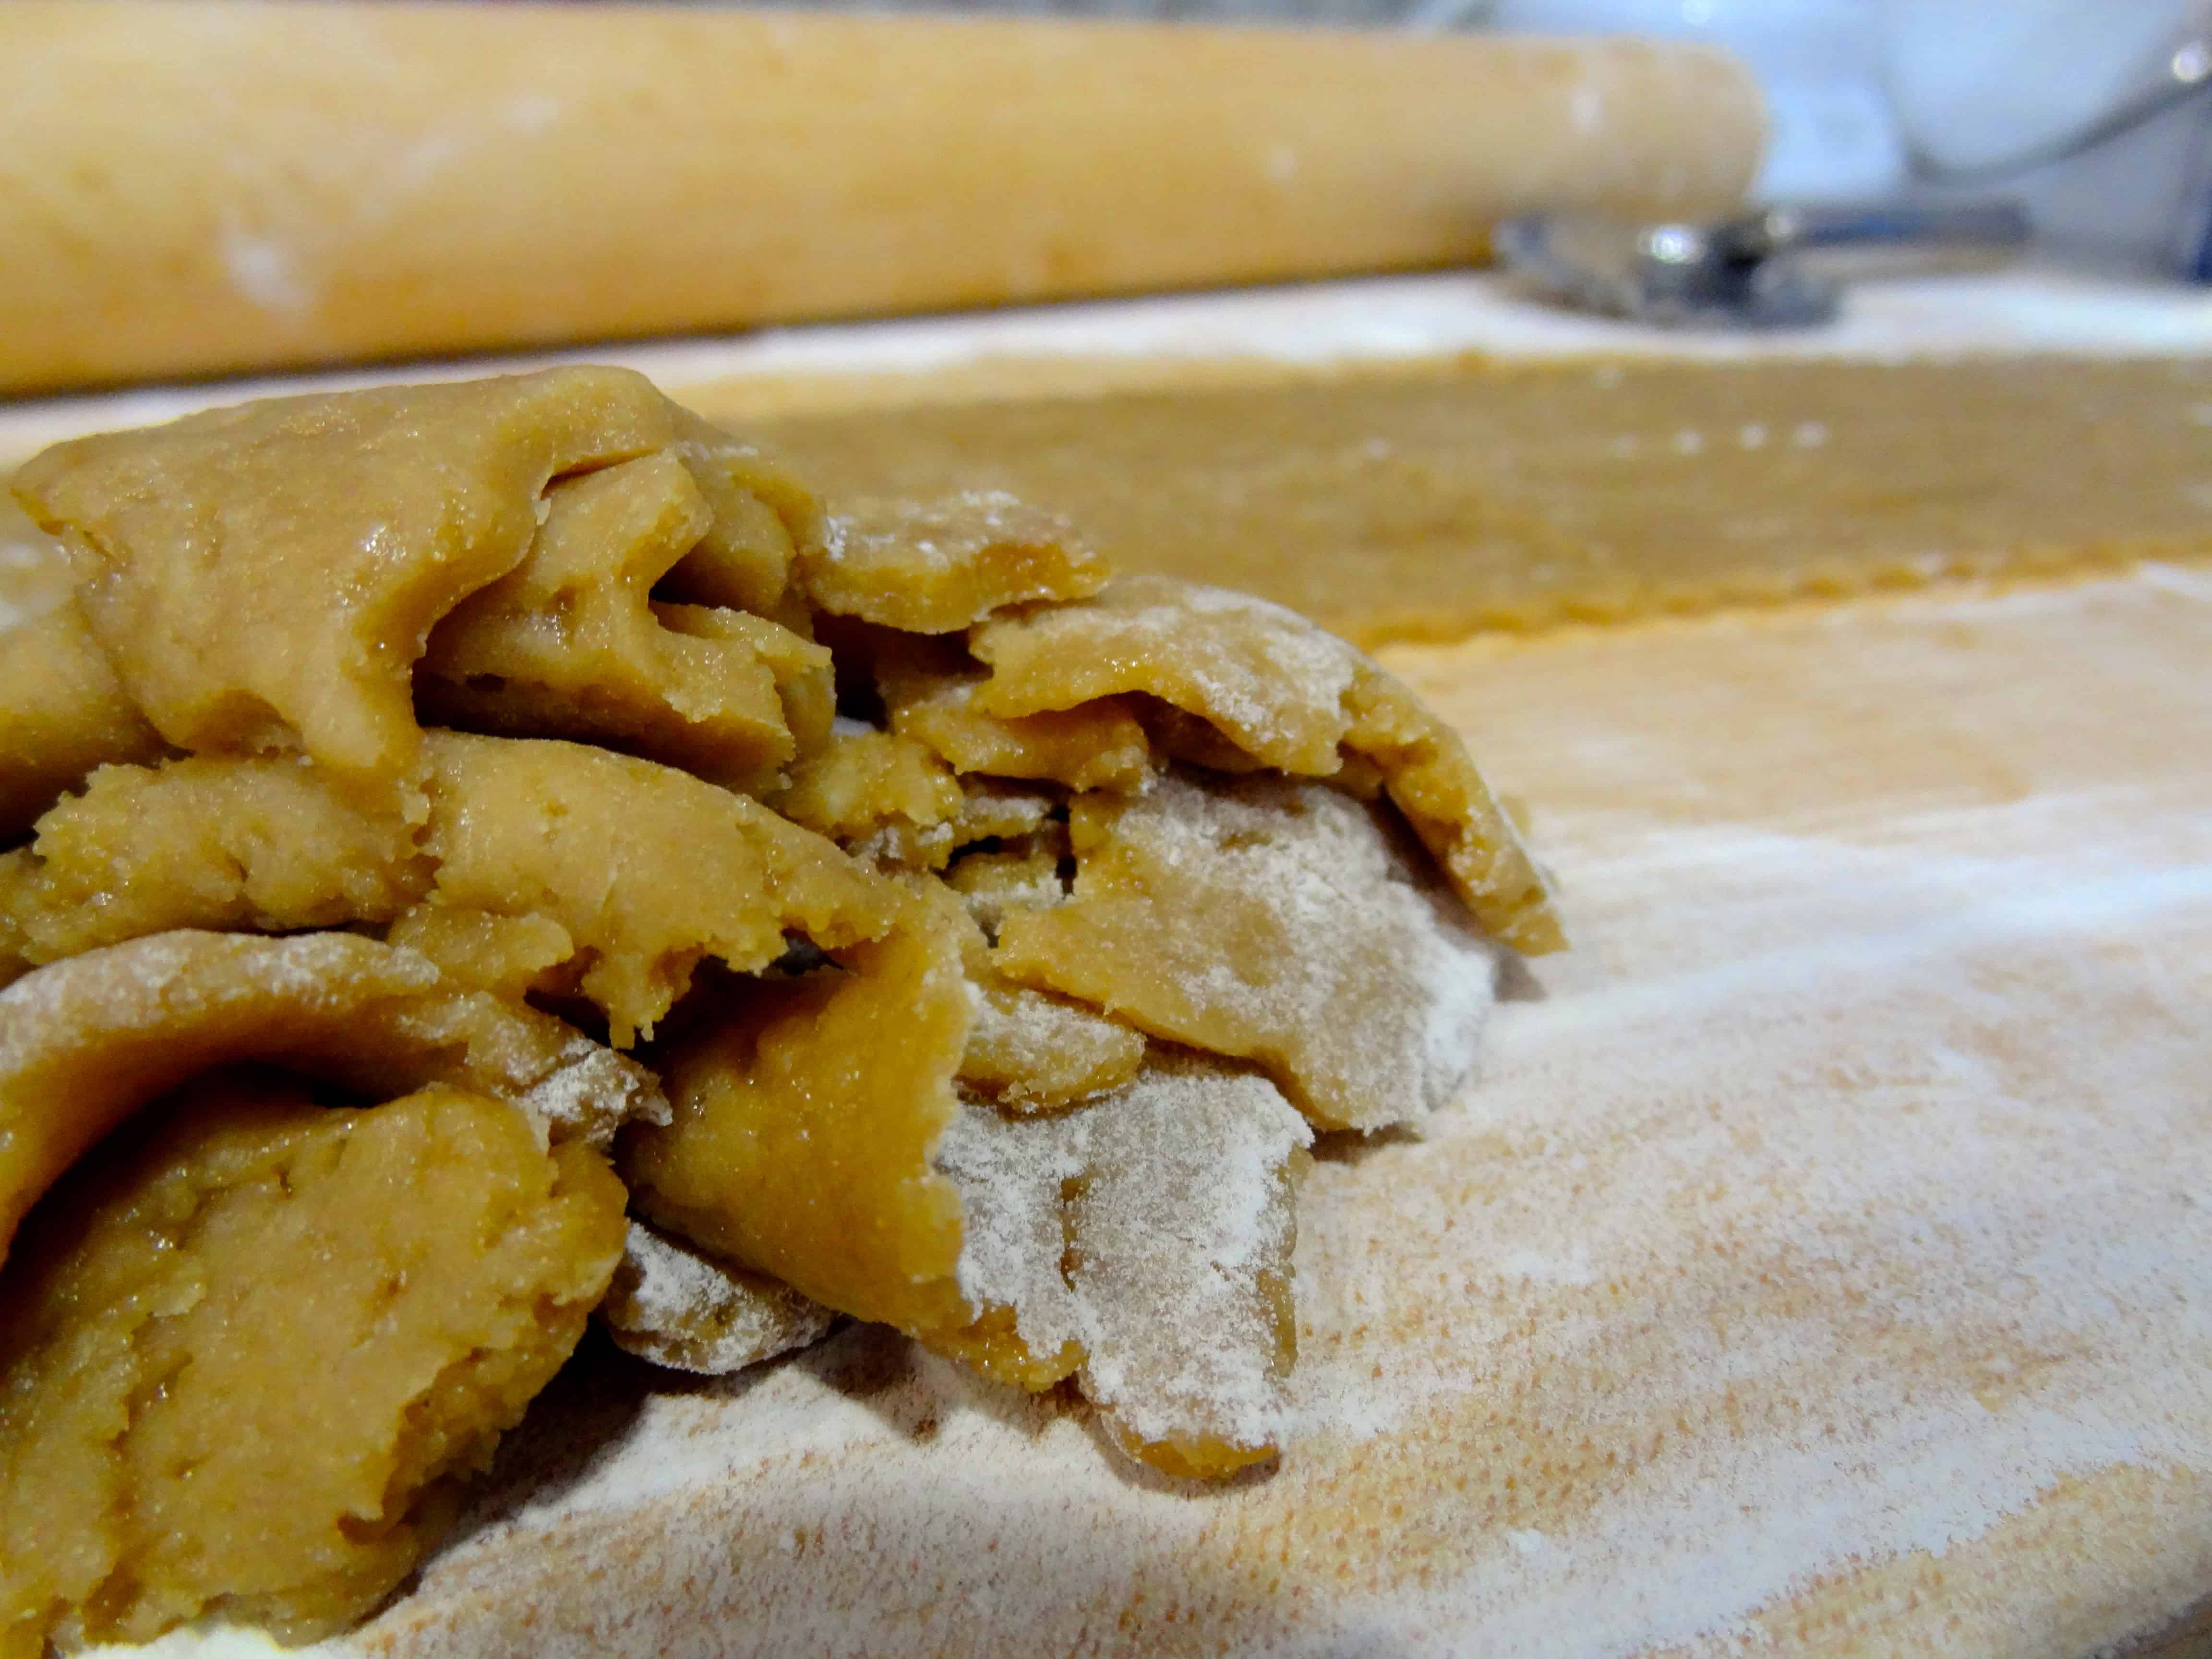
I found that the recipe came together pretty easily– I love when weight measurements are included, as they are more accurate than volume. I didn’t want to overwork the dough, and as I rolled and re-rolled each piece, I realized that I had under-mixed it slightly. (That’s not to say that you should mix it with reckless abandon, but this is not delicate pie dough, which becomes tough when you handle it too much.) In Smitten Kitchen‘s photos, the dough looks to be a pretty uniform light brown; when I wrapped mine up to put in the fridge, it looked somewhat speckled, with a few tiny butter and brown sugar chunks remaining. However, after gathering and re-rolling the dough scraps, I noticed that my dough started to resemble hers more and more, so I probably could have mixed it a little thoroughly initially. It’s a bit challenging to work with, only in that it’s VERY sticky and soft. I had to constantly re-flour my board and rolling pin, and I rotated the dough on my board after every few rolls to prevent sticking. But don’t let that discourage you—I promise, it’s worth it!
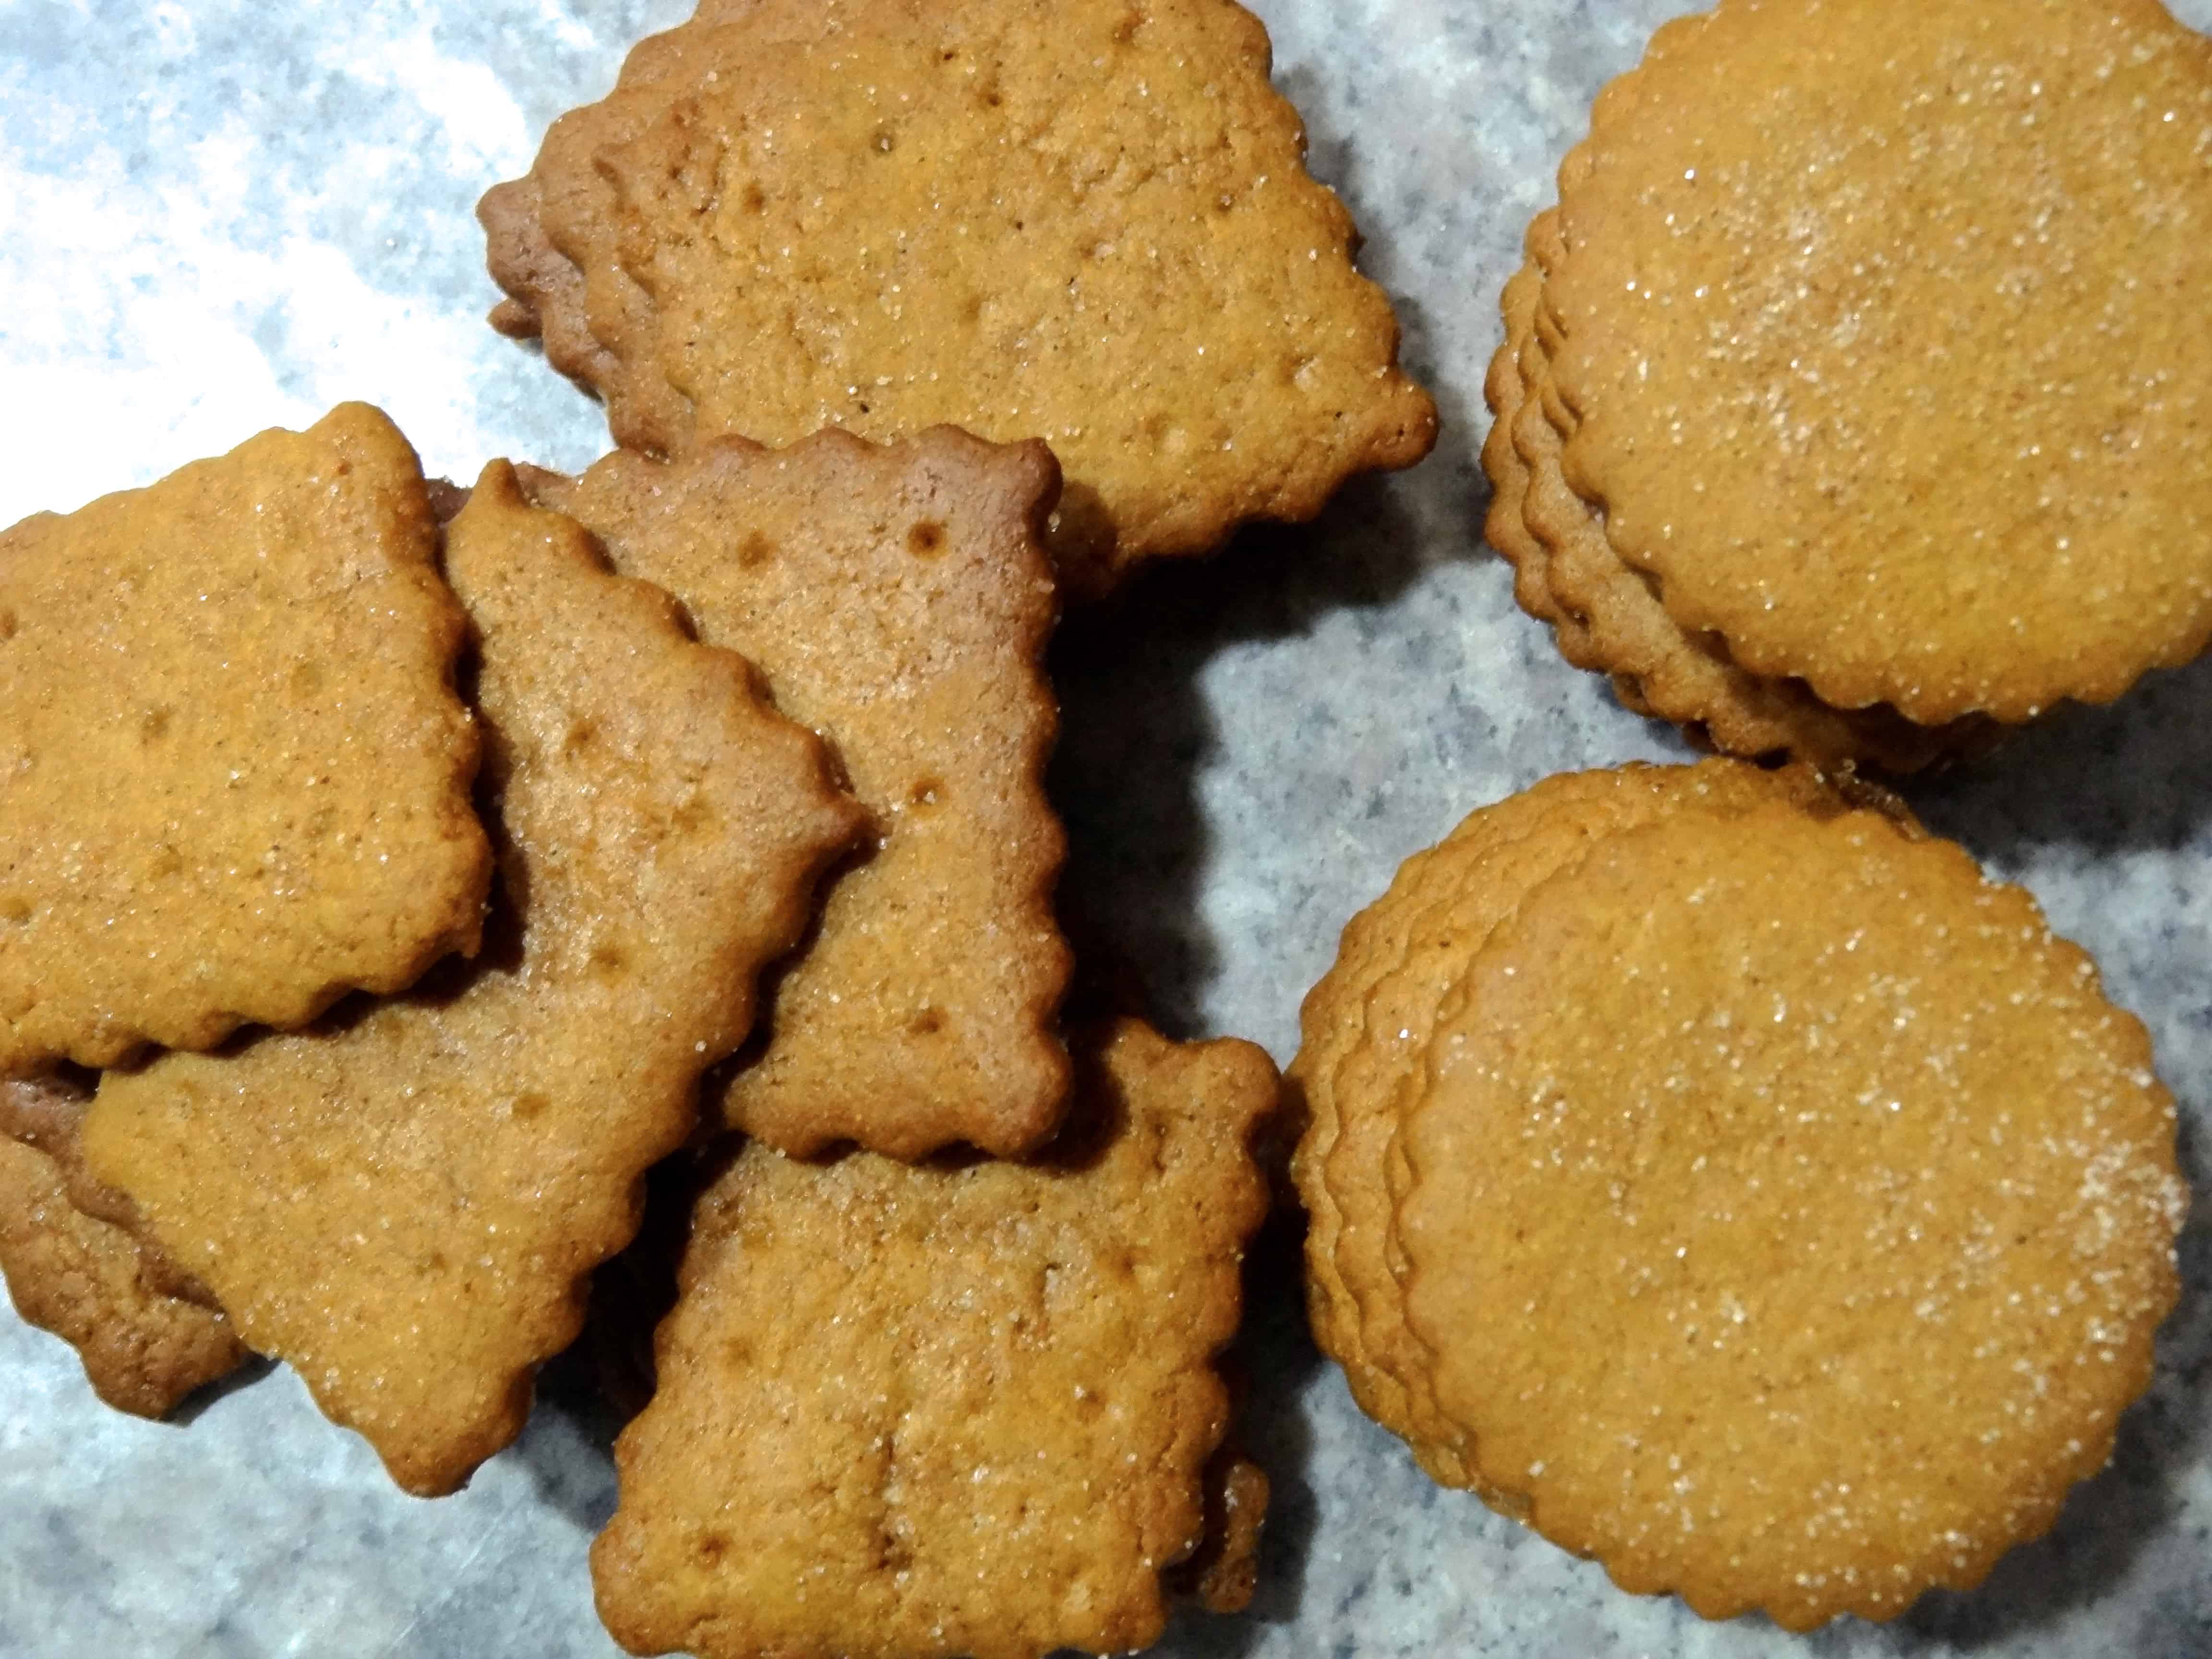
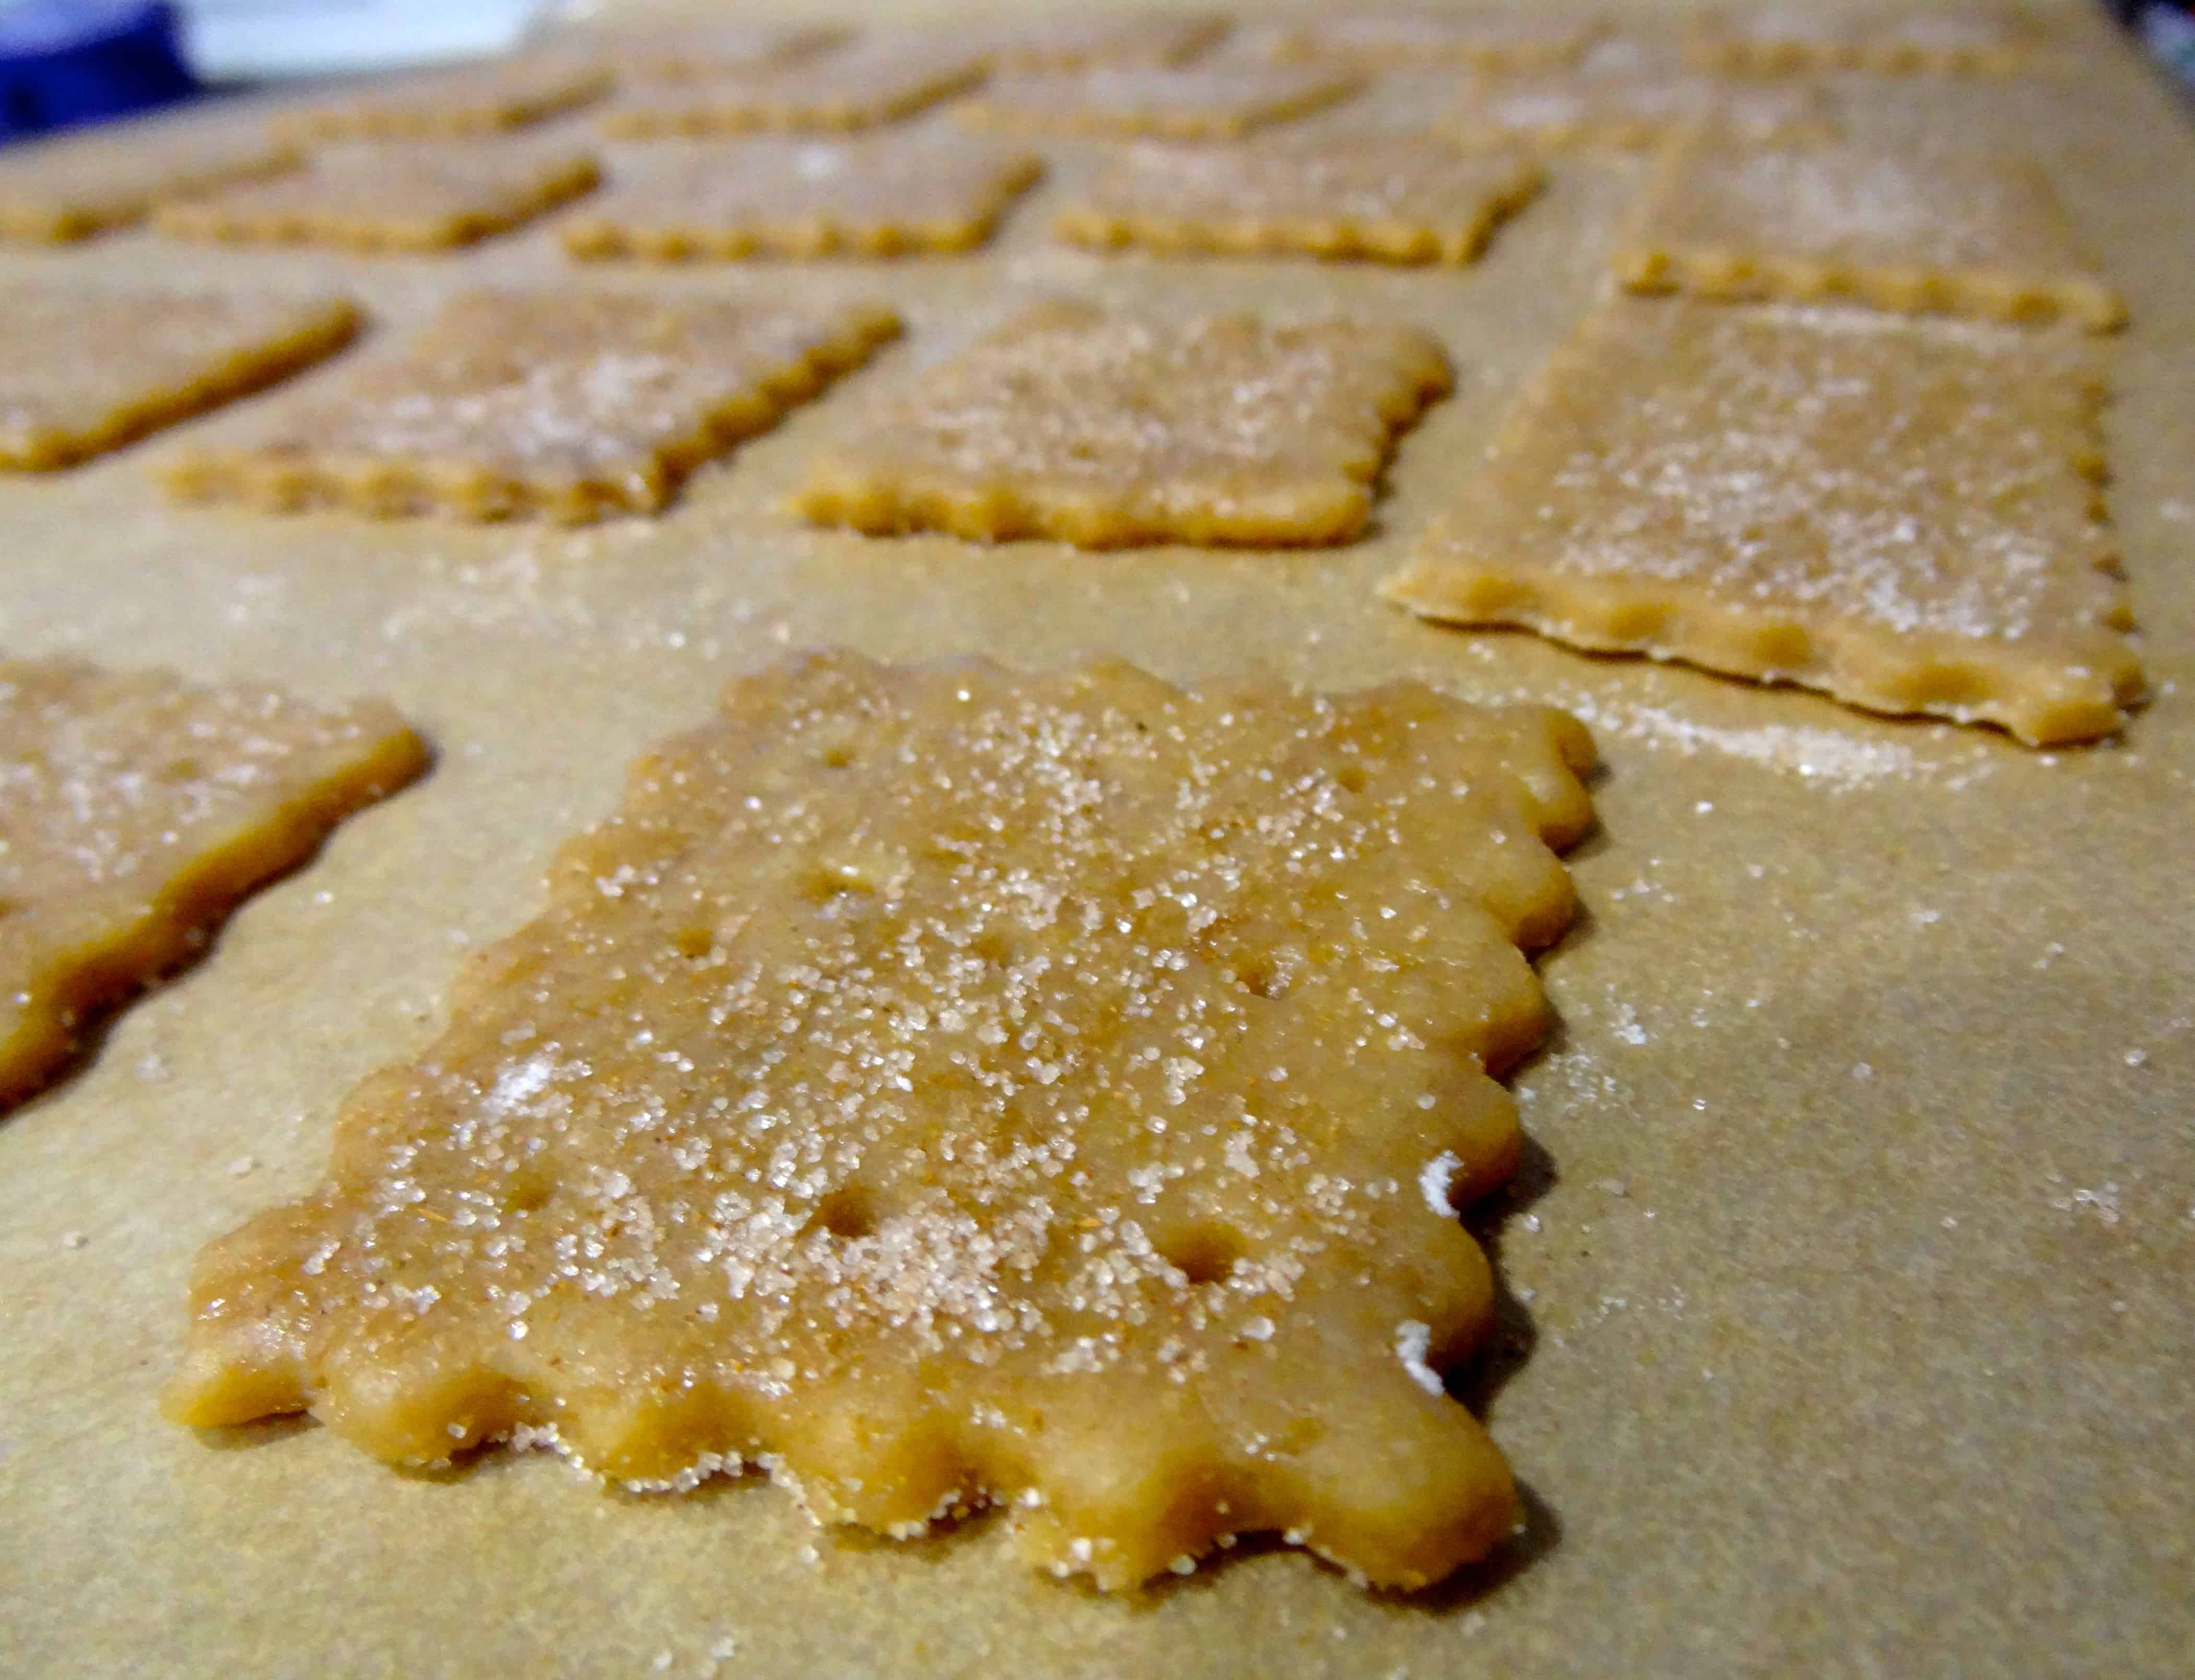
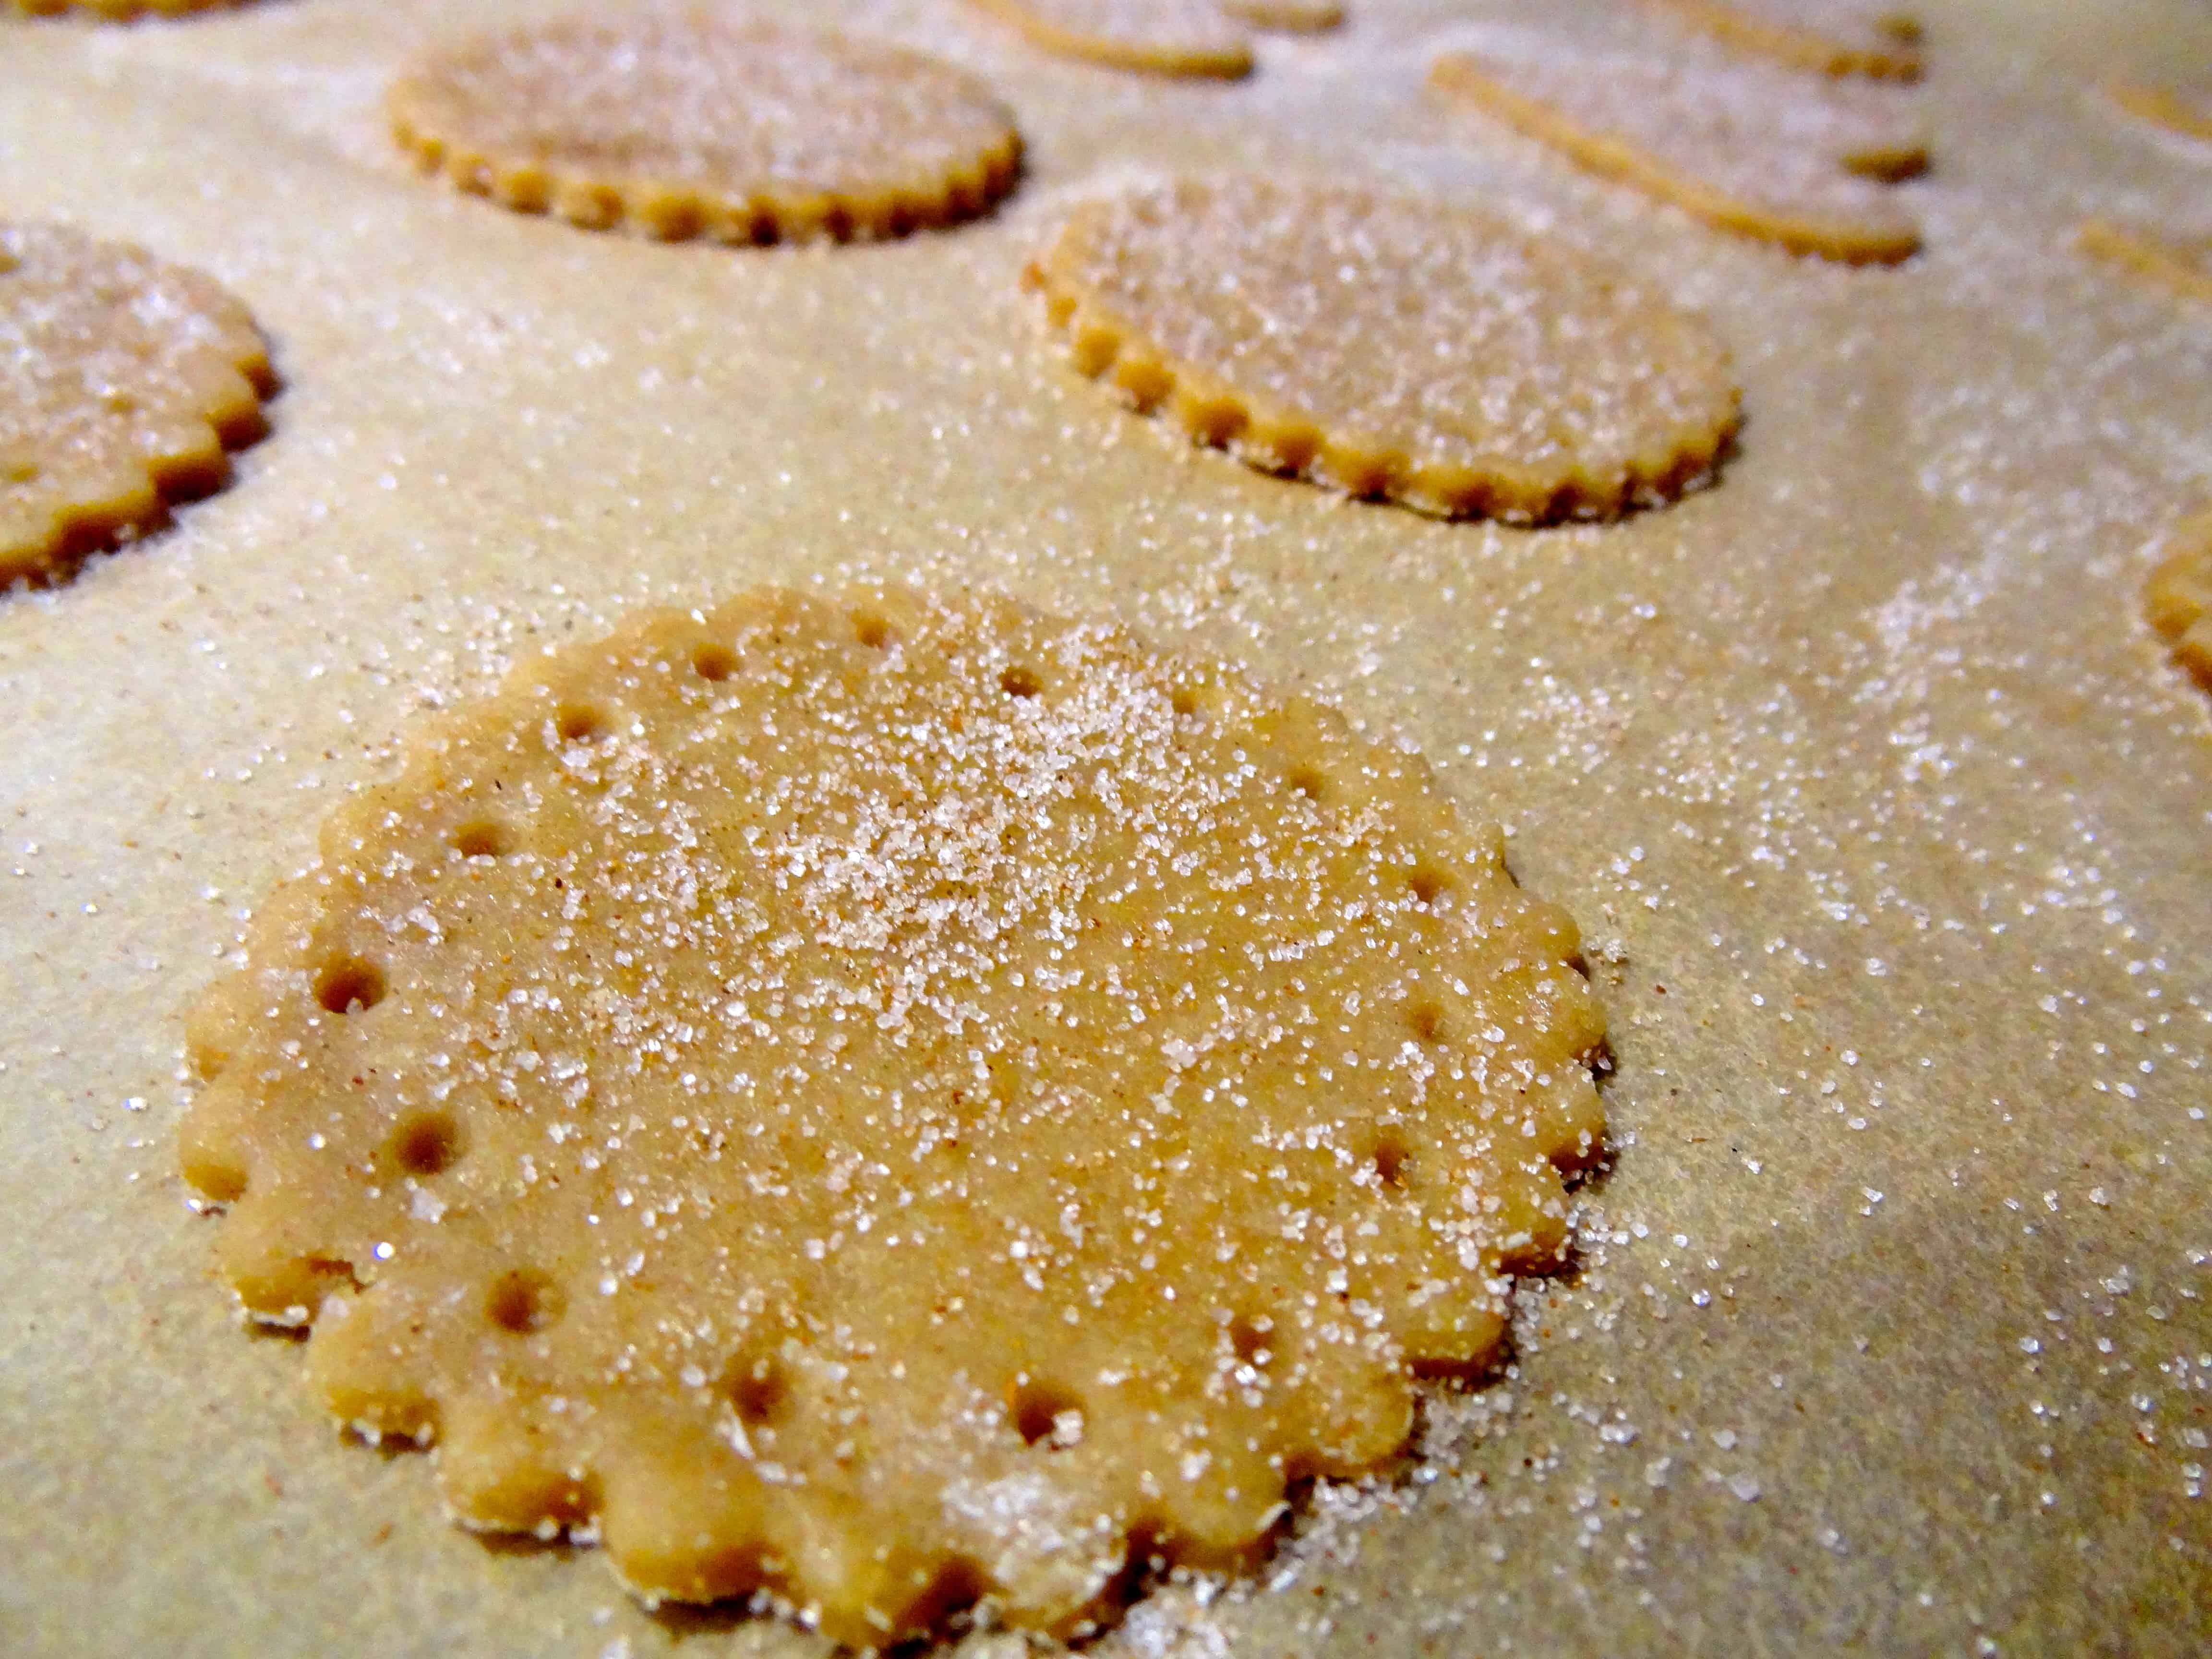
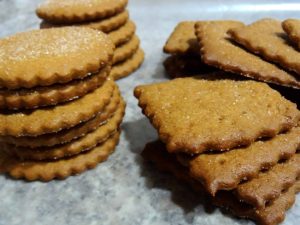
While Smitten Kitchen gives cutting instructions for the traditional graham cracker shape, she preferred to make small squares using a pastry wheel to cut the dough. I liked her method and decided to go with that, which was a great excuse to use the pastry wheel that I’ve had for at least 10 years, and never used. (But which I desperately needed at the time…) In addition, I made some pretty fluted circles and hearts with a biscuit cutter and cookie cutter, respectively. You can make whatever shapes you choose!
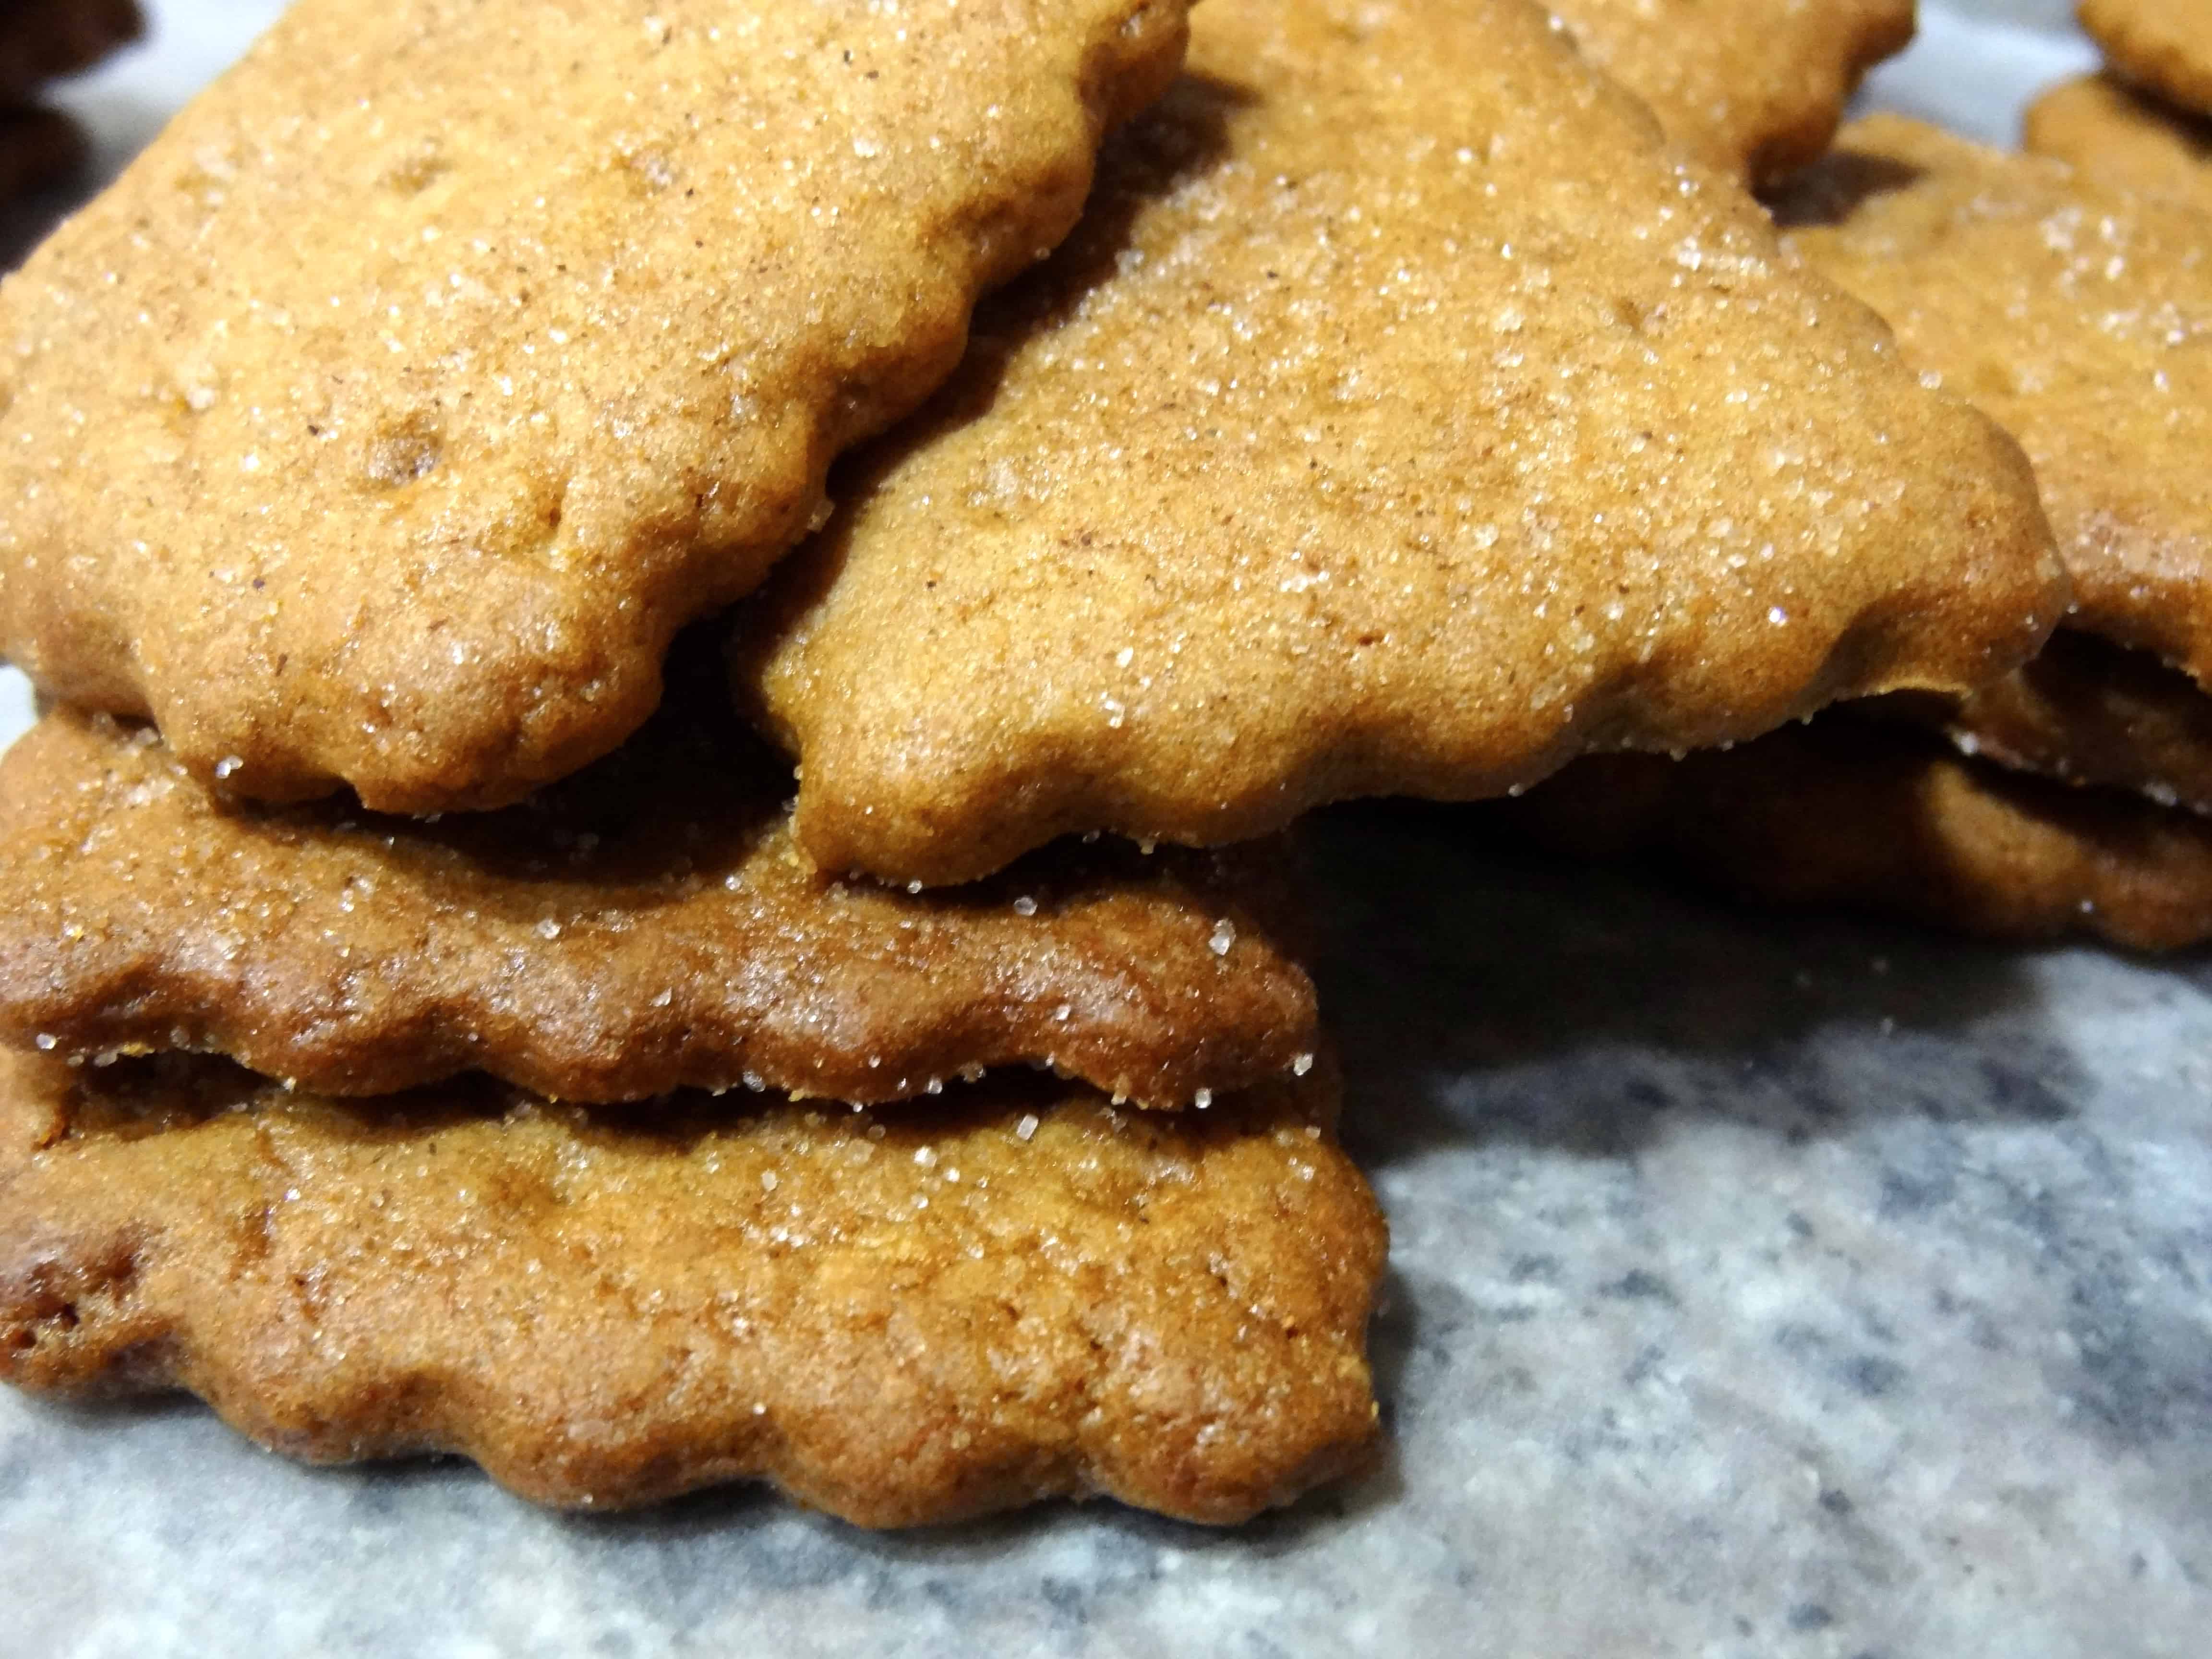
And since you’re dying to know… YES, these crackers actually taste like honest-to-goodness graham crackers! They are such a close approximation to Nabisco, certainly the closest of any other homemade versions that I’ve had. Wait, is that a compliment?? Let me amend that statement– these are actually better, because they emulate the graham cracker’s best qualities, but they don’t taste like they came out of a box! They are light, crisp, and have a sparkly garnish on top—WIN.
One more thing– Although this blog post is rather long, don’t let that dissuade you, as the recipe is really quite simple. It’s just like any other rolled cookie dough: make the dough, chill, roll, cut, and bake. I tried to be as thorough as possible in my description because the dough can be fussy.
And so, without further ado, go forth and make your very own graham crackers!
Graham Crackers
Adapted from Smitten Kitchen and Nancy Silverton’s Pastries from the La Brea Bakery
Makes approximately 48 2-inch square crackers
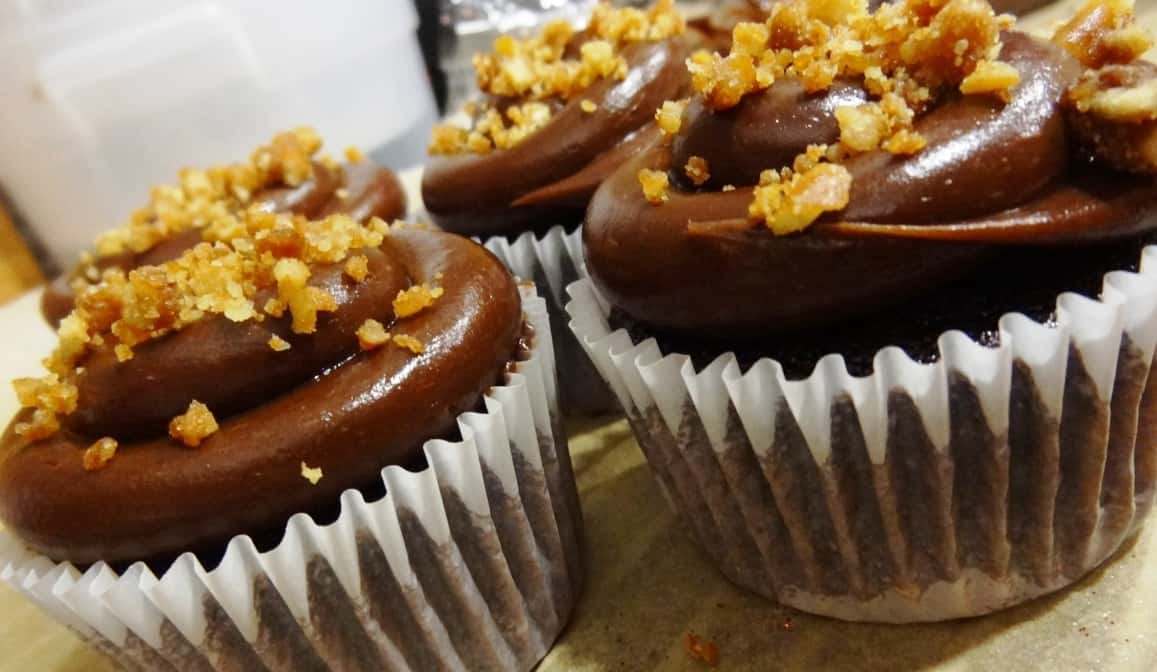
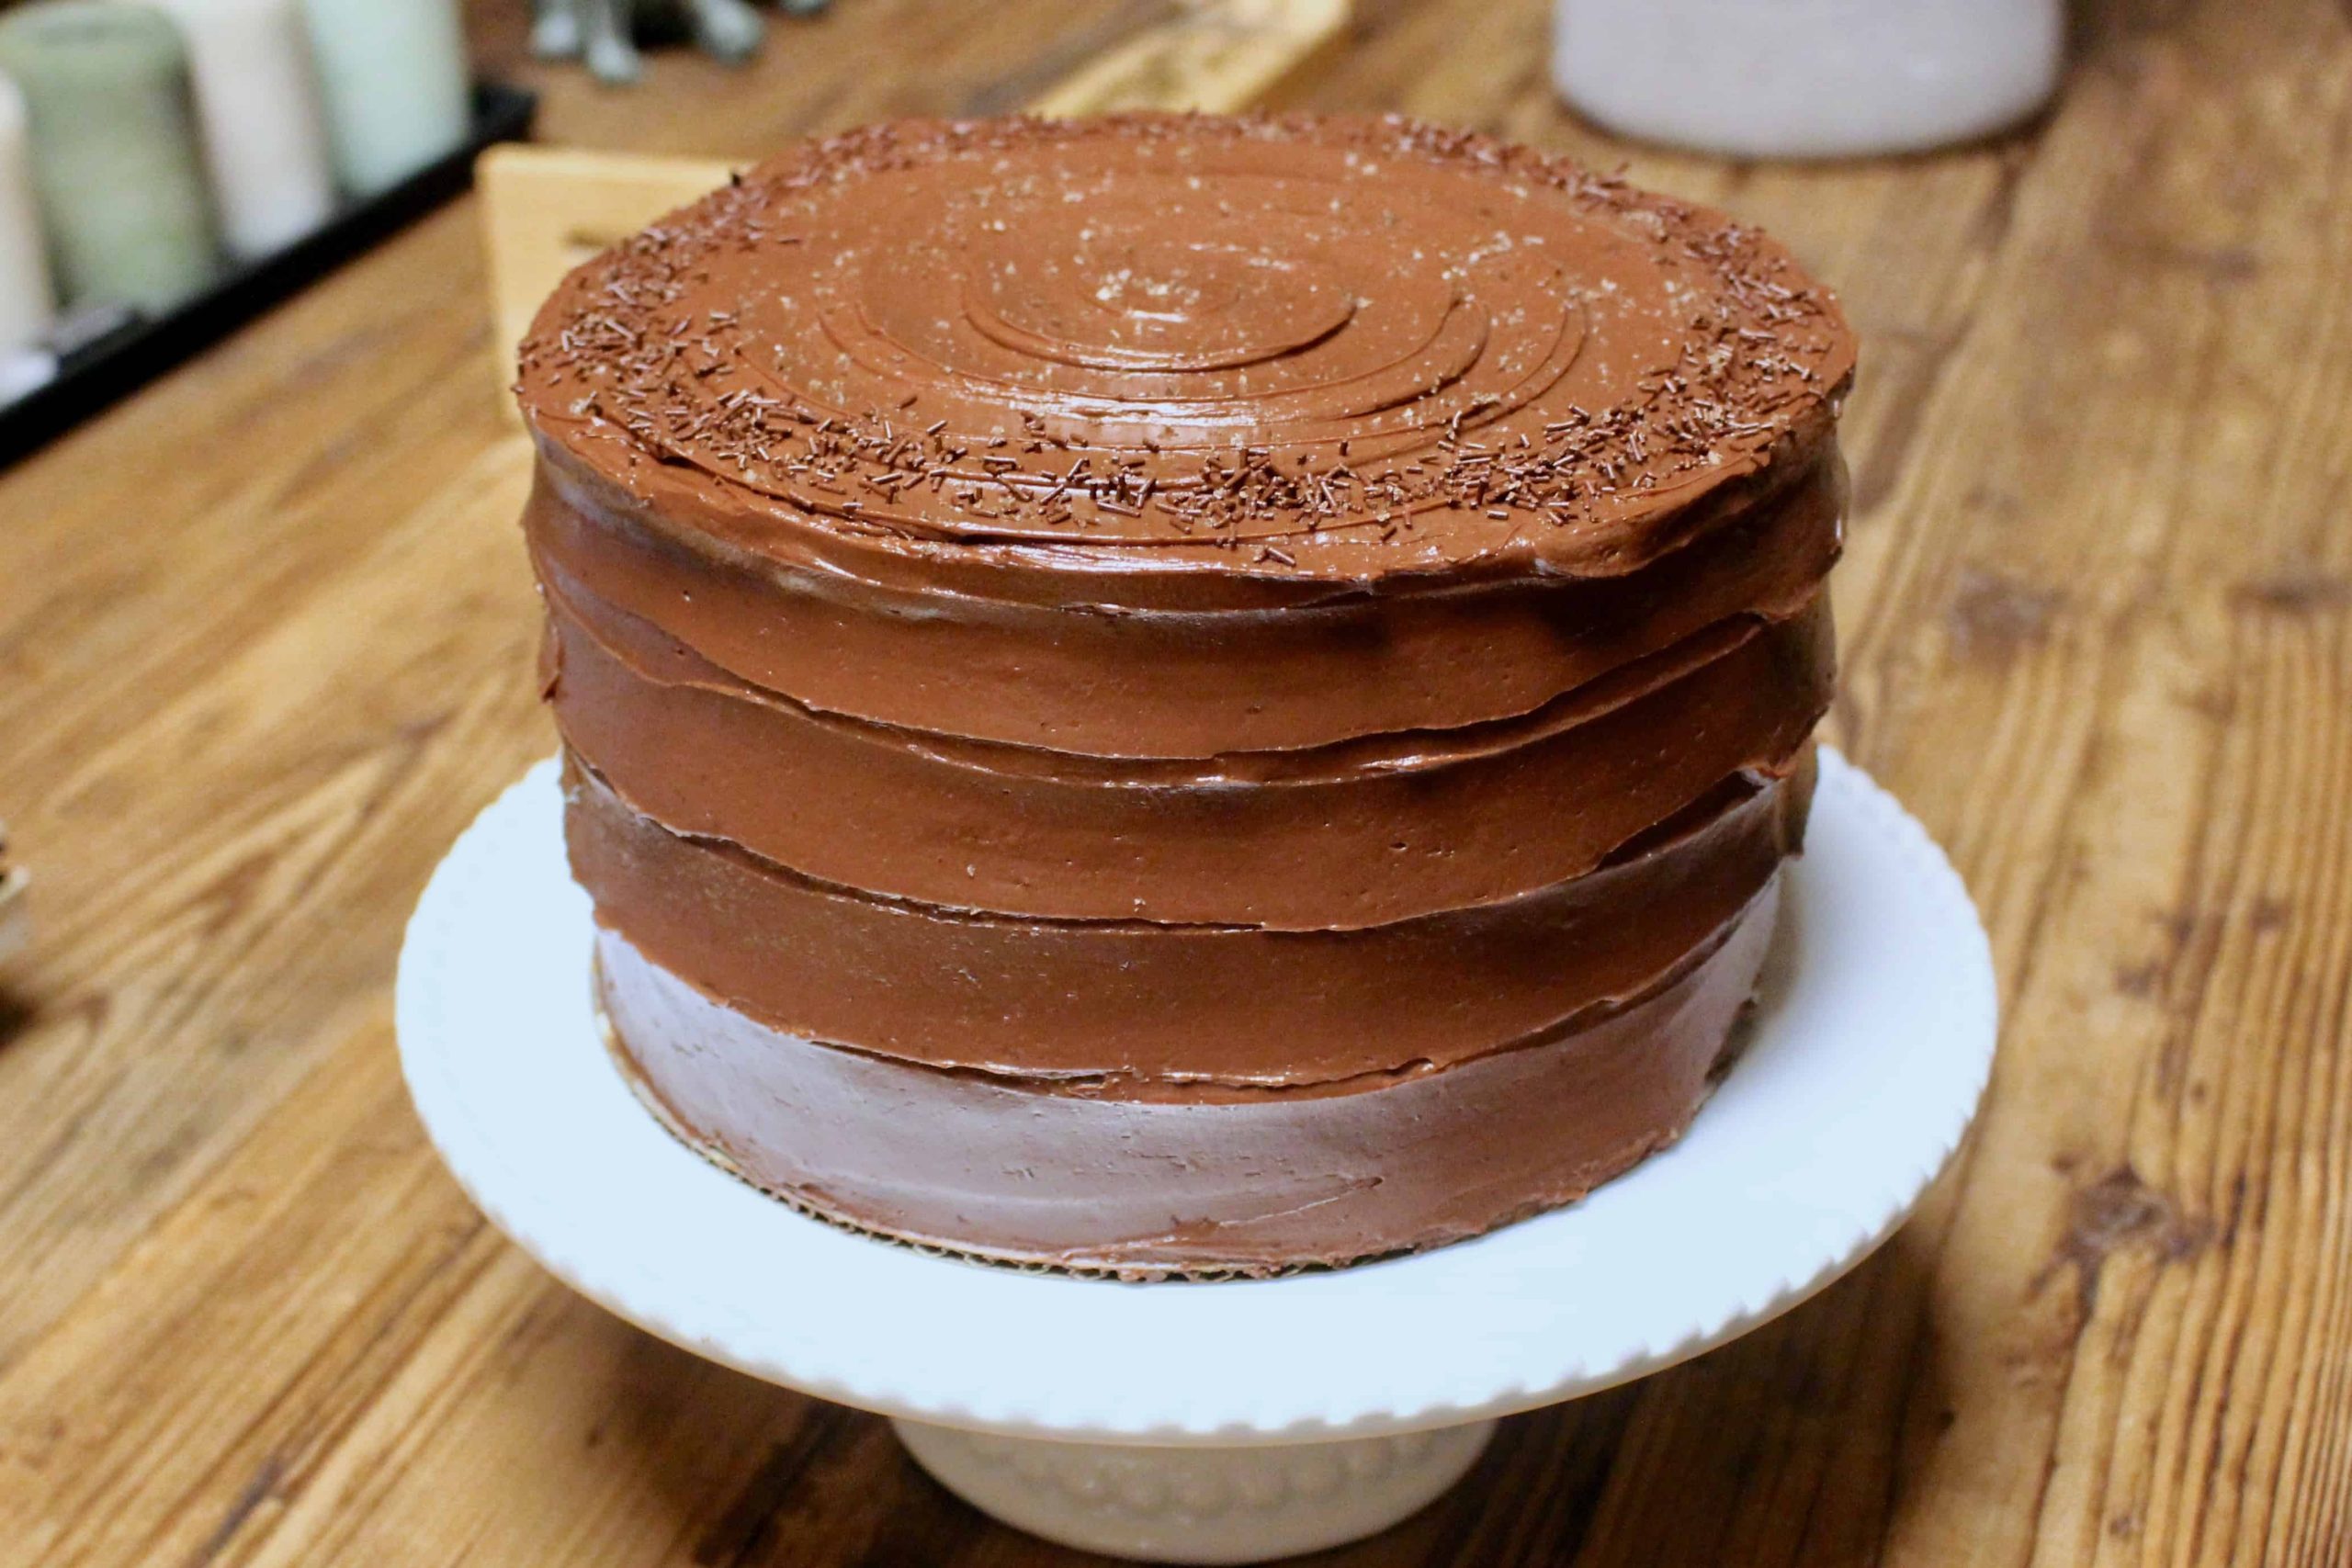
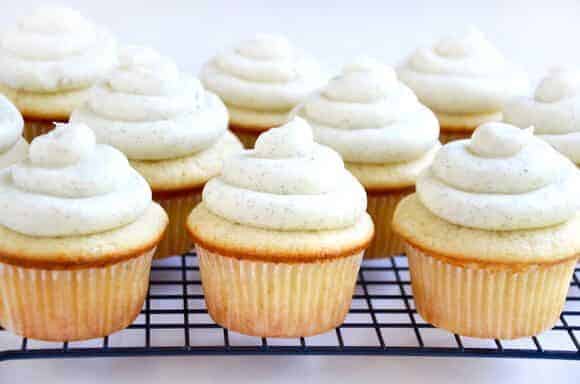
Homemade graham crackers can be eaten on their own of course, or they can be the vehicle for all sorts of tasty fillings. The lightly sweetened, versatile flavor of graham crackers is very “friendly” to all sorts of accompanying flavors, so feel free to go wild. 🙂 Although the possibilities are vast, I especially like: s’mores (obviously), cream cheese frosting (or cinnamon cream cheese if you wanna get crazy), chocolate ganache, peanut butter, and nutella.
For the graham crackers:
- 2 ½ cups plus 2 tablespoons (375 grams) unbleached all-purpose flour
- 1 cup (176 grams) dark brown sugar, lightly packed
- 1 teaspoon baking soda
- ¾ teaspoon kosher salt
- 7 tablespoons (100 grams) unsalted butter, cut into 1-inch cubes and frozen
- ⅓ cup (114 grams) mild-flavored honey, such as clover
- 5 tablespoons (77 grams) whole milk
- 2 tablespoons (27 grams) pure vanilla extract
For the topping (optional—cut in ½ if you want a light-to-moderate coating):
- 3 tablespoons (43 grams) granulated sugar
- 1 teaspoon ground cinnamon
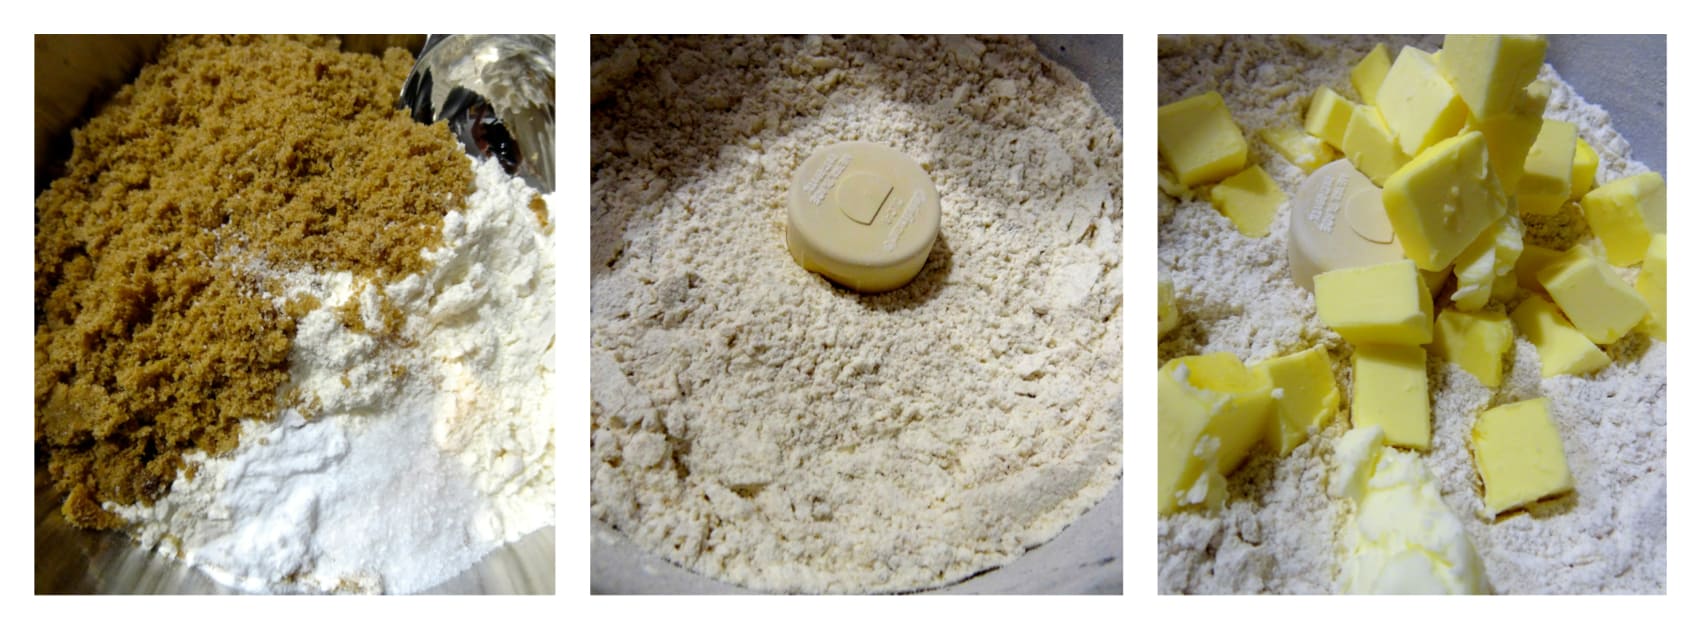
Place the flour, brown sugar, baking soda, and salt in the bowl of a food processor fitted with the steel blade, and pulse until the ingredients are completely combined, about 8-10 pulses. Add the frozen butter cubes to the bowl and pulse until the mixture resembles coarse meal, another 8-10 pulses. You can also do these steps in a stand mixer set to low speed or by hand with a whisk and pastry cutter.
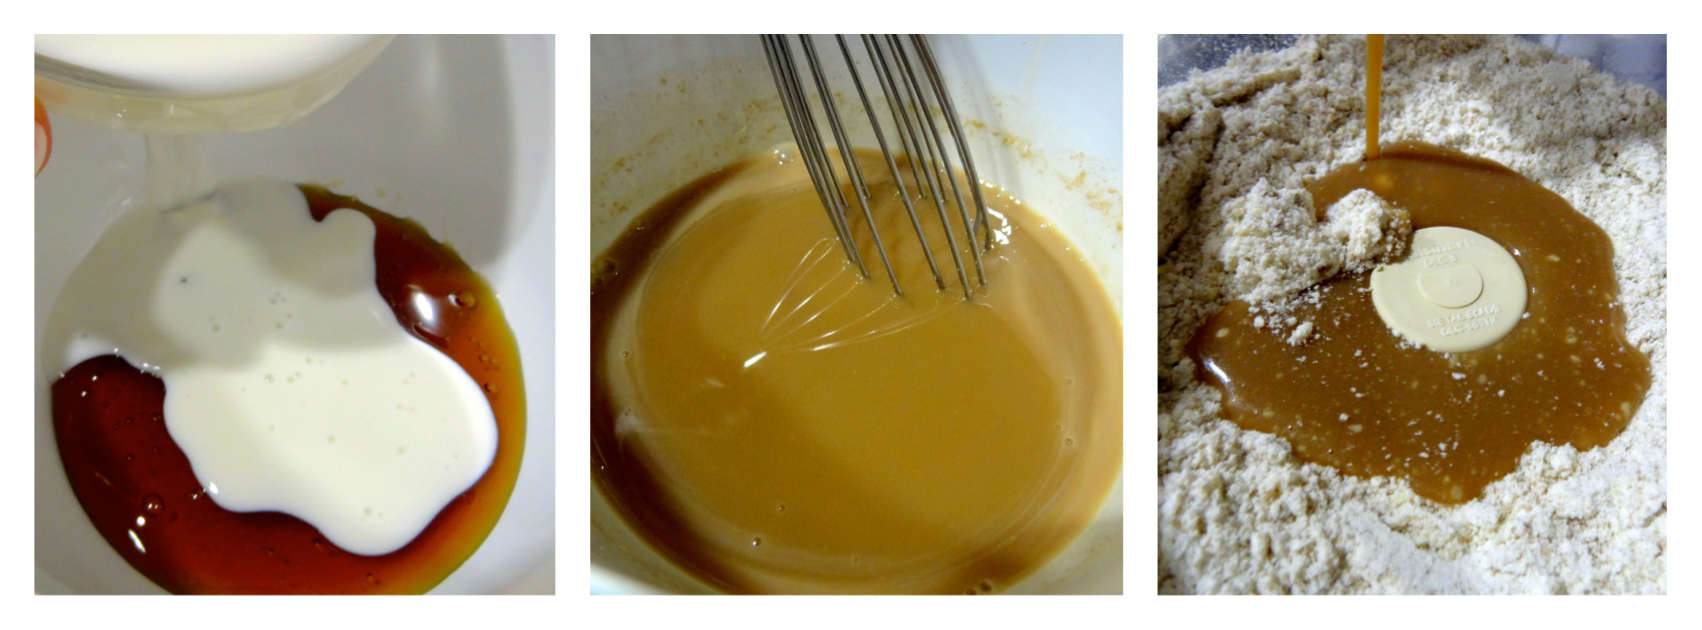
Whisk the honey, milk, and vanilla extract in a small bowl until homogenous. Pour the mixture into the flour/butter mixture and pulse (about 6-8 times) or mix on low until the dough starts to cling together.
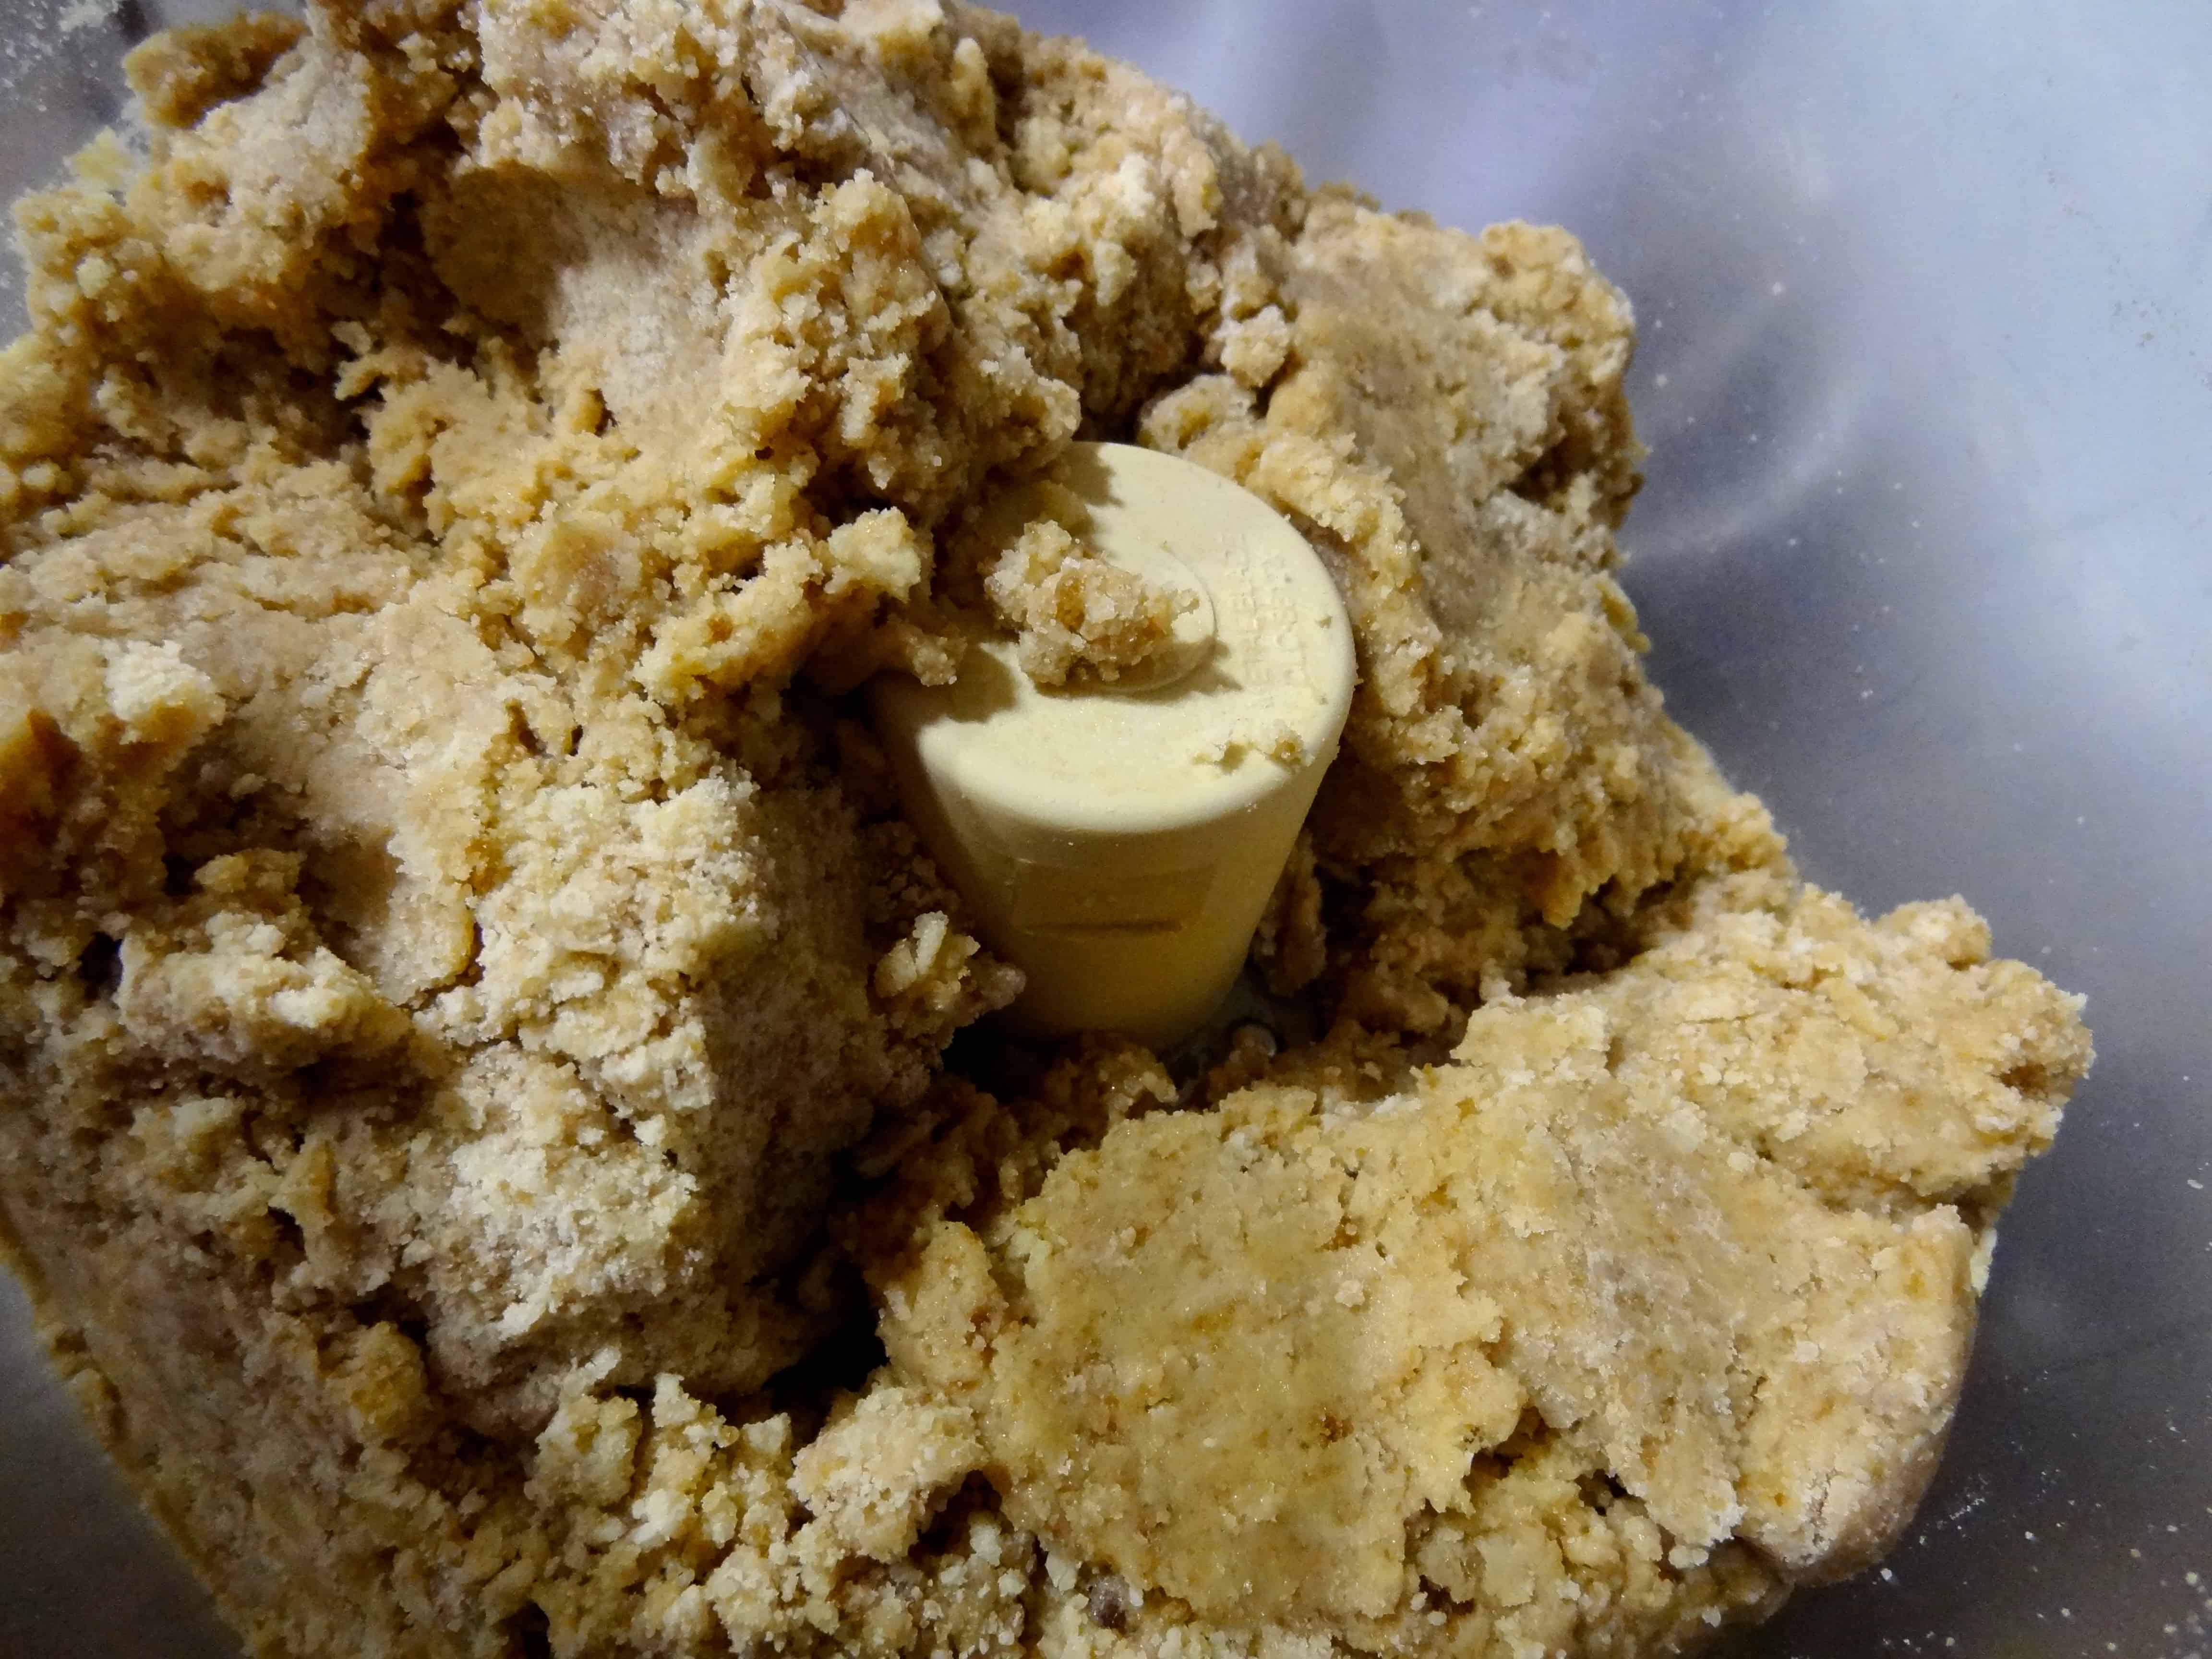
Scrape down the sides of the bowl and give it a quick final whirl to make sure all the ingredients are evenly incorporated. (This is where I pulsed conservatively and realized later that I could have mixed a little more thoroughly.) The dough will be a light brown color with a very soft and sticky texture (and a lovely aroma of brown sugar and honey). Divide it into four equal portions; shape each one into a ball, wrap in plastic, and flatten into disks. Chill the disks until they are firm, about 2 hours or overnight (or freeze some for future use).
Line two rimless cookie sheets with parchment paper and set aside.
Right before taking the dough out of the fridge, combine the sugar and cinnamon in a small bowl for your topping; set it aside near your work area.
To roll out the crackers, take one dough disk out of the fridge. (Since the dough is soft, keep the additional dough in the fridge until you’re ready to use it.) Generously flour your work surface, rolling pin, and hands—you will need to flour often to keep the dough from sticking.
Roll the dough out about ⅛- to ¼-inch thick into an approximate rectangle. This will make it easier to cut square or rectangular crackers with the least amount of leftover scraps and re-rolling. (If you are cutting shapes other than squares or rectangles, there is no need to specifically form a rectangle.) Carefully rotate your dough every few rolls to keep it from sticking to your work surface.
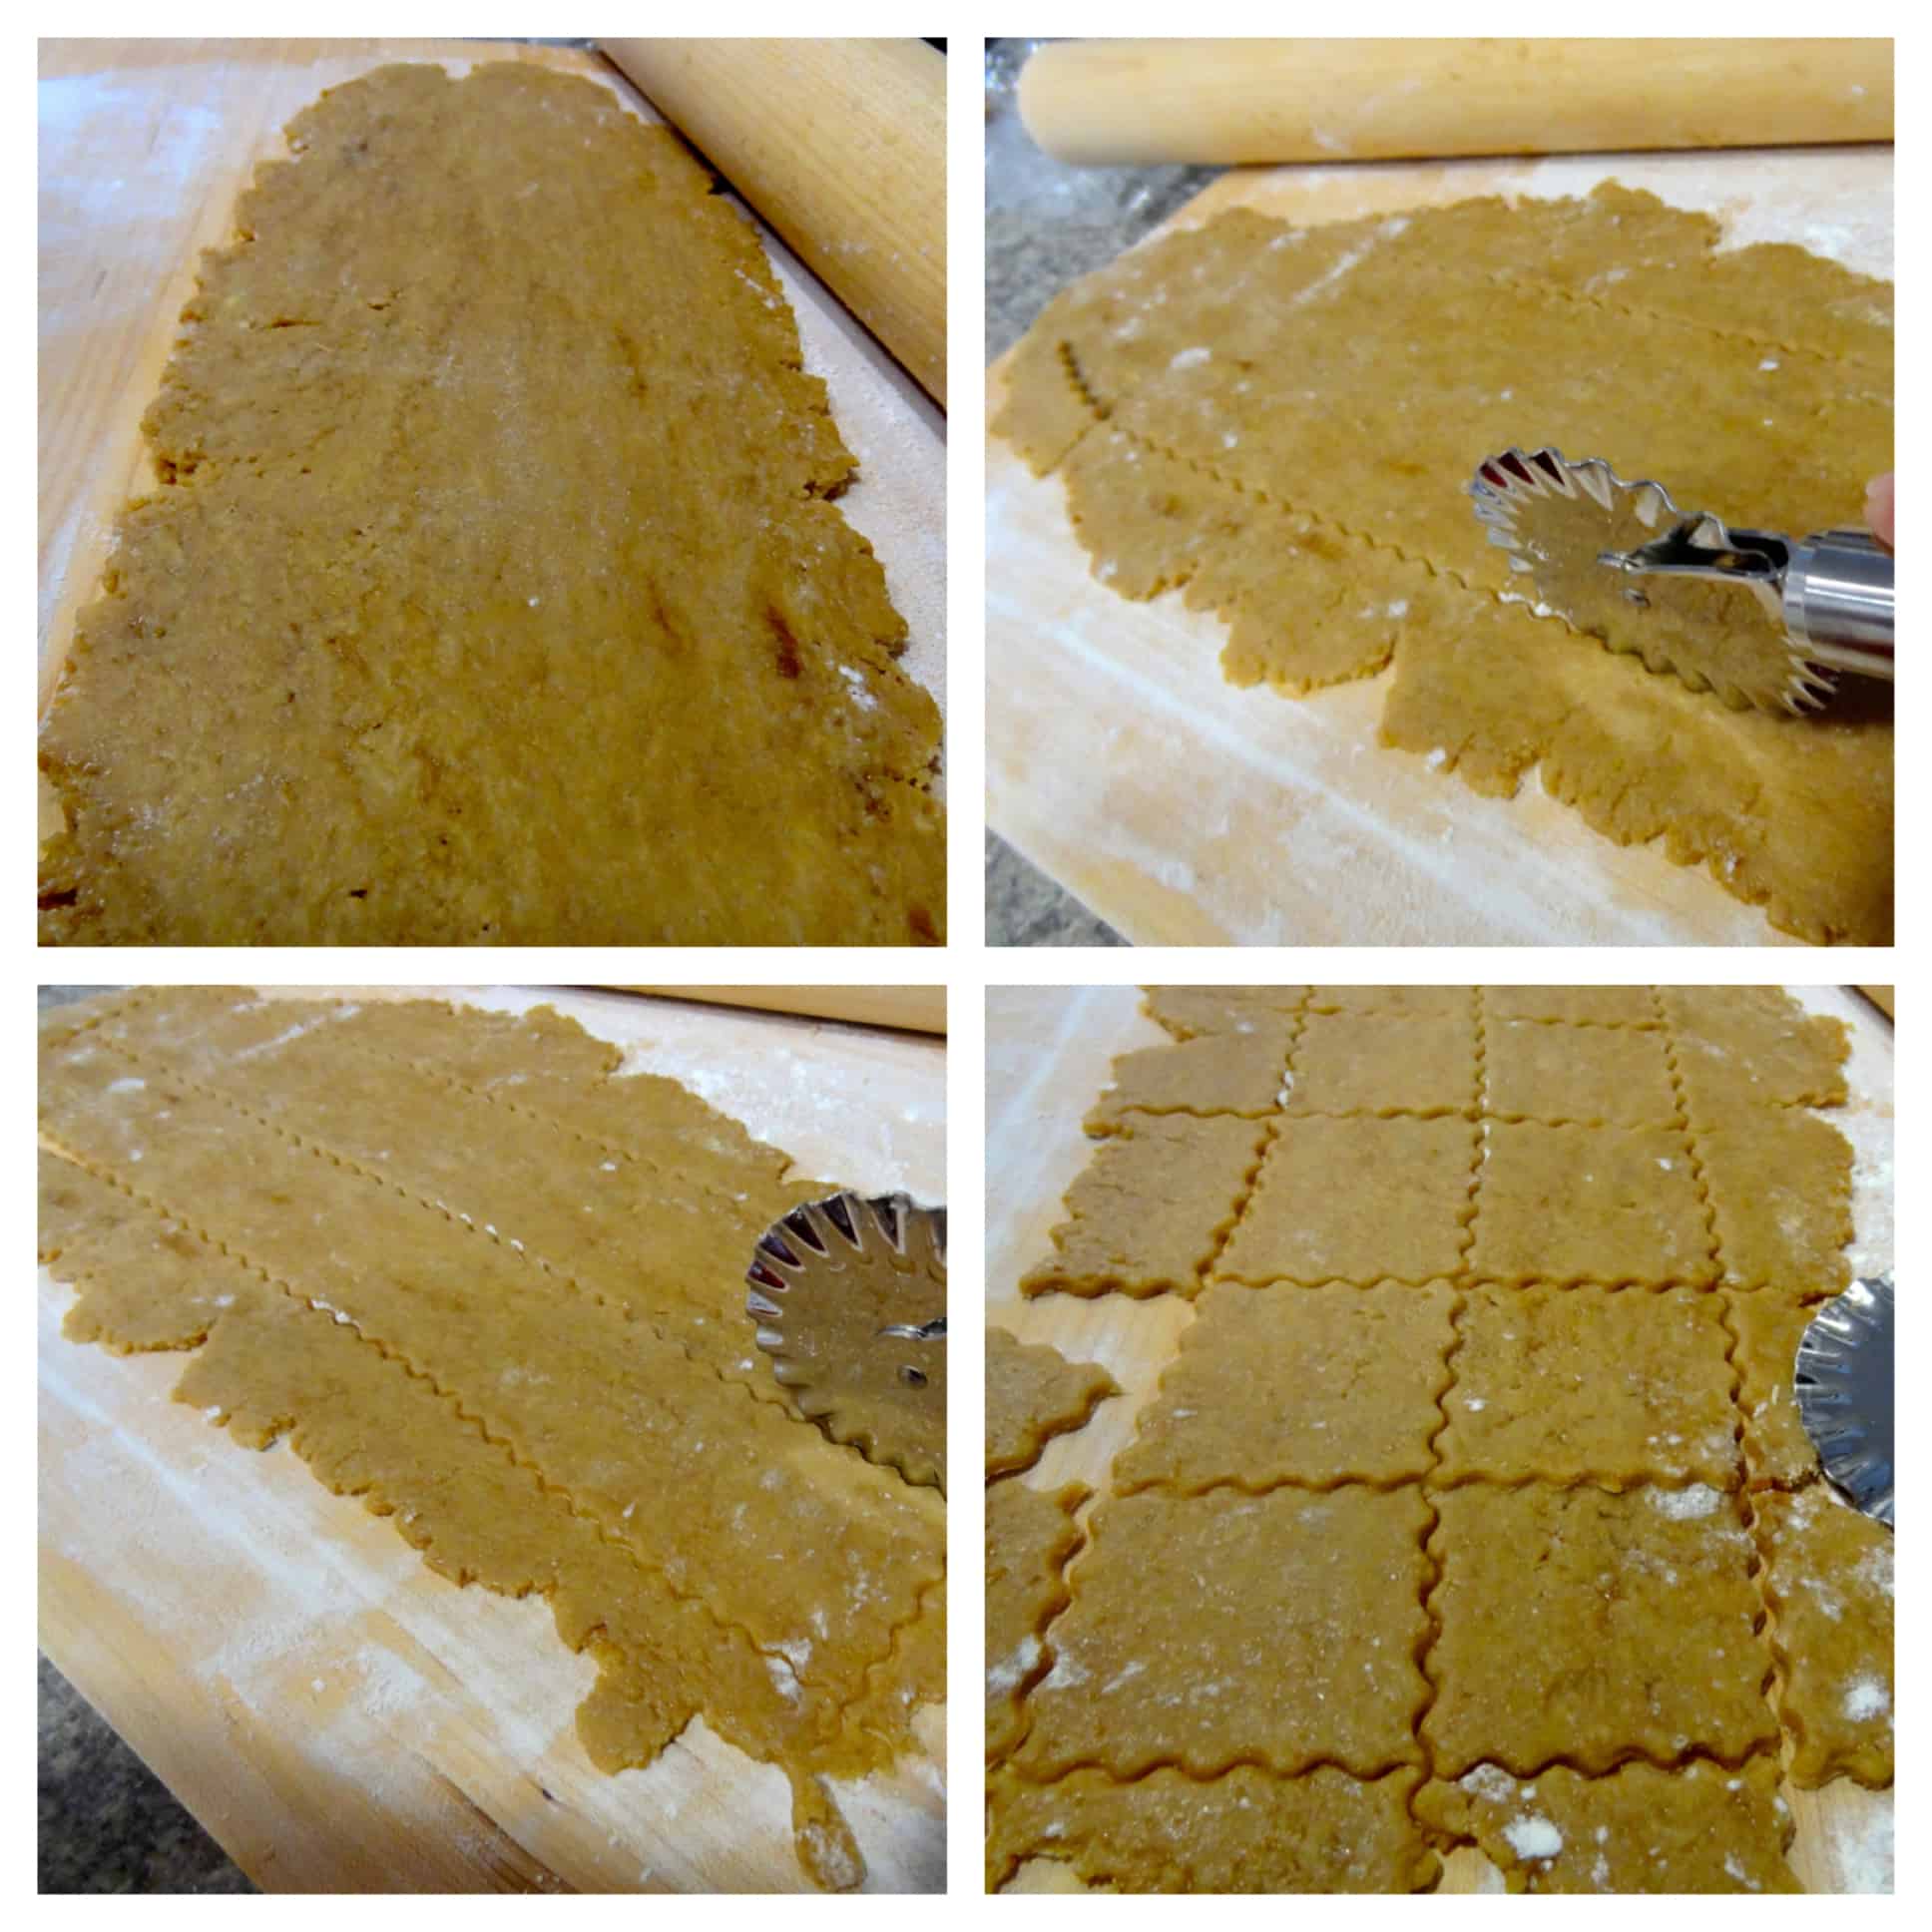
I made 2-inch square crackers using a fluted pastry wheel as follows:
- Position the dough with the long side of the rectangle parallel to the edge of your work surface.
- Trim the rough edges from your dough so that you have a neat rectangle.
- Make a single cut down the center, the entire length of the dough, to make 2 long strips. My dough was about 4 inches wide; if your dough is wider, or if you want to make a different sized cracker, cut in equally spaced increments (e.g. if your dough is 6 inches wide and you want 2-inch crackers, make 2 evenly spaced long cuts to create 3 long pieces of dough).
- Cut across the width of the dough in 2-inch increments until you’ve cut the entire piece of dough into small squares.
Transfer the dough squares to one of your prepared cookie sheets. Gather and re-roll any dough scraps and repeat the cutting process until you’ve filled your cookie sheet. (If the dough gets too soft and sticky to work with, gather it into a ball, wrap, and put in the freezer until firm enough to handle.) Sprinkle each one with your desired amount of cinnamon-sugar topping—I prefer a light dusting. The dough will have warmed up and softened during the rolling/cutting process, so it’s important to chill the crackers before baking. Place the sheet pan in the fridge for about 30-45 minutes or 15-20 minutes in the freezer.
Meanwhile, preheat the oven to 350°F. I prefer to bake one sheet at a time in the center of the oven, but you can also bake both pans on the upper and lower racks simultaneously; remember to rotate the pans halfway through baking.
Repeat the rolling/cutting/chilling process for each dough round that you wish to bake.
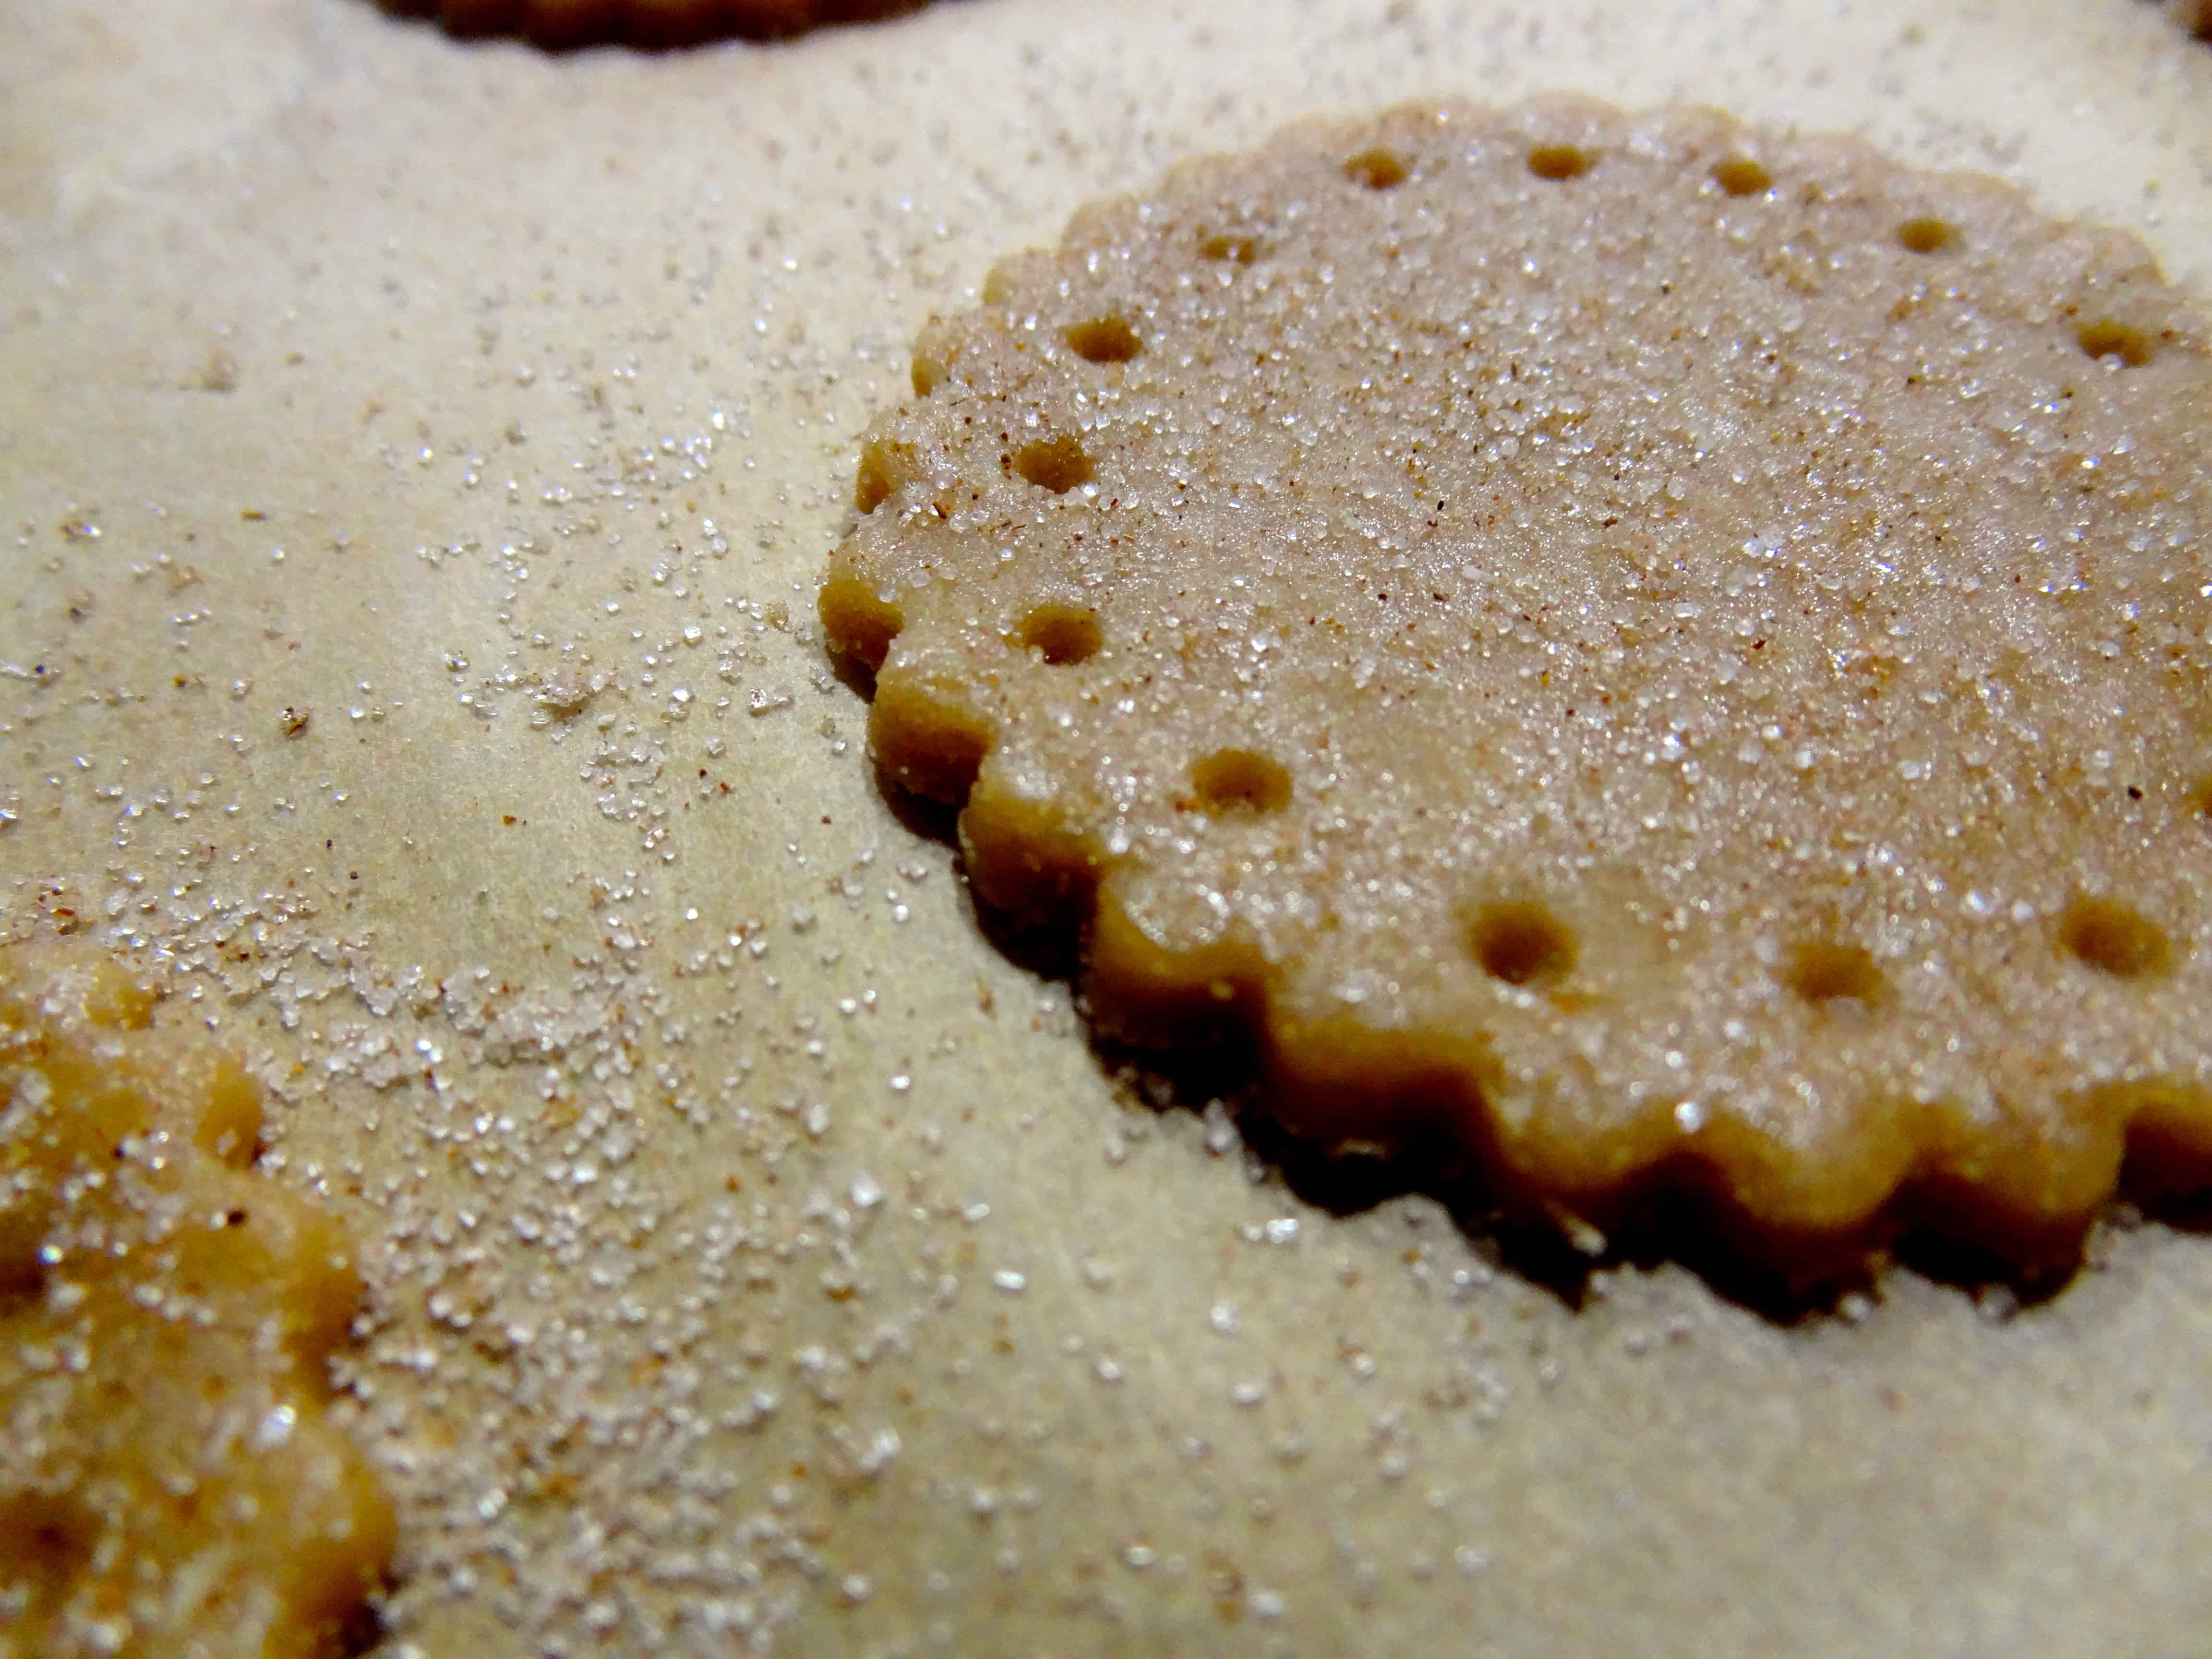
Once the dough is chilled, the final step is decorating the crackers with those distinctive “dots”. Using a toothpick, the blunt end of a wooden skewer, or the handle end of a skinny paintbrush, gently press into the dough in evenly spaced increments, leaving about a ½-inch border from the edge. I found it easiest to mark the four corners first and then fill in the middle dots… but then, I’m a little obsessive about my evenly spaced patterns. 😉 Take care not to press all the way through your dough.
Alternatively, if you’ve chosen to cut your dough into other shapes, you can decorate with any dot pattern you’d like, or no dots at all if you’re feeling rebellious! For my circles and hearts, I made dot impressions in a single line along the edge of the cracker shape.
If your dough has softened while decorating, pop the pan into the freezer for about 5 minutes to re-chill before baking.
The prescribed baking time given by Smitten Kitchen is 15-25 minutes, or until the crackers are lightly browned and slightly firm to the touch; rotate the sheet(s) halfway through baking. My first batch was over-browned and too crisp at 15 minutes, so I baked the rest for 12-13 minutes, which yielded a slightly toasted color around the edges and a pleasing, crisp “snap”—just right. Check them often in the last few minutes until you get the timing right for your particular oven.

Cool the baking sheets on wire racks for about 5 minutes, then slide the parchment with the crackers off the pan and directly onto the rack to cool completely.
Congratulations—you have just made your very own graham crackers! Let the s’mores-making begin! 🙂
© Dafna Adler & Stellina Sweets, 2013.
One Response