I’ve talked before on this blog about my comical gaps in 80’s American snacking and cuisine, due to my parents moving our family from Israel to California when I was 4 years old. Things like PB&J, Twinkies, and Cheez-Wiz (*shudder*) were not part of my lunchbox experience growing up. One thing, however, that quickly made its way into our household was that classic snack to end all other snacks: the glorious Rice Krispie Treat. I loved that commercial with the mom who poufs flour all over herself to give the appearance of having slaved over the stove… but the treats are long done and she’s reading a romance novel in the kitchen while the kids wait in the other room!
This week’s Baked Sunday Mornings recipe pays homage to Mildred Day, inventor of the famed rice-cereal-and-marshmallow squares. We made Chocolate Rice Crispy “Cake” with Homemade Marshmallow “Icing” from Baked Occasions, which was unlike any “cake” I’d ever made before. I reeeeally wanted to love this recipe. The idea is fantastic, but the execution was, sadly, a little underwhelming. Still, if you eat it right away, it’s a fun treat, and I give it high marks for creativity. (I’m sure kids would gobble this up and have fun playing with the marshmallow layer!)
You’ll start by making the marshmallow; this was actually my first time making it from scratch! I’ve made “marshmallow” frosting before for cupcakes and such, but that type of mixture is usually a meringue made of egg whites and sugar syrup. To achieve the texture of actual marshmallows, one must bust out… the gelatin. Gelatin can be a little intimidating to work with, and there’s definitely an “ick” factor for some people, but it’ll do the trick to produce light, fluffy marshmallows that will hold their shape. Gelatin comes in two forms, powder and sheets, both of which need to be hydrated before use. I prefer gelatin sheets because they are easy to handle and less messy; however, there is one complication with these: they come in different “bloom” strengths, meaning that they carry different levels of gel hold. If you are not using the correct bloom strength for the amount of liquid are you trying to gel, you’ll end up with either a melty mess or a block of rubber, depending on whether you under- or over-bloom. I tinkered with gelatin sheets last spring when I made Matzah Tiramisu Cake and wrote about the subject extensively, including resources for how to work with it if you care to nerd out on gelatin! 😉
Anyway, this recipe calls for sheets, which is what pastry chefs tend to use. That is all well and good, except that the recipe doesn’t specify the bloom strength. Sheets come in Bronze/Silver/Gold/Platinum strengths, and Silver tends to be a good default, so I went with that.
Before you start cooking anything, there are a couple of things to prep: grease two loaf pans and line one with parchment; measure out some of the corn syrup into your stand mixer bowl and fit the mixer with the whisk attachment.
Then you can start– you’ll see in a sec why it’s important to have that stuff ready. You’ll first place the gelatin sheets in a bowl and fill it with enough cold water to cover the sheets (fold them over and submerge). Set this aside while you put a pot of water on to simmer, and melt together in another pot the sugar, water, and part of the corn syrup. When this mixture comes to 210°F on a candy thermometer, you’ll turn back to the bowl of gelatin sheets to drain the water and wring out the sheets. Trouble was, after soaking for so long, the gelatin had started to disintegrate, so it was very difficult to handle them long enough to squeeze out the water. I was worried that there was too much water left, but there was nothing I could do about it that point.
Put the sheets back in the bowl and set the bowl over the pot of simmering water; stir to melt the gelatin. When it’s liquified, turn the mixer on low speed (into which you have already measured out the rest of the corn syrup) and pour the hot gelatin in. This is tricky because your bowl will be hot, and you have to pour the gelatin precisely between the mixer bowl and the moving whisk, lest you end up with gelatin flinging around the bowl! (I was definitely not able to snap a photo of that step!) Keep the mixture moving while you go back to the bubbling sugar syrup on the stove and take it up to the range of 234-240°F. (If the gelatin stops moving, it will start to set, which is not what you want yet.) You’ll then turn up the mixer speed and also pour this mixture into the bowl with the gelatin. Beat for about 5 minutes; it will turn white, fluffy, and mucho voluminous!
Oh– and if you’re reading that and thinking, “Uhhhh, that’s a lot of steps to do at the same time…”, you’d be right. 😉
You’ll quickly scoop the marshmallow into the 2 loaf pans, one of which will be the top layer for the “cake”, and the other will make the marshmallows (with lots of extra) for the chocolate rice crispy mixture. It will start to set right away, so you’ll want to disturb the pans as little as possible at this point and allow them set for at least 4 hours.
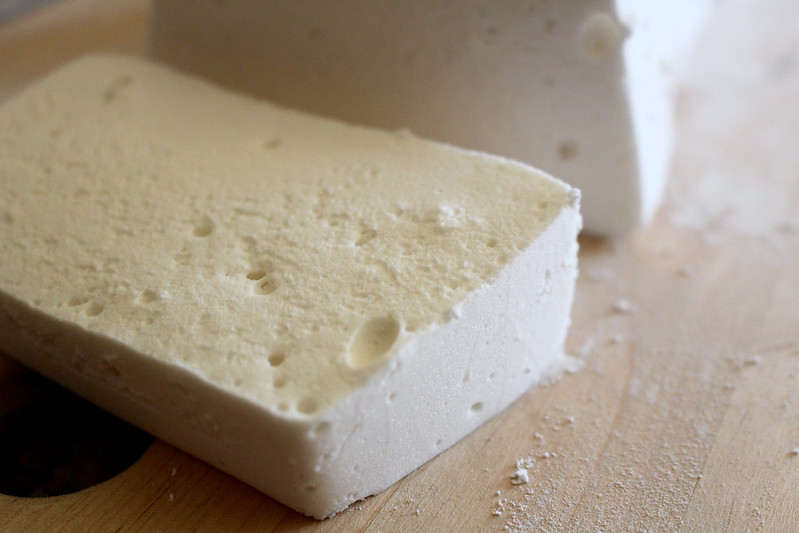
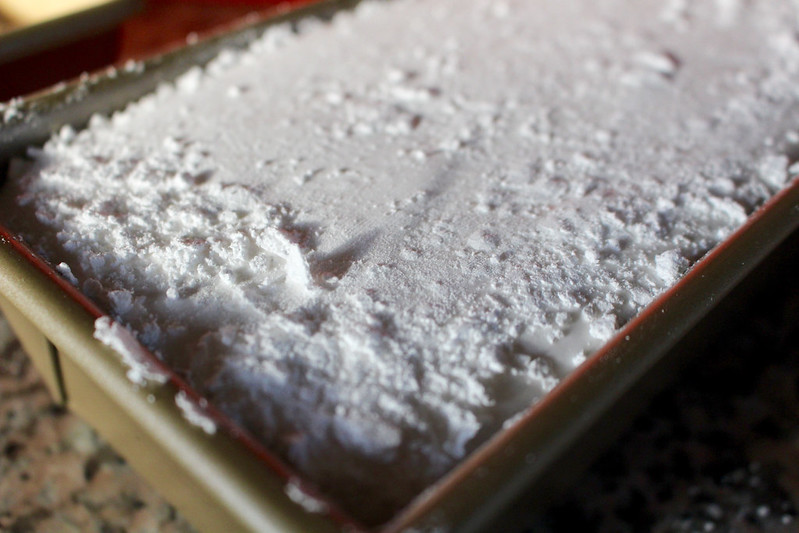
I let mine rest overnight, and I was amazed that the white goo in the larger of the 2 pans had, indeed, turned into one giant marshmallow! I cut it up into cubes and tossed them in confectioners’ sugar, some of which need to be set aside for the “cake”, while the rest can go straight into your mouth. (They are very tasty on their own, I must say.)
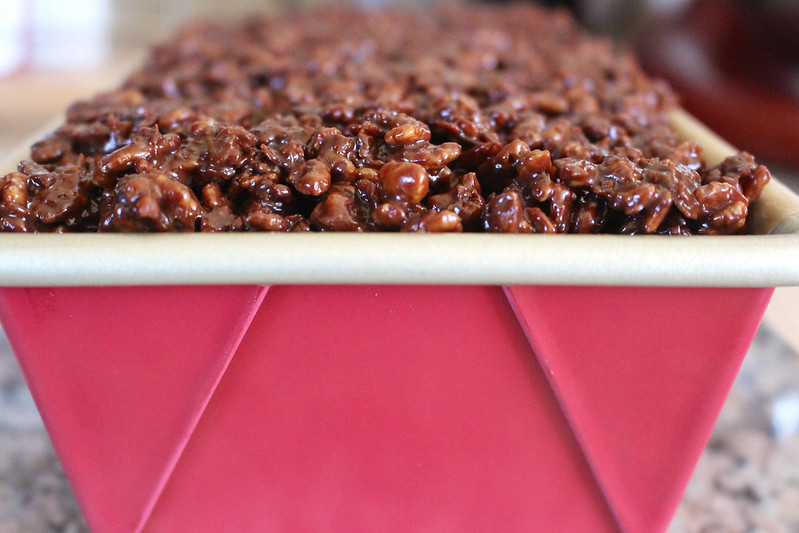
To make the rice crispy mixture, melt the butter and add the marshmallows and half of the dark chocolate (I used Guittard 72% Coucher du Soleil couverture wafers), stirring to melt everything together. Then stir in the cereal and the rest of chocolate until everything is melted and coated.
One of the other bakers had mentioned that the rice crispy portion is a little soft, so I subbed 85g feuilletine (because it possesses magical crunch properties) for cocoa krispies, in the hope that the chocolate mixture would retain more crispness. You’ll then pile the gooey cereal on top of the marshmallow layer in the second loaf pan and gently pack it down into a uniform brick-like shape.
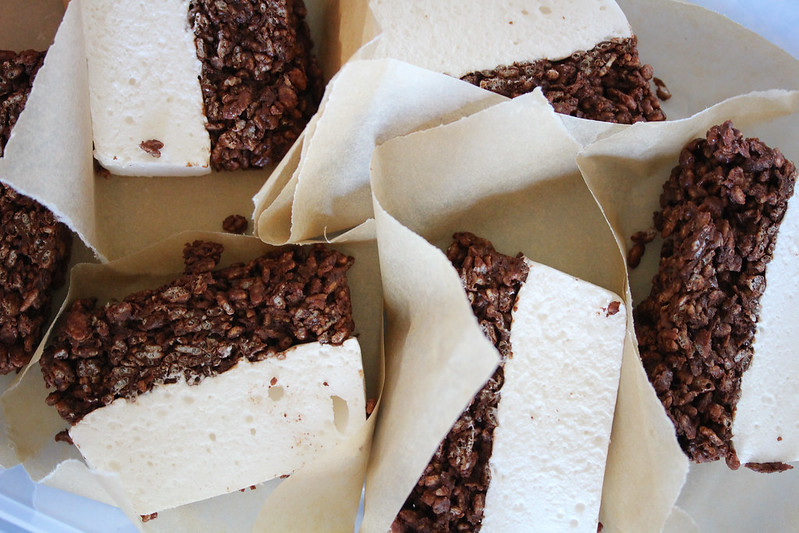
After setting for about 30 minutes, I was excited to unmold my chocolate-marshmallow loaf! It is a fun, whimsical “cake”, but I was bummed that the feuilletine did nothing to improve the soft, crumbly texture of the cereal. This could be due to too much marshmallow or butter, or perhaps is related to the added chocolate?
I sliced it like one would a regular loaf cake, and I did enjoy the flavor on that first day. Sadly, the “cake” slices did not keep well, despite an alleged shelf life of 5 days. After a few days, the rice crispy portion was weird and mushy, almost chalky; the marshmallow topping had become slimy as well. The extra marshmallows did not keep AT ALL– despite being dusted with plenty of confectioners’ sugar, they were slimy the next day. I’m not sure if this was due to baker error or the particularly nasty heat in the kitchen that week, or if that’s simply what happens…
Still, all in all, it was a fun recipe to try, and I think kids would love it. I can offer these tips for success:
- Have all your ingredients ready in their various vessels, i.e. follow the directions for mise en place! You’ll have to work pretty quickly when you add the marshmallow ingredients and go back and forth between different pots/bowls, so it’s important to have the ingredients next to you and all measured out ahead of time.
- Soak the gelatin sheets for just a few minutes– if you leave them for the entire time as prescribed (while doing the other steps), they start to fall apart and it becomes virtually impossible to squeeze them out. They are much easier to handle if they are just softened. Because of this, I had more water than desired in the bowl when I put it over the heat to melt, so I wasn’t sure if the marshmallow texture would be affected, but luckily it turned out to be okay. (Or does that have anything to do with my slimy marshmallows??)
- I would recommend melting the gelatin in a vessel with a spout if you can; it is very hard to pour hot gelatin out of a hot bowl down the side of the mixer and not splash the moving whisk– it must be poured precisely between the whisk and bowl. Consequently, some gelatin dribbled down the side of the glass bowl and onto the counter– it is hard to control. Fortunately I didn’t lose enough to affect the structure of the marshmallow!
If you want give this one a whirl, head to Baked Sunday Mornings for the recipe for Chocolate Rice Crispy “Cake” with Homemade Marshmallow “Icing”, and you can see how the other bakers fared with it as well. If someone figures out a way to firm up the rice crispy layer, please holler– I would love to make a better version of this! There is nothing like the satisfaction of biting into a perfect rice crispy treat… *sigh*
© Dafna Adler & Stellina Sweets, 2015.


6 Responses
I am in the midst of making the chocolate part now, but the marshmallow is all ready! I’m a little bummed the rice krispie part isn’t that great though. Oh well. Your photos are beautiful as always!
Thank you! 🙂 Yeah, I was so happy with how the marshmallows came out, except that they didn’t keep. I’d love to figure out a way to make the cereal part better!
I agree-having everything measured out before hand is crucial for this recipe. I actually put mine in the fridge for days 2-4/trash and they stayed relatively firm. I think it is the extra chocolate that is mixed in with the rice cereal that is causing the problem as well as the marshmallow icing (I did not store mine with this layer). Let us know if you try this again with success.
Interesting– yes, I imagine that it would stay more firm in the fridge. I will definitely let you know…
I’m with you on discovering American classics at a later stage-found out about Twinkies in a Blue Man Group performance..
LOL! Don’t get me wrong– we *wanted* Twinkies, but since they aren’t kosher, my mom wouldn’t buy them. Now I don’t keep kosher at all, but I stay away from that nasty junk food because I don’t want to die. 😉