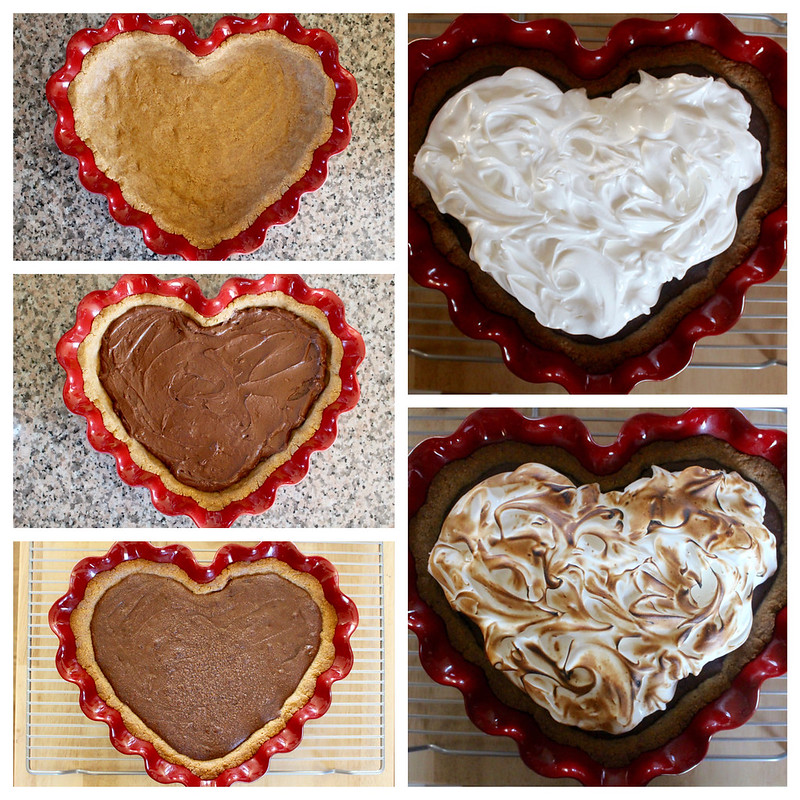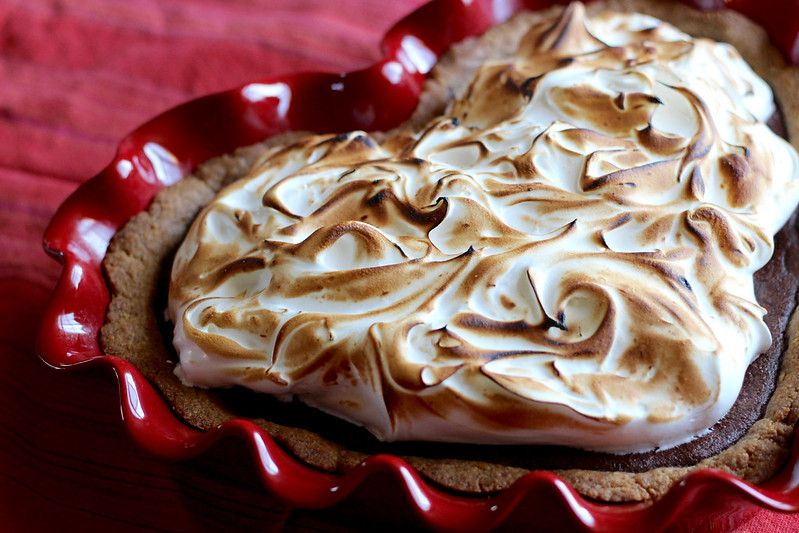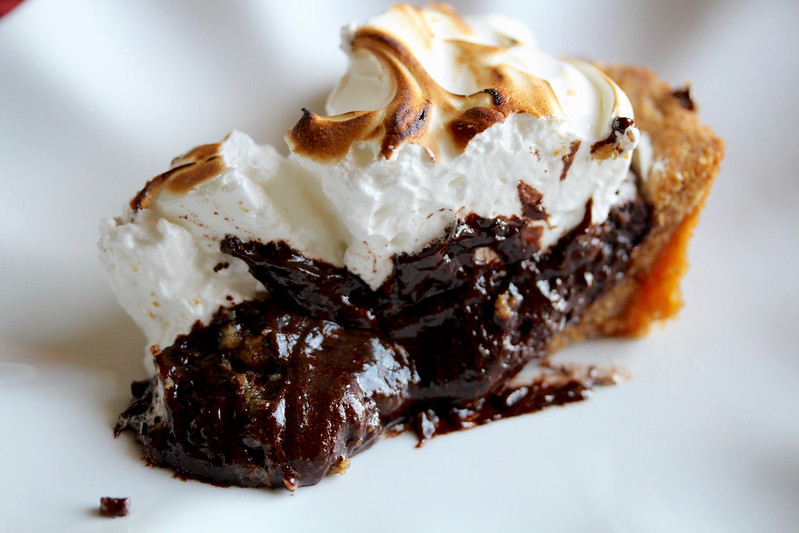
Oh S’mores, how do I love thee? I love thee over a campfire, in cupcake form, as an ice cream flavor, and I definitely love thee in a pie dish! Especially a ruffly, heart-shaped pie dish in February, to be more specific. There are few flavors that I adore more than the glorious trifecta of graham, chocolate, and marshmallow, and I personally try to put into the world as many iterations of them as possible. And really, what shows more love than heart-shaped s’mores?? I’m personally always delighted to learn of new and exciting ways to incorporate s’mores into my life (such as this and this), so I hope you will enjoy a pie version. I fell head-over-heels for Momofuku Milk Bar‘s Brownie Pie not long after acquiring their book a few years back, and let me tell you, it is one of the most luxurious, decadent, indulgent desserts you will ever eat. It might even make you want to stick your face directly into the pie and forgo eating utensils and social etiquette altogether, I won’t judge. The chocolate filling is a perfect cross between brownie batter and pie filling, with little bits of graham crust mixed in– I love this slight textural contrast and the extra hit of graham. And that graham crust… well, I could house an entire batch on its own, if you must know– no pie needed. The only thing I could think of to make this pie even better was adding a fluffy, swirly marshmallow meringue topping, thereby making it not only a brownie pie, but a S’mores Brownie Pie. (Now, if you want to get technical, the meringue isn’t actually marshmallow, since there is no gelatin in it, but it mimics the flavor and texture such that I can still in good conscience call it ‘s’mores’.)
I have made a slight adjustment to the original Brownie Pie recipe in the quantity of pie crust (details below). Even without the meringue addition, I prefer a more potent graham presence, but especially because the graham should be emphasized in the spirit of maximum s’moresness, I upped it even more. Naturally, you can adjust it to your liking.
As for the meringue, I chose the one used in Bon Appétit Magazine’s “no-bake” chocolate cream pie because it allegedly could withstand a day in the fridge without weeping. I’m afraid to report that, sadly, this was not the case; the meringue wept like a baby. I’m not sure if it was because I under-whipped the meringue (I like it a little softer), or because the egg whites are uncooked, or just simply because that’s how meringue rolls, but I would recommend making and applying the meringue right before serving. I did a little research, and some sources said to apply meringue to a hot pie surface, but I wouldn’t really want to do that with this pie because you want that crackly brownie crust to set; I think that recommendation pertains more to a fruit curd pie (e.g. lemon meringue).
This particular pie was way looser than previous times I had made it, so at first I wondered what had gone wrong. Well, if you regularly take photographs of food (and I realize that most normal people don’t, at least not 174 of the same dish), you may be intimately familiar with the constant race for natural light. In my haste to photograph the pie before sundown, the pie hadn’t set as much as I would have liked; I realized that I had cut into it much sooner than the other times, and didn’t give it enough time to set/chill. If you prefer it more pudding-like, there’s no need to wait or refrigerate it right away. If you want it firmer (my preference), let it chill in the fridge for a few hours or overnight once it’s cooled to room temperature. Then add the meringue and bust out the kitchen torch for toasting. Basically, you can adjust the timing to your preferred pie texture; if you want a firmer pie like me, allow several (up to 24, even) hours before you plan to top and serve it. It will be worth the agonizing wait, I promise.
This pie is a veritable textural symphony in your mouth. You’ve got two levels of creaminess, plus that crisp/tender crust… plus all those s’mores flavors ALL UP IN THERE. You can certainly make this for any occasion throughout the year, you can make mini pies, or you can probably make a giant slab pie if your heart desires. The most important thing is having S’mores Pie in your life as much as humanly possible, and what better occasion to start than sharing with your favorite sweetheart?
Happy Valentine’s Day! 🙂
S’mores Pie
Adapted from Momofuku Milk Bar by Christina Tosi & Bon Appétit Magazine
Yields 1 9″ pie
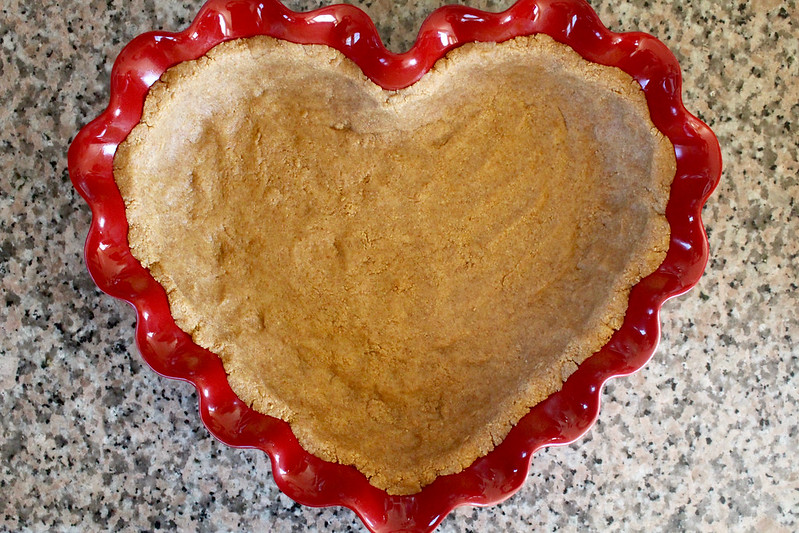
The original Brownie Pie recipe calls for ¾ recipe Graham Crust. I found that to be a very meager crust, and I like a more substantial one because graham crackers. I started off with using one full recipe, but I increased it for this pie to a 1½ recipe to accommodate the shape and frills of the heart-shaped pie dish. I have also made it in a deep round dish and would continue to employ the thicker crust personally; you can decide how much you want based on preference.
Use the best quality chocolate you can here, as this is a seriously chocolate-centric recipe. I used Guittard 72% “Coucher du Soleil” couverture wafers, which need no chopping. Other great choices would be Valrhona, TCHO, or Scharffen Berger.
Also, the original recipe calls for a 10″ pie pan, but this yields a thinner pie. For a thicker pie like this, use a 9″ pan.
For the crust:
- ¾ – 1½ recipe Graham Crust, divided
For the brownie filling:
- 4 ½ ounces (125 grams) high-quality 72% chocolate, chopped
- 6 tablespoons (85 grams) butter
- 2 eggs, at room temperature
- ¾ cup (150 grams) granulated sugar
- ¼ cup (40 grams) bread flour or all-purpose flour
- 3 tablespoons (25 grams) cocoa powder, preferably Valrhona
- ½ teaspoon kosher salt
- ½ cup (110 grams) heavy cream
For the marshmallow meringue topping:
- 4 large egg whites
- ½ cup (100 grams) granulated sugar
- ¾ cup (85 grams) confectioners’ sugar, sifted
Heat the oven to 350°F and position a rack in the center.
Press the graham crust into the bottom and up the sides of a 9″ pie dish (see note above), reserving 55 grams (a little more than ¼ cup) to be added later to the pie filling. Place the pan in the fridge while you make the brownie batter. The crust can be made up to 2 weeks ahead; I like to make mine the day before. Wrap the pan tightly in plastic and refrigerate if making ahead.
Combine the chocolate and butter in a heatproof bowl and set it over a pot of simmering water (the bottom of the bowl should not touch the water). Melt them together, stirring occasionally, until the mixture is glossy and smooth.
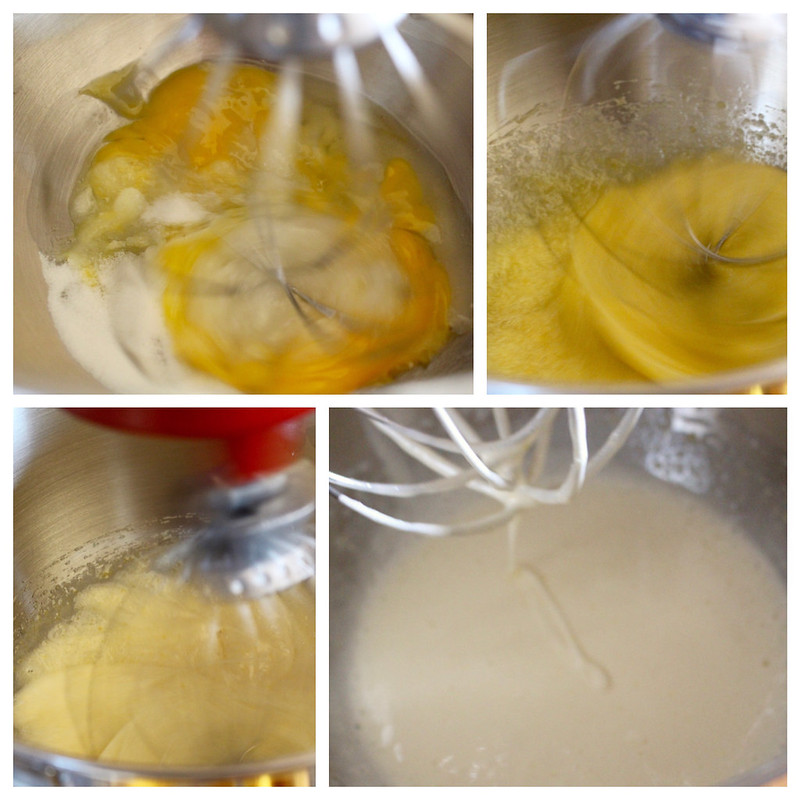
Combine the eggs and sugar in the bowl of a stand mixer fitted with the whisk attachment. Beat them on high speed for 3-4 minutes, until the mixture looks fluffy and pale yellow; it needs to reach the “ribbon” stage. To test this, remove the whisk, dip it into the whipped egg whites, and swing it back and forth gently; the mixture should drop off the whisk in a thick, silky ribbon that disappears into the batter. If not, keep whipping on high for another 30-60 seconds as needed and check again.
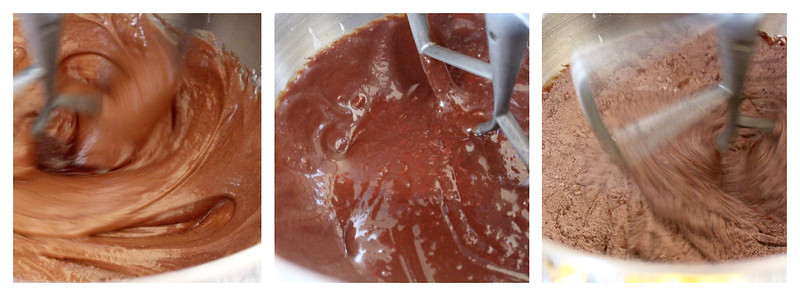
Switch out the whisk attachment for the paddle. Pour the melted chocolate/butter into the whipped egg whites and mix together on low speed for about 10 seconds. Bump the speed up to medium and beat the mixture for 1 minute, or until it is completely smooth and homogeneous. Scrape down the sides and bottom of the bowl; if there are any dark chocolate streaks, mix for a few more seconds or as needed.
Whisk together the flour, cocoa powder, and salt in a small bowl and add this to the batter. Mix on low speed for 45-60 seconds; scrape down the sides and bottom of the bowl, as well as the paddle. Make sure all the dry ingredients are incorporated; if there are streaks or lumps, mix for a few more seconds. Scrape down the bowl again. Your batter should resemble a thick brownie batter at this point.
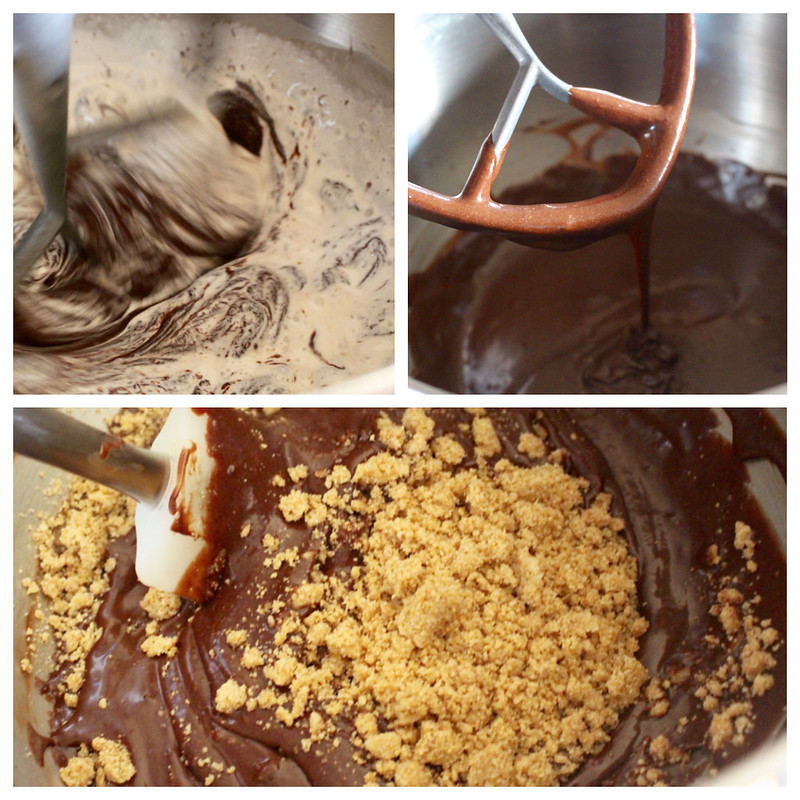
Turn the mixer to low speed and gradually stream in the heavy cream. Mix for 30-45 seconds, just until the batter has thinned out a little and the white streaks of cream are fully blended in. Scrape down the sides and bottom of the bowl.
Remove the bowl from the stand mixer. Fold in the remaining graham crust crumbs with a rubber spatula to distribute evenly.
Scrape the brownie batter into the prepared graham crust. Bake the pie for about 25 minutes, checking it at 20 minutes. It should puff slightly, especially on the edges, and develop a sugary crust on top. If the brownie pie is still very jiggly in the center and has not formed a crust, bake it for about another 5 minutes or so.
Set the pie on a wire cooling rack and allow it to cool to room temperature. If serving immediately, proceed to making the meringue once the pie has cooled completely; the pie filling will have a pudding-like consistency. If you are not serving it right away, cover the pie dish tightly in plastic wrap and chill in the fridge for up to 1 week. (You can allegedly freeze it for up to 2 weeks, but I haven’t tried this.) This will yield a firm, yet ultra-creamy, texture.
When you’re ready to serve the pie, make the meringue topping. In the bowl of a stand mixer fitted with the whisk attachment (hand-held mixer okay too), beat the egg whites on high speed until they are frothy and starting to gain a bit of volume, about 2 minutes. With the mixer on low speed, stream in the sugar, then turn the speed back to high and beat for about 5 minutes, or until stiff, glossy peaks have formed.
Turn the mixer back to low and gradually add the confectioners’ sugar. The egg whites will deflate a bit, but they will regain volume after another 2 minutes or so of mixing on high. Turn off the mixer and remove the whisk. Invert the whisk– the meringue should hold stiff peaks that don’t flop over. (I like mine just a little softer– go with your preferred meringue texture.)
Scrape the meringue onto your cooled/chilled pie. Using a small offset spatula, spread it evenly towards the edges, creating a swirly pattern as you push outward.
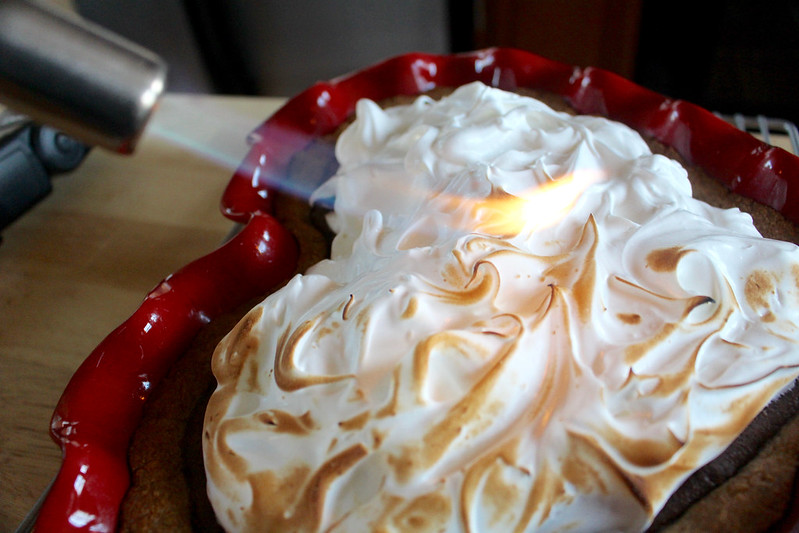
With a kitchen torch, toast the meringue to your liking. Alternatively, you can slip the pie under the broiler for a couple of minutes, but keep a very close eye on it. (If you do this, make sure your pie is not straight-from-the-fridge cold.)
Let the topping set for about 5-10 minutes and serve. Cover any leftover pie with plastic wrap and store in the fridge for a day, though the meringue will get sad reeeaal quick.
© Dafna Adler & Stellina Sweets, 2016.


