Chocolate. Butter. Eggs. Sugar. That is all you need to make this wickedly dark and decadent Flourless Chocolate Cake. I don’t think that much about flourless chocolate cake when it isn’t Passover (I know, I need to get my priorities straight), but during this week when the only bread product allowed is literally known as the “bread of affliction”, a sinful dessert is what I crave. The other 51 weeks of the year I take things like flour and leaveners for granted; they are among my most trusted kitchen companions, without whom dessert is but a shadow of possibility. During Passover, their absence signals a painful awareness of how vital they are in feeding my steady diet of baked goods. And so, we need to get really creative whilst commemorating the suffering of our people in Egypt. Sure, there is now an overflowing bounty of Passover “cake” mixes and “cereal” and “cookies” available on supermarket shelves that attempt to approximate their wheat-laden, non-Passover counterparts, so as not to inconvenience people during this holiday week. But… I don’t know, I feel like if you’re going to observe Passover, the whole point is to eat differently, not to rely on boxed food substitutions from Manischewitz. Mind you, of course everyone can practice in whatever way they see fit, but for me, the beauty of the holiday is to eat foods prepared especially for Passover, with Passover-friendly ingredients. (Disclaimer: I don’t necessary omit all bread products during the week, but I do my best to incorporate Passover-specific dishes as much as I can, particularly for the Seder.) I never make flourless chocolate cake except during Passover, because this ensures that it remains a special treat—especially after choking down matzah!
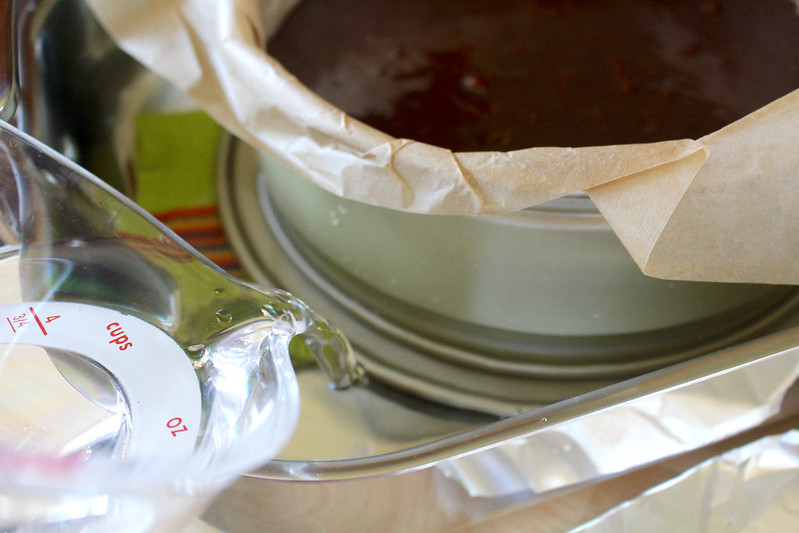
This recipe is from my beloved Ovenly cookbook. (Seeeeriously go buy this book if you don’t already have it.) One by one, every recipe I try from this book adds a new and special element to my baking repertoire. Most items in the book feature a salty or spicy twist on traditional recipes, but this one is pretty straightforward. I remember looking at it last year and dismissing it because it was complicated; when I looked again this year, the only reason I can see that may have led me to think that is that the cake gets baked in a water bath, and I didn’t have a good roasting pan at the time to do it in a way that didn’t involve a high likelihood of visiting the ER Burn Unit. Now that I have a small roasting pan, it was pretty easy. The recipe calls for a 9” round cake pan with at least 2” sides; I have struggled with Ovenly’s vanilla cake in the past because my standard cake pan (which claims to be 2” tall) is not actually 2” tall, and I wasn’t sure how crucial that is for this recipe, so I used a springform pan. The advantage of this was a) the cake batter definitely wouldn’t overflow, and b) water would be unlikely to slosh in from the top. However, I was worried about leaking batter and water seeping in from beneath, so I lined the pan bottom and sides with a single sheet of parchment paper to at least mitigate the first issue. I was concerned that the bottom of the cake seemed a bit wet, but once it had cooled, there was no problem. I found that the cake didn’t rise at all—in fact, it didn’t budge in the least during the hour+ of baking because the water bath is so gentle and there are no leavening agents in the batter, save for eggs. The nice thing about using the springform pan is that I didn’t have to disturb the perfectly smooth top of the cake while flipping it out of a regular cake pan, so I may just continue to use a springform in the future.
Even after cooling for several hours, the cake was difficult to move in one piece from the springform bottom to its platter—it required two people and three spatulas. If you use a springform, I would recommend leaving it on the pan and chilling it, making a lateral transfer much easier. (If you’re flipping it out of a regular pan, it might be a moot point.)
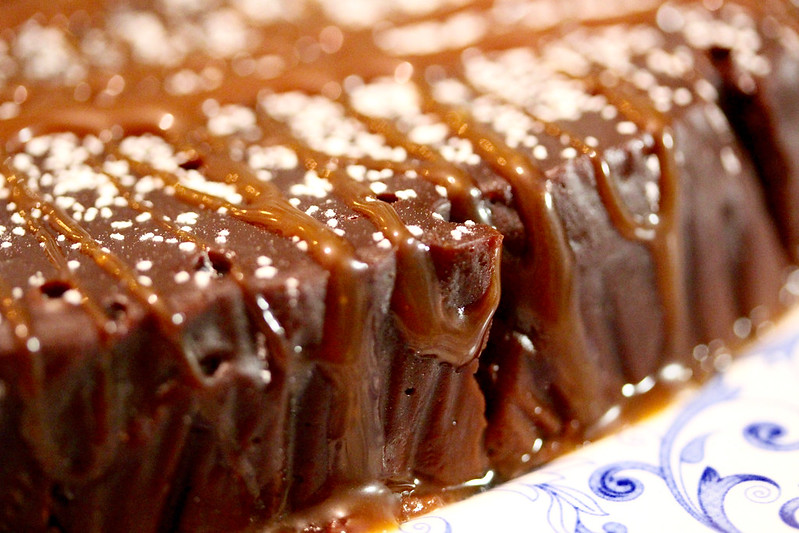
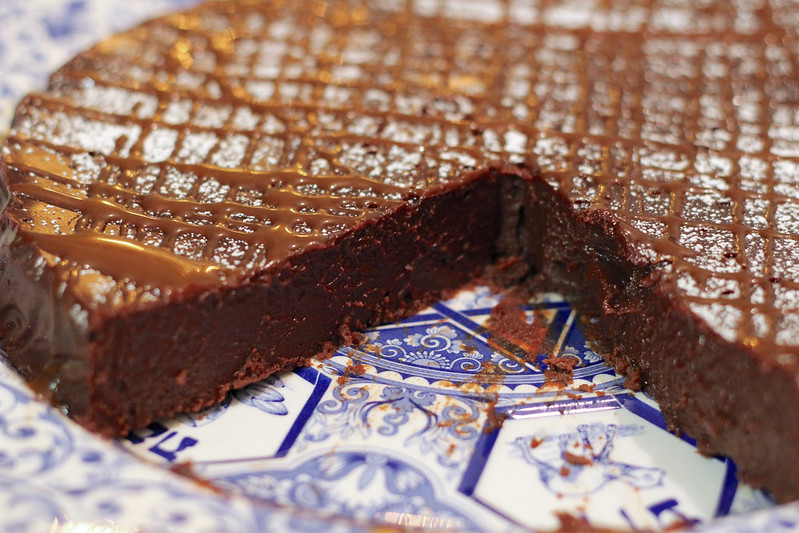
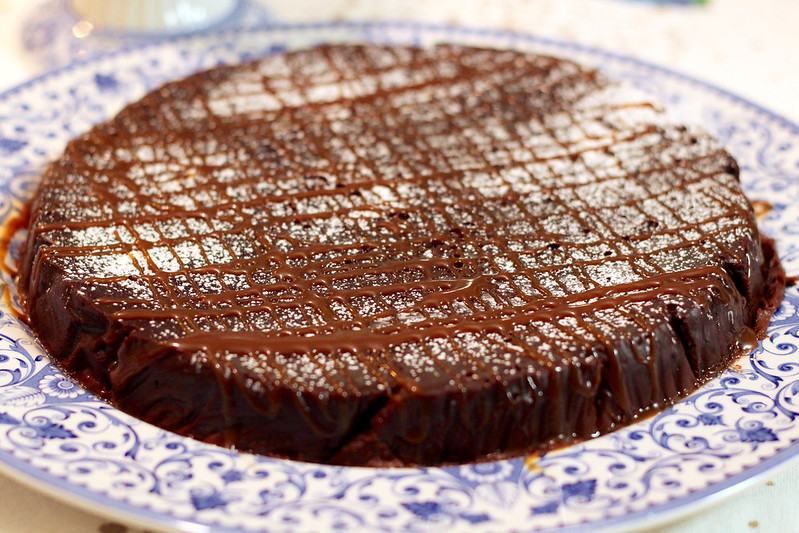
I topped the cake with drizzled salted caramel and sweetened whipped cream, as recommended, which were both nice foils for the richness and intensity of the cake. The texture is almost beyond comprehension, you guys. If you want a more pudding-like consistency, let the cake cool to room temperature and serve it within a few hours; it will stick cut into clean enough slices, but the texture will remain velvety. If you prefer a fudgier consistency, chill the cake before serving. If you want something in the middle, chill the cake, but let it come to room temperature before serving. Any which way, this chocolate ecstasy will make your eyes roll into the back of your head. (Surely that isn’t just me, right?!)
Enjoy the Passover decadence—no matzah required. 😉
Flourless Chocolate Cake
Adapted from Ovenly by Agatha Kulaga & Erin Patinkin
Yields 1 9” round cake
As with any chocolate-centric recipe, I cannot emphasize enough how important the quality of your chocolate is here. It doesn’t necessarily need to break the bank, but use a good-quality brand, preferably one whose cocoa percentage is listed.
For the cake:
- 14 ounces (1¾ cups) high-quality dark chocolate, preferably at least 60%, chopped (I used Guittard 61% “Lever du Soleil” couverture wafers)
- 7 ounces (1¾ sticks/14 tablespoons/200g) unsalted butter, cut into ½” cubes
- 50 grams (½ cup) granulated sugar
- 55 grams (¼ cup firmly packed) light brown sugar
- 55 grams (¼ cup firmly packed) dark brown sugar
- 6 eggs, at room temperature
- 1 teaspoon pure vanilla extract
For serving/garnish (optional):
- Confectioners’ sugar
- Salted caramel, warmed slightly to a drizzleable consistency
- Lightly sweetened whipped cream
Preheat an oven to 350°F and position a rack in the center. Line the bottom of a tall 9” round cake pan with parchment paper, or line the bottom and sides of a 9” springform pan (so that no batter can seep out of the bottom). Lightly grease the parchment and any exposed sides of the pan with nonstick cooking spray or melted butter. You may also want to cover the bottom and sides of the springform pan from the outside in foil to prevent water leaking in if your springform pan isn’t super watertight. Prepare a small roasting pan or a larger cake pan by placing a kitchen towel in the bottom—you’ll later place the 9” pan inside, and the towel will prevent it from sliding around.
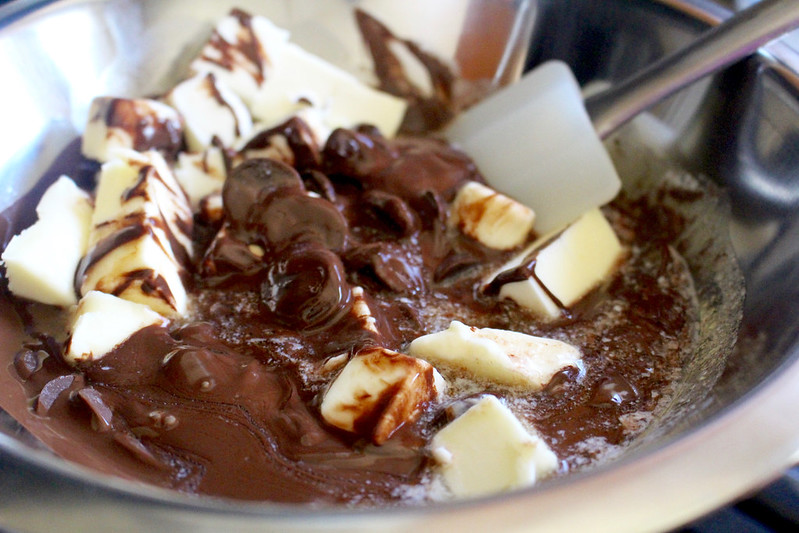
Place the chocolate and butter in a heatproof bowl set over a pot of gently simmering water over medium-low heat. (Don’t let the bottom of the bowl touch the water.) Melt them together until completely smooth and homogenous, stirring occasionally; let the mixture cool until just warm to the touch.
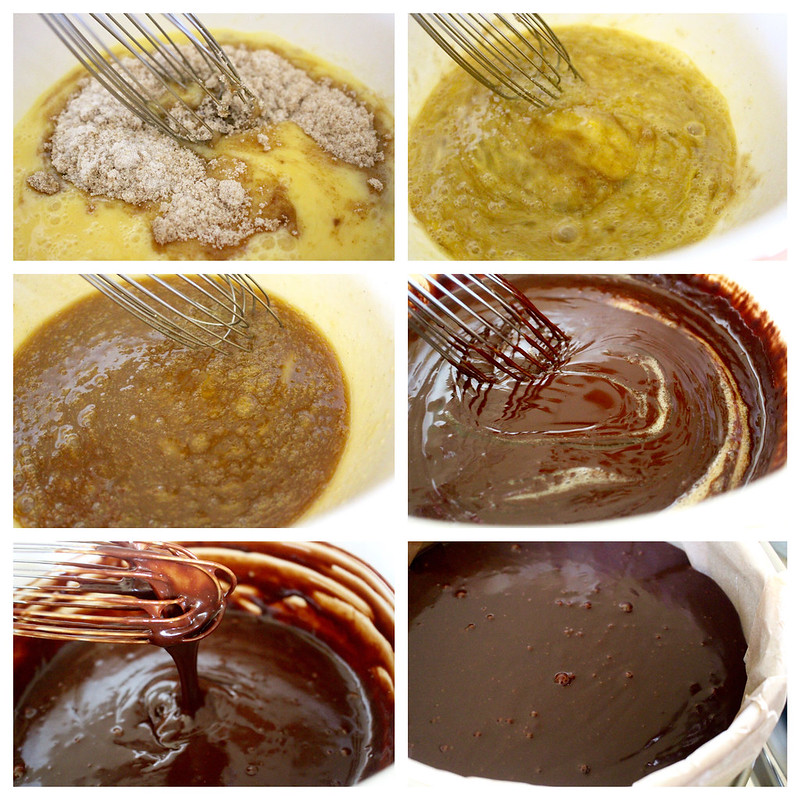
Place the sugars in a small bowl and whisk to combine, breaking up any lumps of brown sugar; set aside.
Whisk the eggs in a large mixing bowl and then whisk in the sugars and vanilla extract.
Pour the melted chocolate/butter into the egg/sugar bowl and whisk until the batter is completely smooth and no egg streaks remain.
Pour the cake batter into the prepared cake pan, and place the pan inside the larger pan. Carefully pour enough water into the larger pan so that it reaches about halfway up the sides of the 9” pan. Cover both pans tightly with aluminum foil and carefully transfer the whole thing to the oven.
The recommended baking time is 85-90 minutes; mine took an extra 10 minutes or so. Check for doneness by pulling back the foil (stand back as the steam escapes!) and gently touching the top of the cake—if your finger pulls away clean, it’s ready. If there is cake on your finger, re-cover the pans and put them back in for a few more minutes. (Mine still looked pretty liquidy at 80 minutes, and was not nearly set at 90, so I was worried, but it baked up just fine with a little extra time.)
When the cake is done, carefully pull the smaller pan out of the roasting pan and place it on a wire rack to cool for at least a couple of hours if using a springform pan, as it will be very fragile and difficult to move. It can be carefully unmolded at this point and transferred to a platter, or chilled in the springform pan in the fridge before unmolding. If using a regular cake pan, the original recipe says to cool the cake on the rack for 20 minutes, then flip it onto a serving platter. (I feel like it may fall apart with so little cooling time, but I’ve not known Ovenly to steer me wrong.)
Let the cake cool until it is just slightly warm, or allow it to cool completely, depending on how you plan to serve it. When you are ready to serve it, sift confectioners’ sugar over the top of the cake, then drizzle with the salted caramel. Serve the cake warm, chilled, or at room temperature with a dollop of lightly sweetened whipped cream. Store the cake tightly covered in the fridge for a few days.
© Dafna Adler & Stellina Sweets, 2017.


