
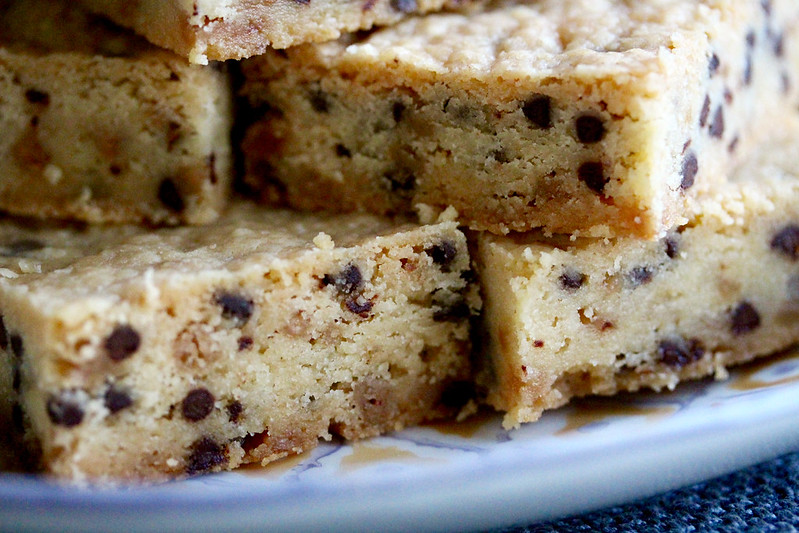
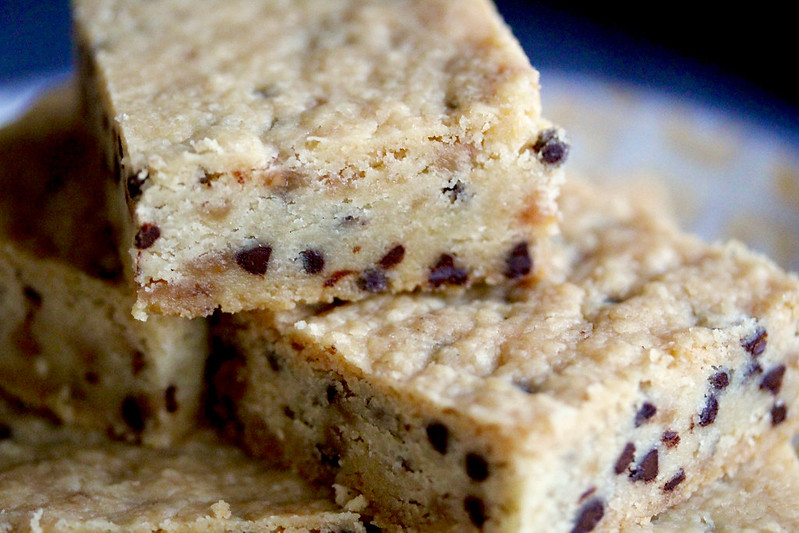
For bakers who like to tinker, accidents and failures are a common enough occurrence– mostly annoying, sometimes infuriating, but sometimes triumphant! In the best cases, they are great learning experiences that inform our future baking. (Like that’s any consolation when I’m throwing out four sticks of butter, but yeah, afterwards. 😉 ) Shortbread is one of those things that I hope to master to perfection someday; for now, I’m learning the ins and outs of the simple combination of butter, flour, sugar, and flavorings that result in those tender, toothsome, melt-in-your-mouth cookies– it’s amazing how different shortbread turns out when you tweak these ratios. For instance, some shortbread recipes are structured enough that the cookies can stand up to being cut and baked individually, whereas others, like these Chocolate Chip Toffee Shortbread Bars, need to be baked in a pan and cut afterwards.
One of my favorite ever shortbread recipes is Ovenly‘s basic Buttery Shortbread. It is infinitely customizable; in addition to the scrumptious suggestions in the book, I have so many ideas, and this one ended up being a serendipitous hit. I meant to make a simple batch with mini chocolate chips and toffee bits in order to use up a stash of the latter, but the dough was so overly buttery that the batch baked and bubbled well past the 45 minute baking time– I was sure I’d done something wrong, and these were definitely going straight in the trash. (Although come to think of it, I was making a double batch, so it would have needed extra baking time anyway.) It was still bubbling away at 60 minutes with very little color on the top surface, so I turned up the heat for another 15 minutes or so. When I took the bars out of the oven, the top was beautifully golden to my surprise, and it looked like the bars had actually set after all, despite the actively bubbling butter. The bars turned out not only perfectly edible, but super delicious. They were crisper than the ones I had previously made by following the recipe as written, and I won’t go back. The one change I did make going forward was cutting the butter by one-half stick for the double batch. Some of the toffee bits had completely melted and sunk to the bottom, creating a crackly, caramelized toffee layer underneath. I highly recommend a crackly, caramelized toffee layer just sort of in general. Because yeah.
For me, the lower oven temperature of 275°F yielded lightly colored, anemic, under-baked shortbread. I decided to play with the temperature a bit to yield a golden color and deeper flavor. What worked for me is as follows:
- If you prefer your shortbread very lightly colored and slightly on the softer side, keep the 275°F temperature and bake it for about an hour, maybe a few minutes longer.
- My preference: If you want your shortbread slightly under-baked, but with a golden top, start baking at 300°F, then turn up the temperature to 325°F after 60 minutes and let the bars bake for another 10-15 minutes.
- If you want the bars extra crispy, keep the full amount of butter in the recipe (add a half-stick to the quantity below). Bake for 1 hour at 300°F, and turn the heat up to 350°F for another 15 minutes.
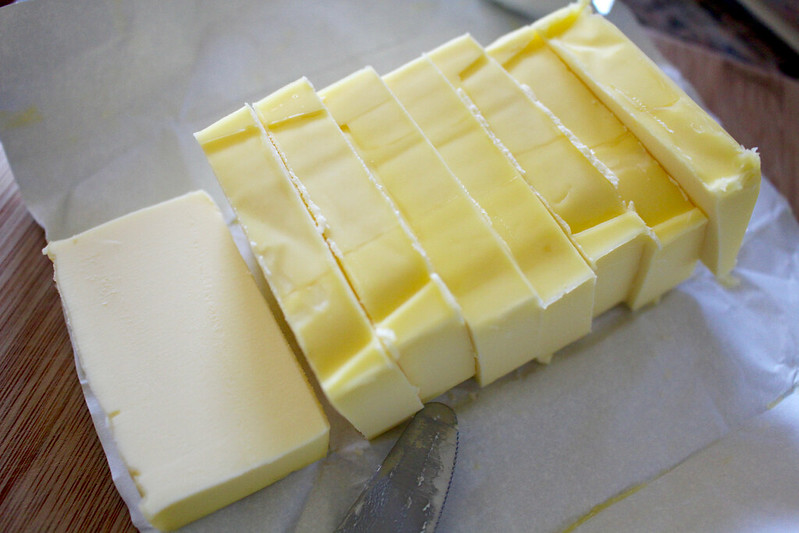
Oh– I should mention, even though it’s probably a given: Use the very best butter that you can afford here. I used Irish Kerrygold unsalted butter, which is my absolutely favorite when making rich, buttery desserts. European-style butter has at least 82% fat content (a little higher than American sweet cream butter), and it is cultured with good bacteria (this is a good thing), which gives it a slightly tangy flavor. You’ll also notice that cultured butter is a more vibrant yellow than the sweet cream variety. The quality of your butter will shine in the finished shortbread bars. Feel free to experiment with mix-ins, such as adding chopped, toasted almonds or pistachios. It’s also very important to use cold butter– take it out of the fridge right before you plan to start mixing. (Warmer, softer butter yields a greasier shortbread texture.)
Chocolate Chip Toffee Shortbread Bars
Adapted from Ovenly: Sweet and Salty Recipes from New York’s Most Creative Bakery by Erin Patinkin & Agatha Kulaga
Yields 24 bars
The butter temperature is very important– make sure your butter is quite cold, as this will affect the texture of your baked bars. Use the best butter that you can afford, since butter is the starring flavor in shortbread.
- 480 grams (4 cups) all-purpose flour
- 4 teaspoons kosher salt
- 130g (¾ cup) micro or mini chocolate chips
- 100g (heaping ½ cup) toffee bits
- 18 ounces (4½ sticks/508g/36 tablespoons) cold unsalted butter, preferably European-style
- 200 grams (1 cup) granulated sugar
Preheat an oven to 300°F and position a rack in the center. Line a 9×13″ baking pan with a single large sheet of parchment paper (or two pieces laid down in opposite directions) so that it overhangs on all sides; set aside.
Whisk together the flour, salt, chocolate chips, and toffee bits in a medium mixing bowl.
Place the cold butter pieces and the sugar in the bowl of a stand mixer fitted with the paddle attachment. Beat on medium-low for several seconds, then turn up the speed to medium and mix until the sugar is incorporated, but the butter is not whipped; you want it to be barely fluffy. It may get clumpy on the beater paddle since the butter is not softened, in which case stop the mixer and scrape it down as needed. Active mixing time should be about 2 minutes.
Add half of the flour mixture and mix on the lowest speed until most of the dry ingredients have been absorbed, then add the second half and mix. If you have loose bits of flour/chocolate on the bottom of the bowl, keep mixing for a few extra seconds until they get picked up, though be careful not to overbeat. Alternatively, remove the bowl from mixer and fold the loose bits up from the bottom to the top with a rubber spatula. Put the bowl back on the mixer and beat on low for a few seconds until all the dry ingredients have been incorporated; do not overmix. You can also do this by hand.
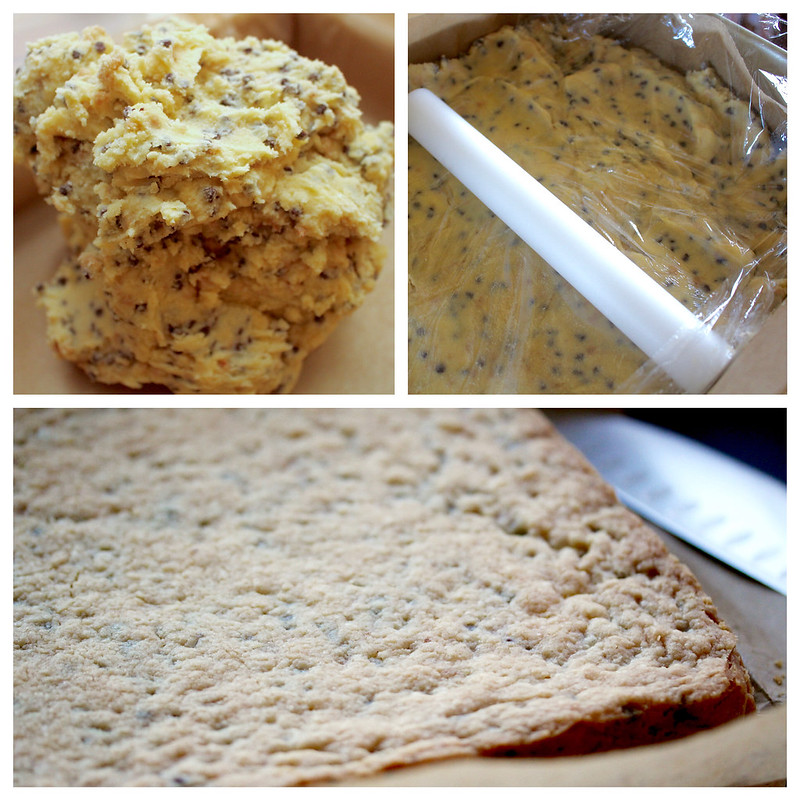
The dough should be cool to the touch and quite stiff. Transfer it to the prepared baking pan in a big mound, then gently flatten it with your hands and spread it evenly to the edges and corners. It does get sticky, and there are two things I would suggest to avoid this: 1) put on food-grade latex gloves to press the dough into the pan, or 2) press down the dough most of the way, then place a big piece of plastic wrap directly on the surface and use a mini rolling pin or a straight glass to flatten the dough evenly. I used a combination of both steps to get the flattest possible surface.
If the dough softens too much during the previous step, place the pan in the fridge for about 30-60 minutes, or until the dough firms up, then transfer it to the oven and bake for 45 minutes, rotating the pan halfway through. The butter will still be bubbling. Increase the oven temperature to 325°F and continue baking for another 25 minutes (or see the notes above if you have softer/crisper preferences).
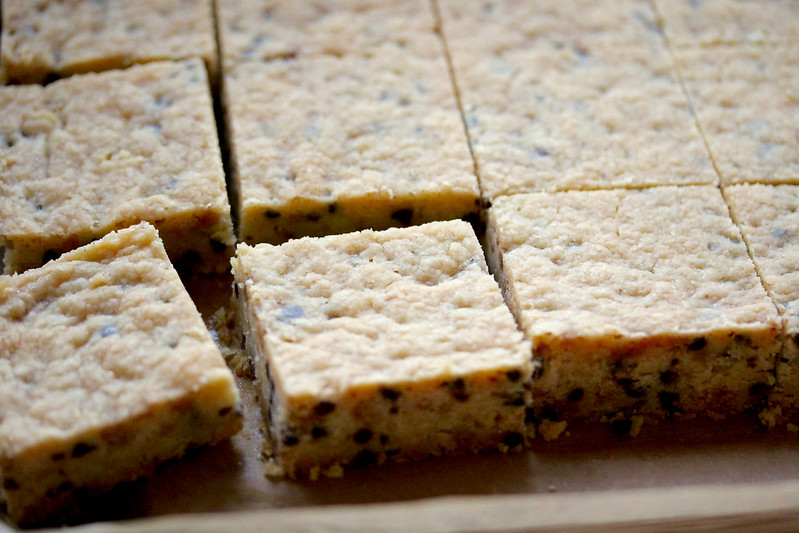
Set the pan over a metal cooling rack and let the shortbread cool completely in the pan. Pull it up and out using the overhanging parchment paper.
Cut the shortbread into squares, triangles, or any shape you like– you can even use a sturdy cookie cutter to cut out shapes (and feast on the scraps). Store the shortbread in an airtight container for up to a few weeks, or freeze for a few months.
© Dafna Adler & Stellina Sweets, 2017.







3 Responses
Yuuummmmm! Can’t wait to try!