


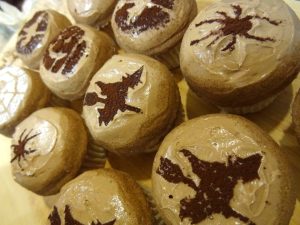
I normally like to make colorful, silly, whimsical treats for Halloween, such as werewolf, owl, and mummy cupcakes or bloody eyeball cake pops; this year I wasn’t able to do this, but I decided to make some slightly more understated treats instead. I went a little stencil-happy at Williams-Sonoma this season and brought home some darling Halloween cupcake stencils, so it was time to bust these puppies out for some spooky cocoa powder fun! I recently used my new Star Wars stencils for the first time and learned that they are not as easy as they look, but through a little experimentation, I think I’ve got my technique down. The packaging for the stencils would have you believe that you simply place the stencil on the cupcake, sprinkle cocoa/sugar over it, take off the stencil, and poof: perfect designs! This is slightly deceiving…
The frosting that I used is very soft and creamy, which was initially very challenging to work with. Even if you grease the underside of the stencil, the frosting will stick to it, and when you remove the stencil, it will try to pull away some of your frosting, and possibly some of your design too!
 My first several cupcakes came out very messy, which was frustrating; then it occurred to me that if I *chill* the cupcakes in the fridge for a bit, the frosting should stay put. I suppose this isn’t really rocket science, but I was pleased with myself for finding a workaround. I managed to salvage some of the earlier ones, but the chilled ones turned out beautifully– frosting did not move and designs were crisp! They do not need to be put back in the fridge for the sake of the stencil design (only if your cupcake itself needs to be refrigerated in its own right).
The following technique can be used to apply any sort of stencil designs– go wild!
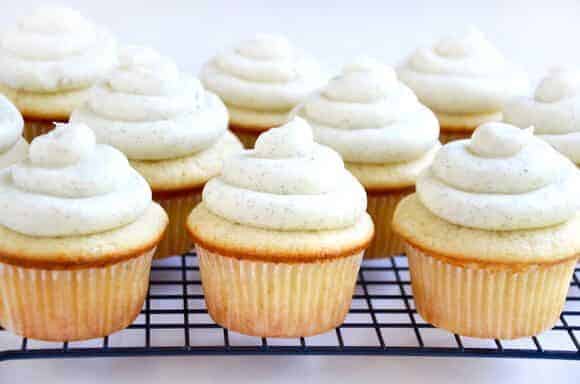
Mound 2-3 tablespoons of frosting on top of your cupcake. Using a small offset spatula, spread the frosting slightly past the edges of the cupcake using strokes similar to how you would spread butter on a muffin. Create a flat or slightly domed, smooth top using this technique. You will then smooth the edge of the frosting by holding the spatula upright against the side of the cupcake top; gently scrape the excess frosting from the side of the cake while turning the cupcake to create a smooth edge all the way around. Carefully clean up the top and sides until smooth. This technique takes practice, but it works with most frostings and produces a versatile “canvas” for an infinite repertoire of decorating possibilities.

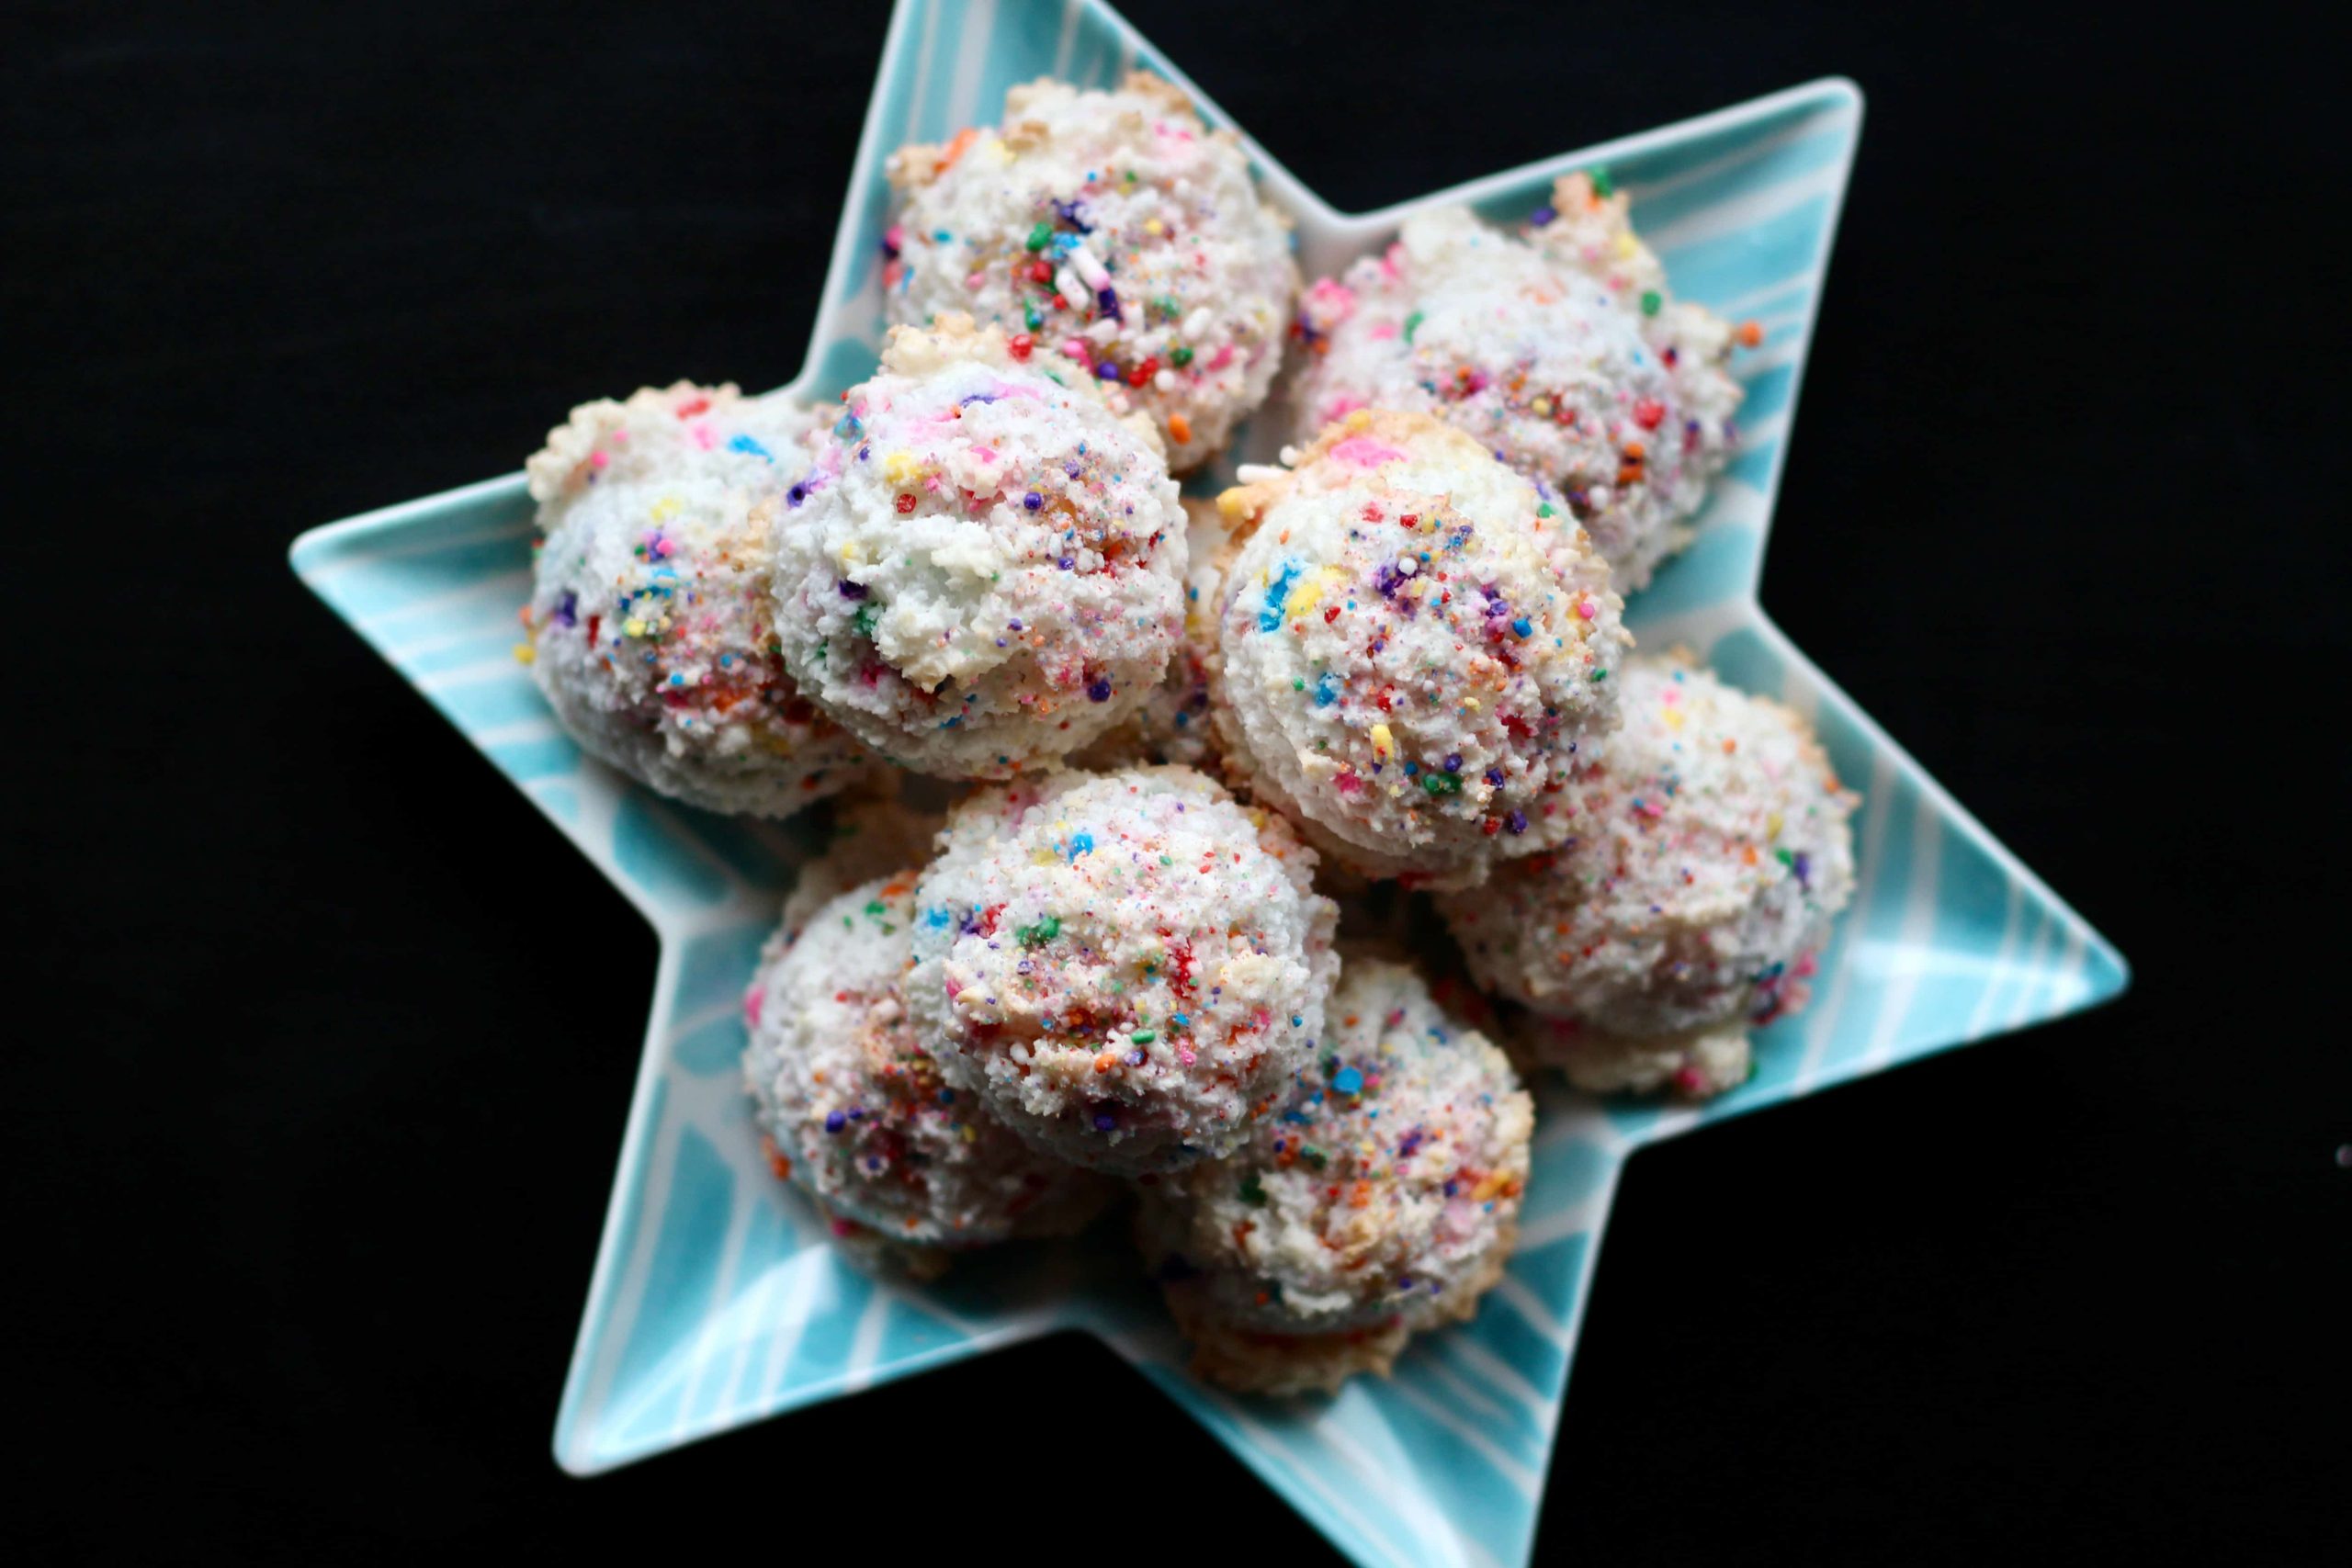
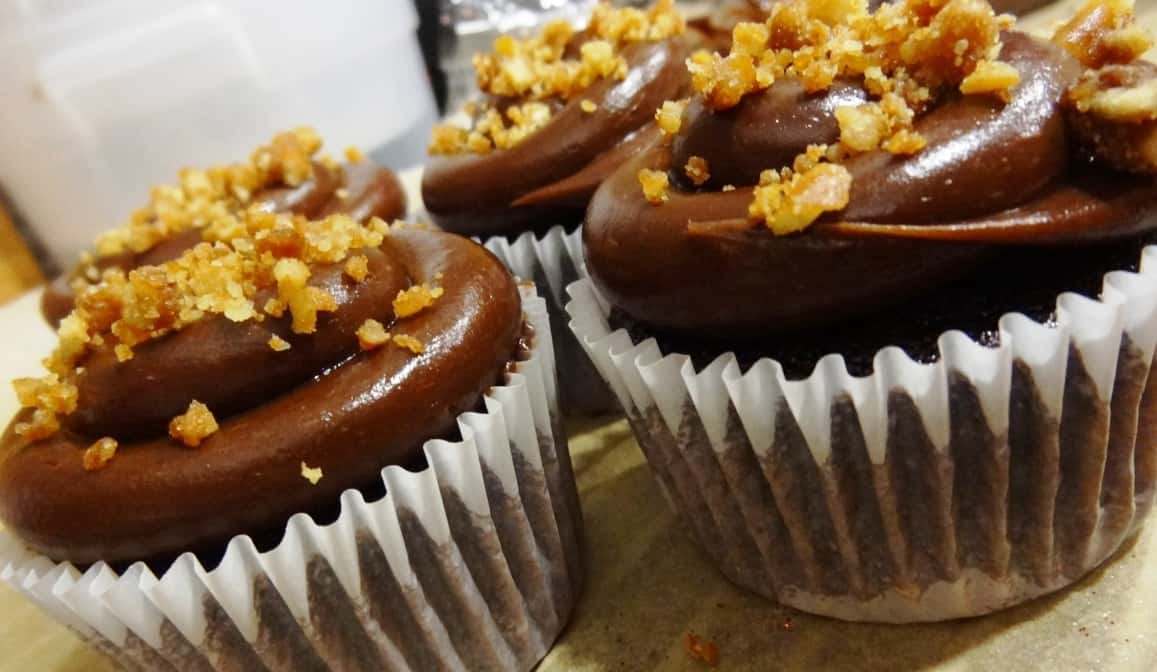
When I decorate in this style, I like to dip the frosting edge in something colorful or with interesting texture. For this batch I used cinnamon-sugar, but you can also use tiny nonpareils, sprinkles, coarse or fine sanding sugar, finely chopped nuts, chocolate flakes, etc. Again, the possibilities are endless. To create the decorative edges, place the dipping ingredient in a small, shallow bowl. Holding a cupcake from the bottom, carefully dip the frosting edge into the contents of the bowl so that the cocoa/sprinkles/etc. adheres to the frosting. Then gently roll the cupcake along its edge to cover the frosting all the way around the cupcake. You should have decorated edges and a blank cupcake top.
 This is the point at which you will put your cupcakes in the fridge. If you refrigerate before dipping the edges, most sprinkles and other “toppings” will not stick to the frosting when it’s cold. After your frosting firms up and is not longer soft or sticky, you are ready to play with stencils!
You can use cocoa powder, confectioners’ sugar, cinnamon, or fine sanding sugar to create your designs, depending on the color of your frosting. For example, confectioners’ sugar on chocolate frosting looks very elegant and dramatic, but will be essentially invisible on white frosting. Prepare your toppings in small bowls and have small sieves ready if using cocoa or confectioners’ sugar. (I have a set of 3″-5″ nesting sieves that I use for sifting smalls amount of flour or sugar, and these work perfectly because they won’t get your toppings all over the place.)
Place a stencil on top of a cupcake and press very gently so that the stencil is flush with the frosting surface. If you press too hard, you may end up making an impression in the frosting, so use a light hand here. Once your stencil is in place, sift or sprinkle your topping over the stencil design, covering the entire stencil cutout. The easiest method for cocoa and confectioners’ sugar is sifting, and this produces the most even distribution of the topping– no lumps! If using sanding sugar, you can sprinkle it with your fingers or a spoon. While it’s pretty and colorful, this kind of sugar may be a little tricky because it won’t stick easily to cold frosting; you may need to press it carefully into the frosting with a finger.

When your design has been set, gently lift the stencil from the cupcake, and you should find a beautiful, crisp design peeking out! Repeat this process with all your cupcakes, and feel free to get funky with toppings and colors! You will get better and better at the techniques the more you practice. Start off with any ugly or deformed cupcakes as your guinea pigs, and work up to the prettiest ones once you get the hang of it. 😉

For this particular batch of cupcakes, I made Cinnamon Cupcakes with Chocolate-Chile Buttercream, which I will post in the very near future. I love these cupcakes at this time of year because they feature some of my favorite warm Fall spices, but they are not full-on “holiday” cupcakes. However, you can use any cupcake recipe or flavor that you like, preferably a recipe that bakes up with a relatively flat top.
Have fun decorating and devouring your creations– these are fun to make with kids too! Have a safe and spooky Halloween tonight! 🙂

One Response