


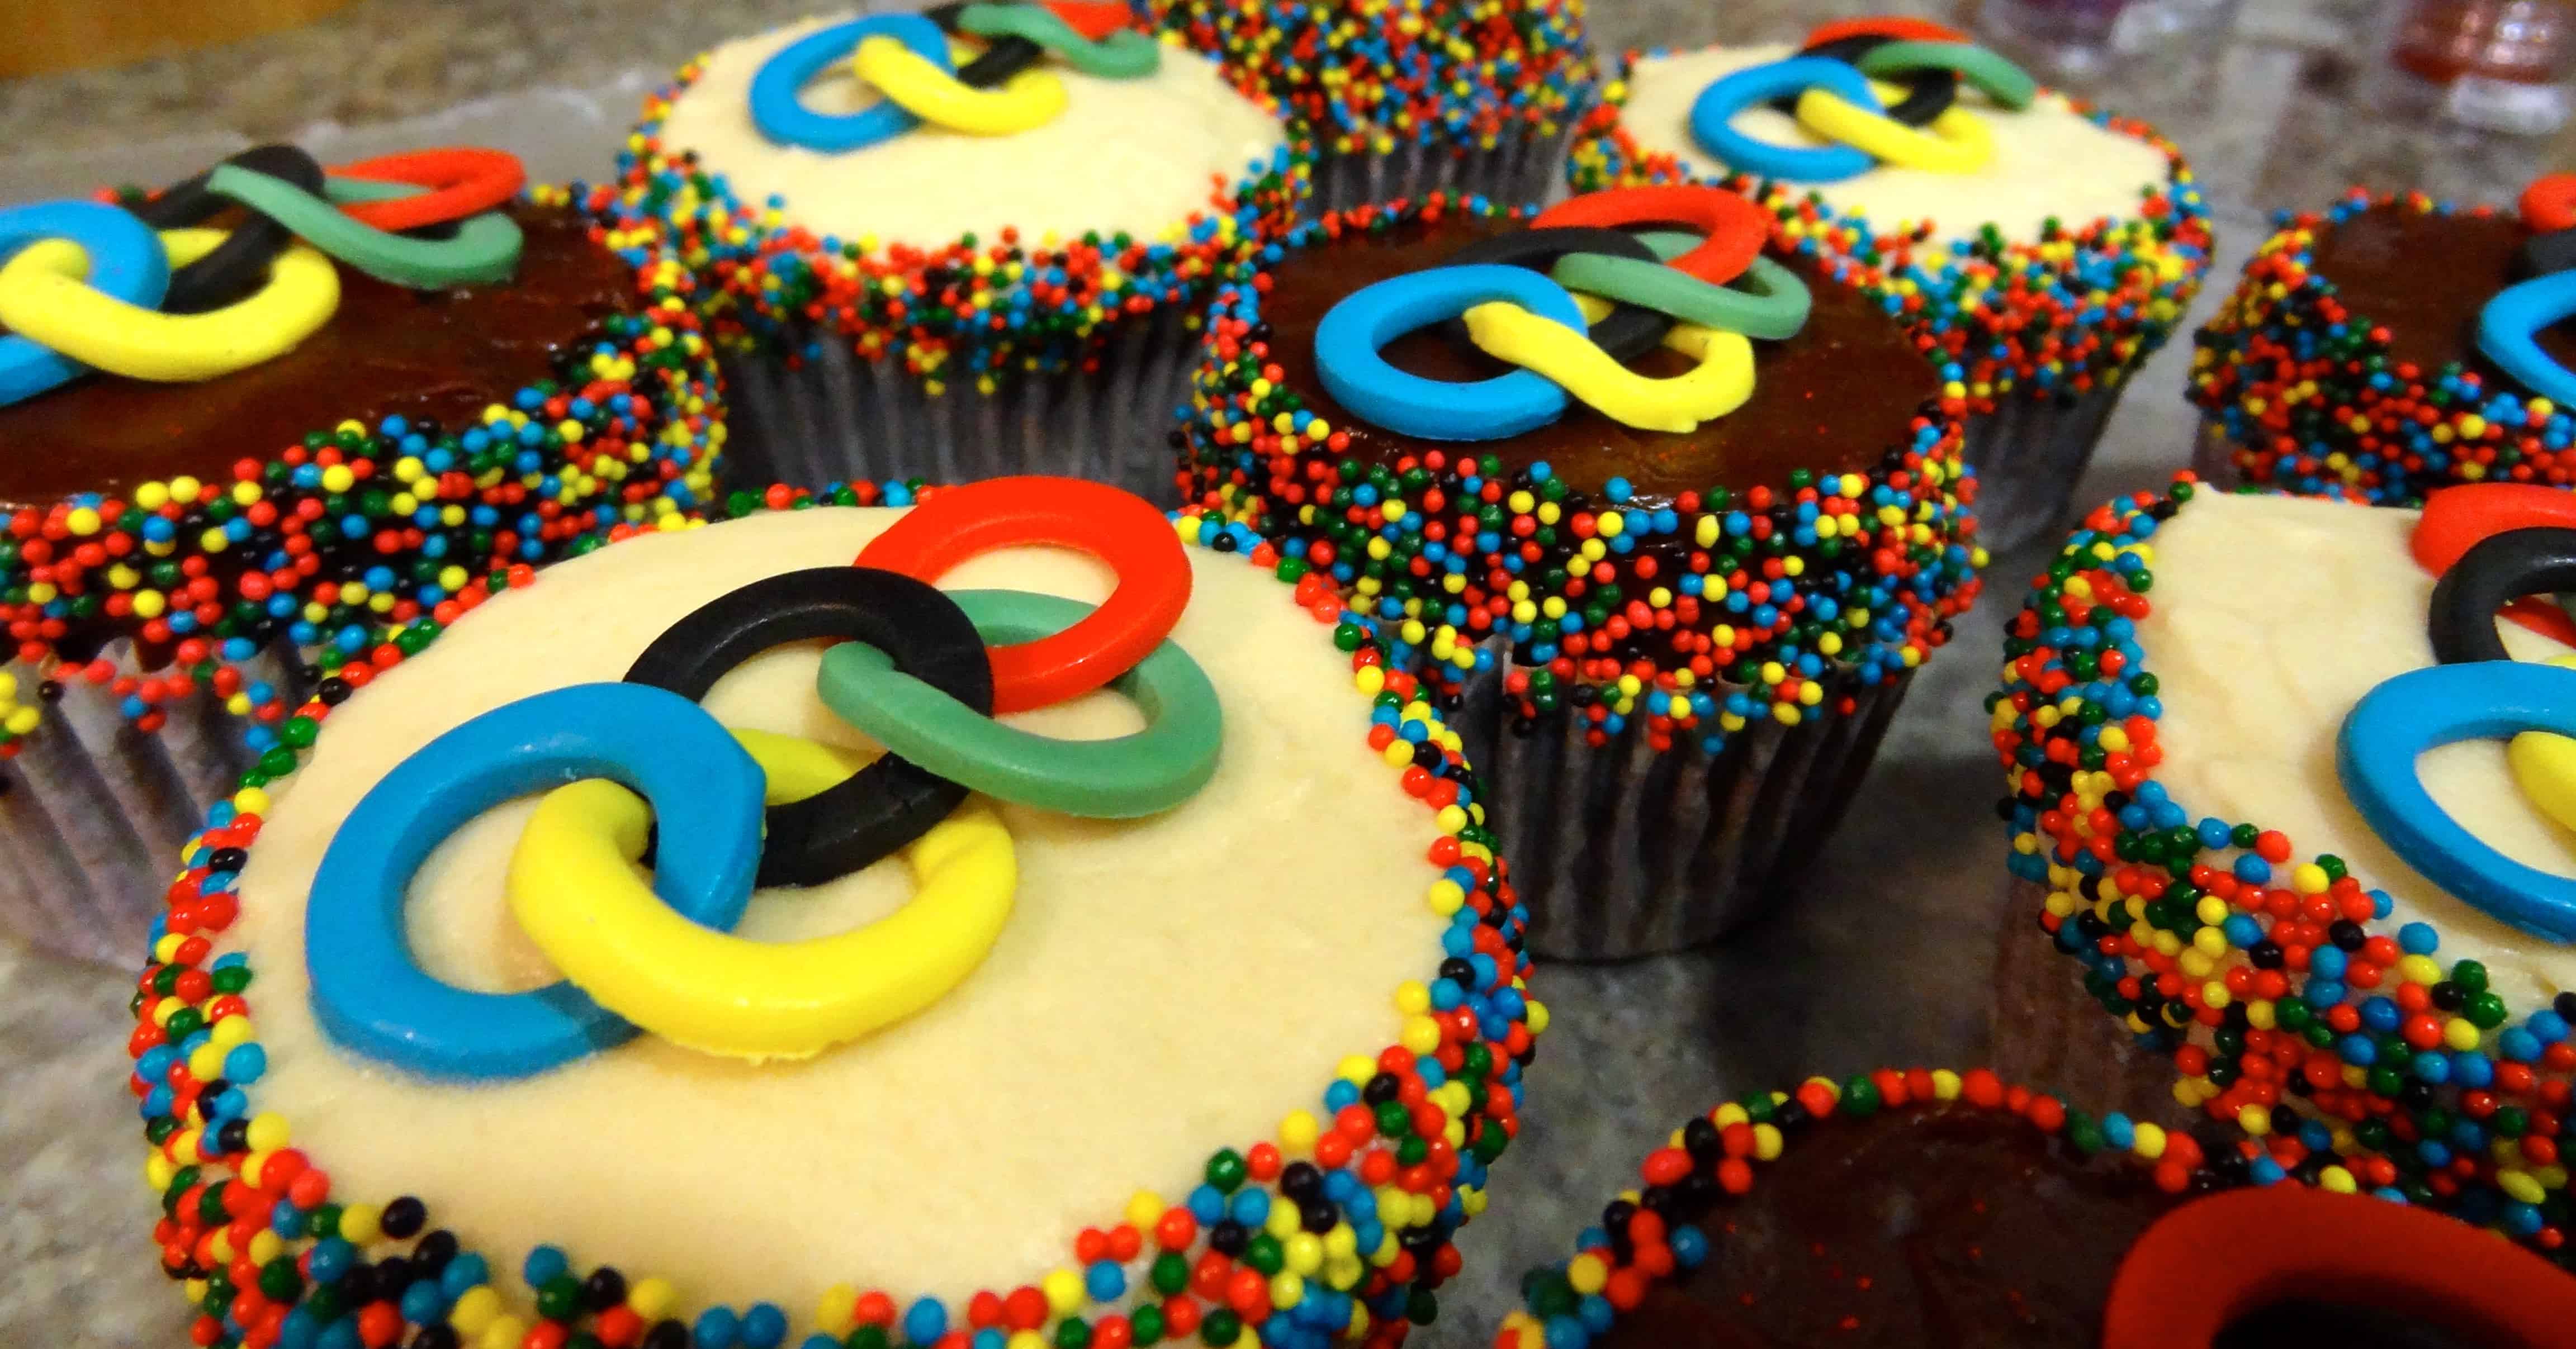
If you’re anything like me, you are watching the Winter Olympics every night with baited breath. (Or maybe you’re not quite as nerdy as me, but keep reading anyway.) Every time I watch, it makes me want to pull on my ice skates, jump onto my snowboard, or take up skiing… none of which I can do right now due to a stubborn injury. So how to satiate my Olympic fever? By decorating cupcakes. Obviously. I made these Olympic rings using fondant, and although time-consuming, I was very pleased with them. Let me tell you, they are an OCD dream. 😉
I hadn’t planned to blog this, thus I didn’t photograph the process as I usually do, so I will do my best to describe it in a lot of detail. The rings are linked to emulate the link pattern of the actual Olympic rings logo– that’s the tricky part! I’ve included a couple of photos that show the links pretty clearly.
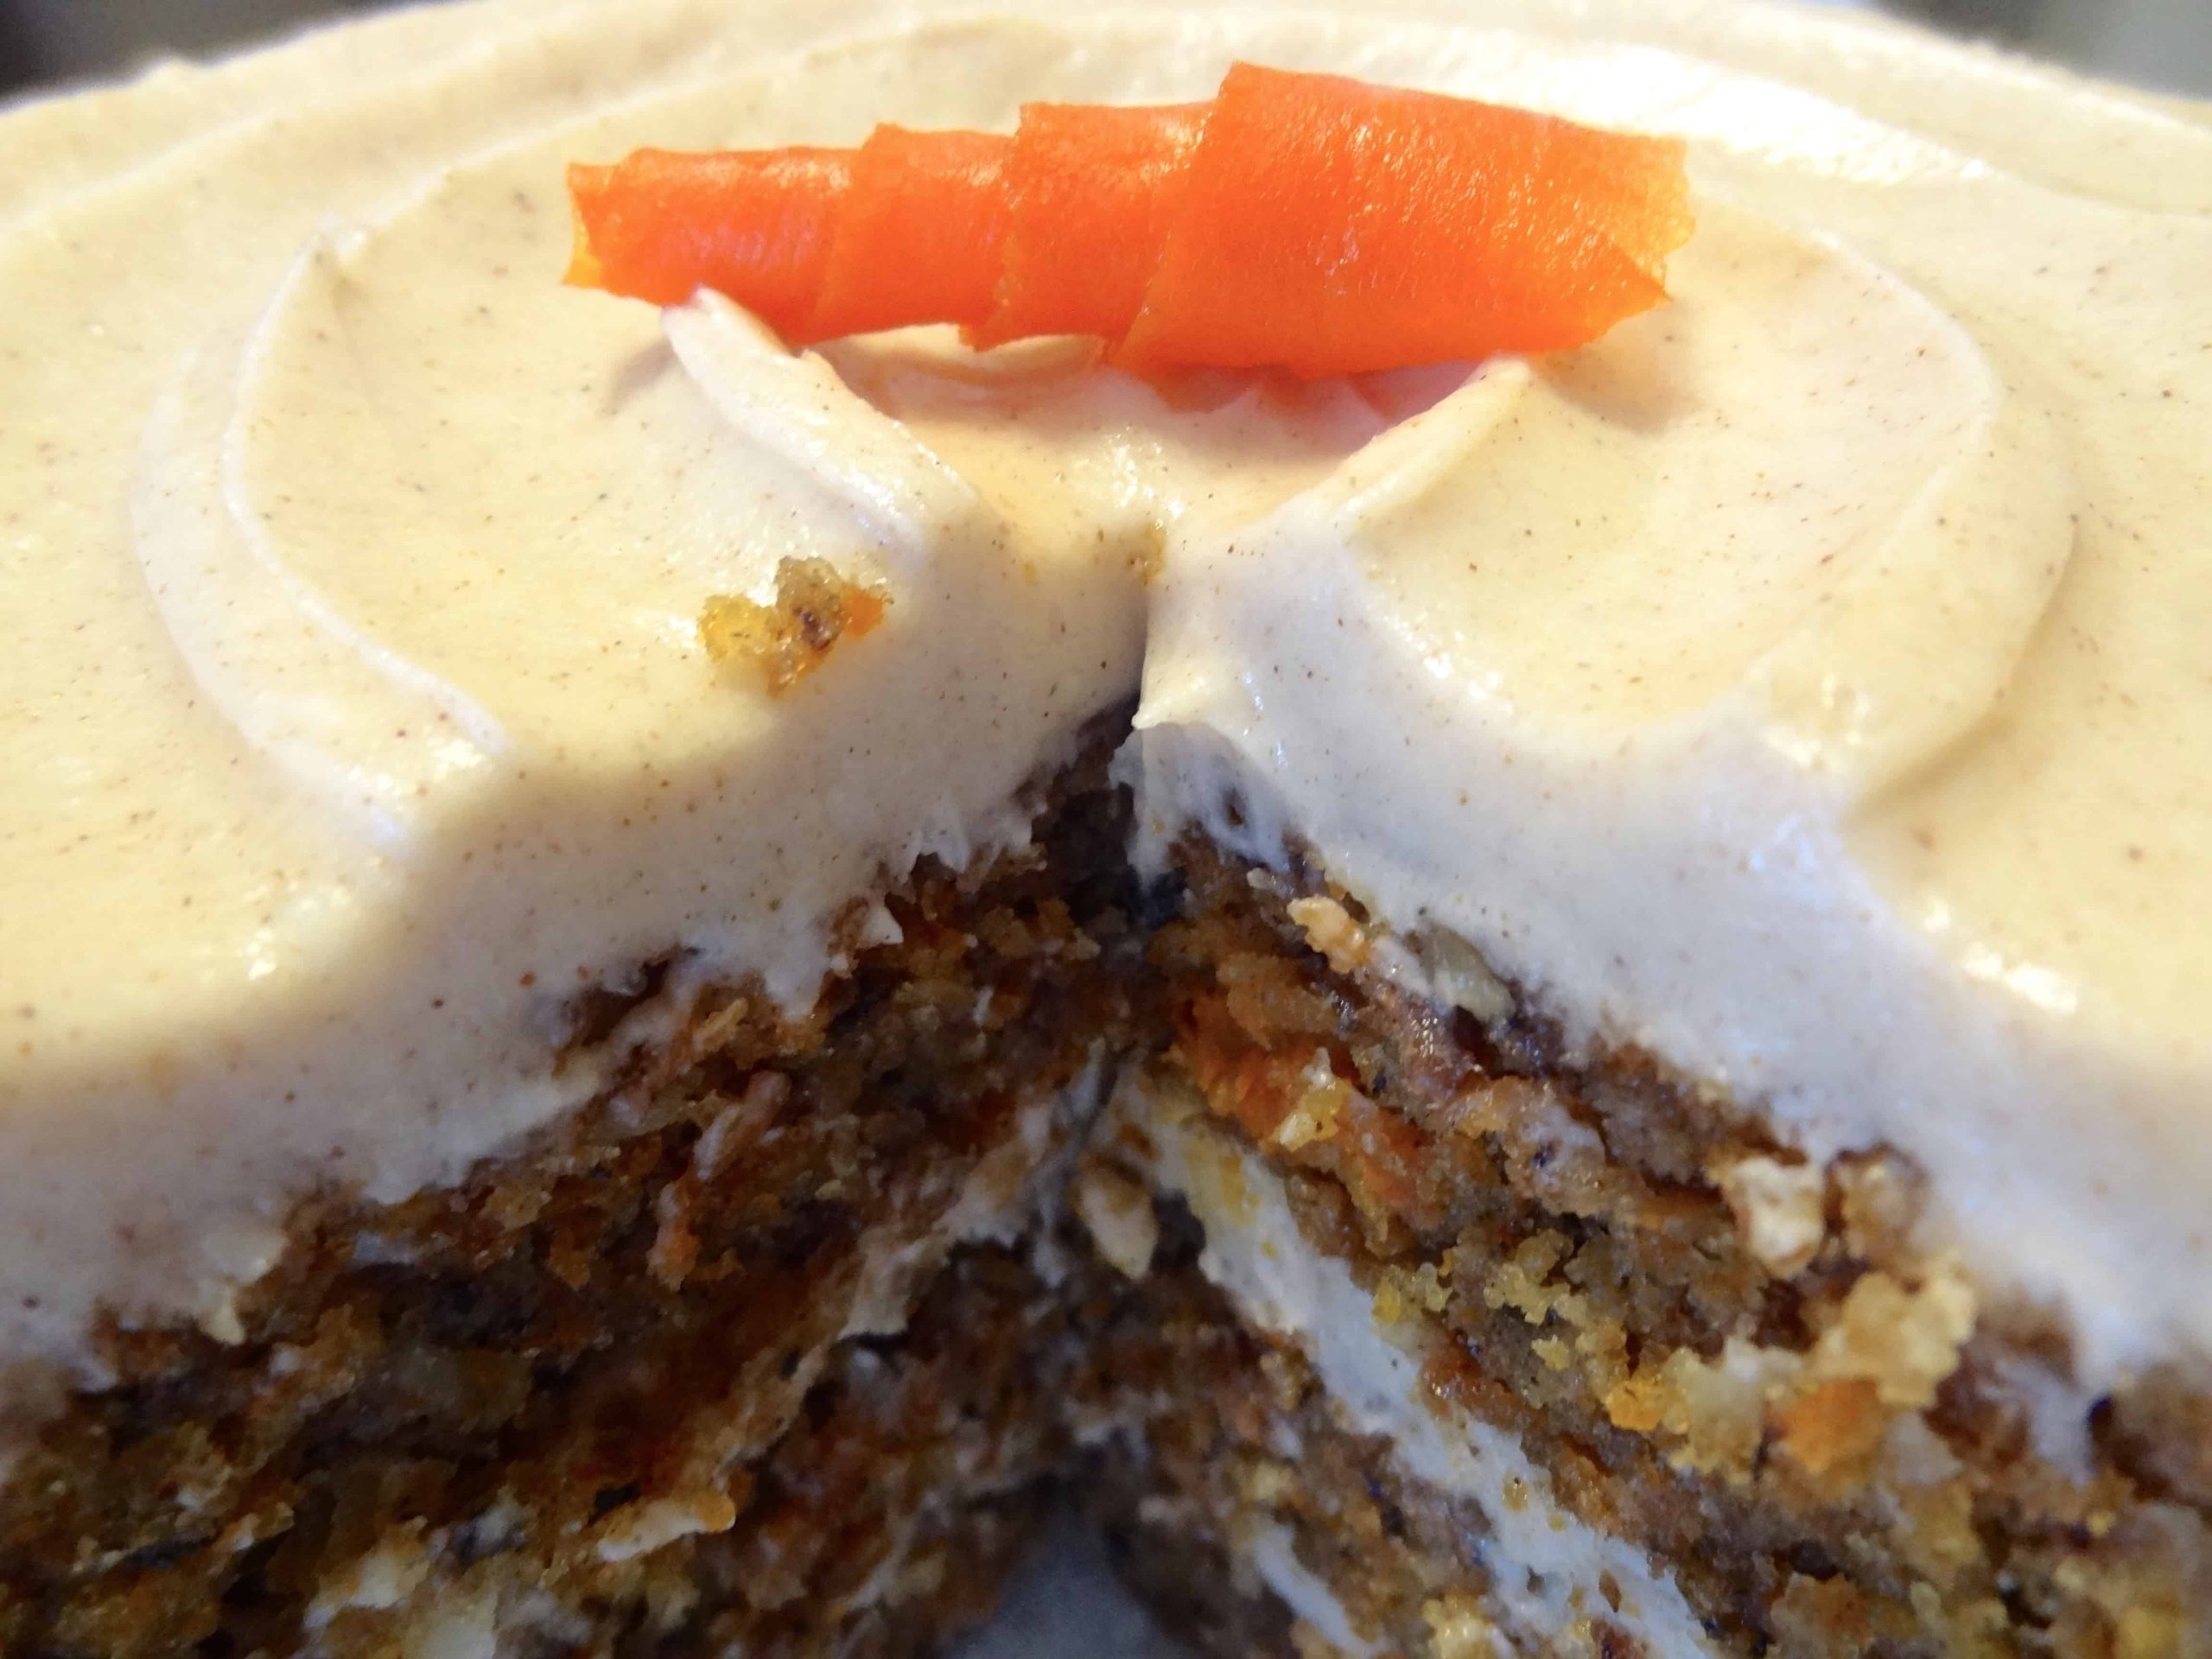
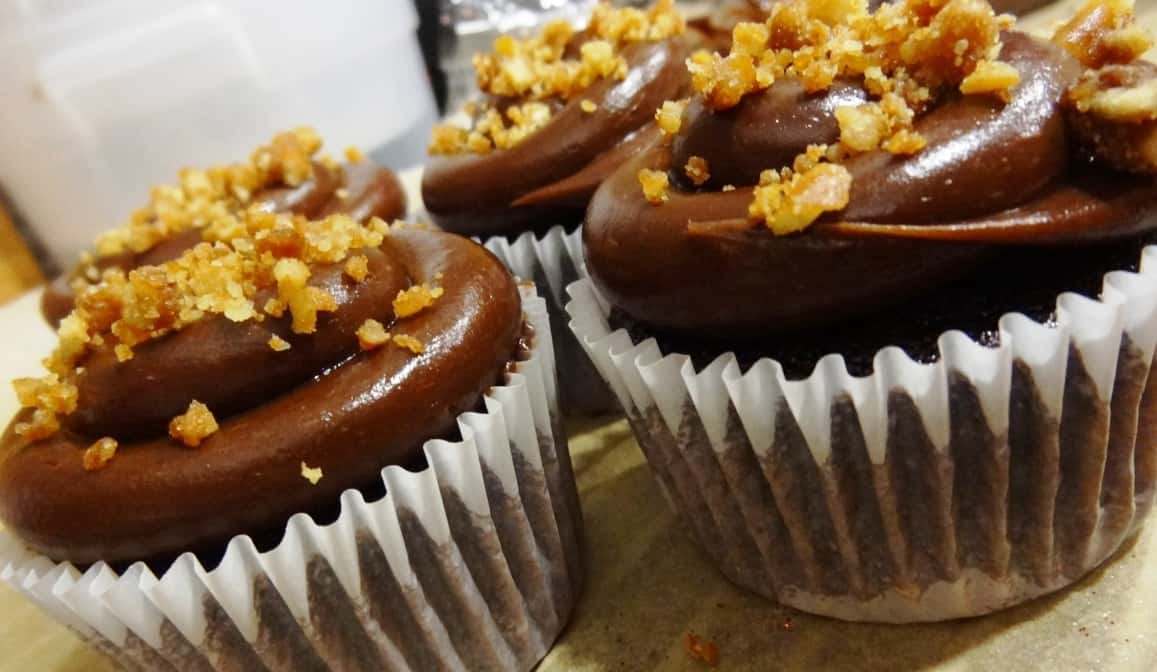
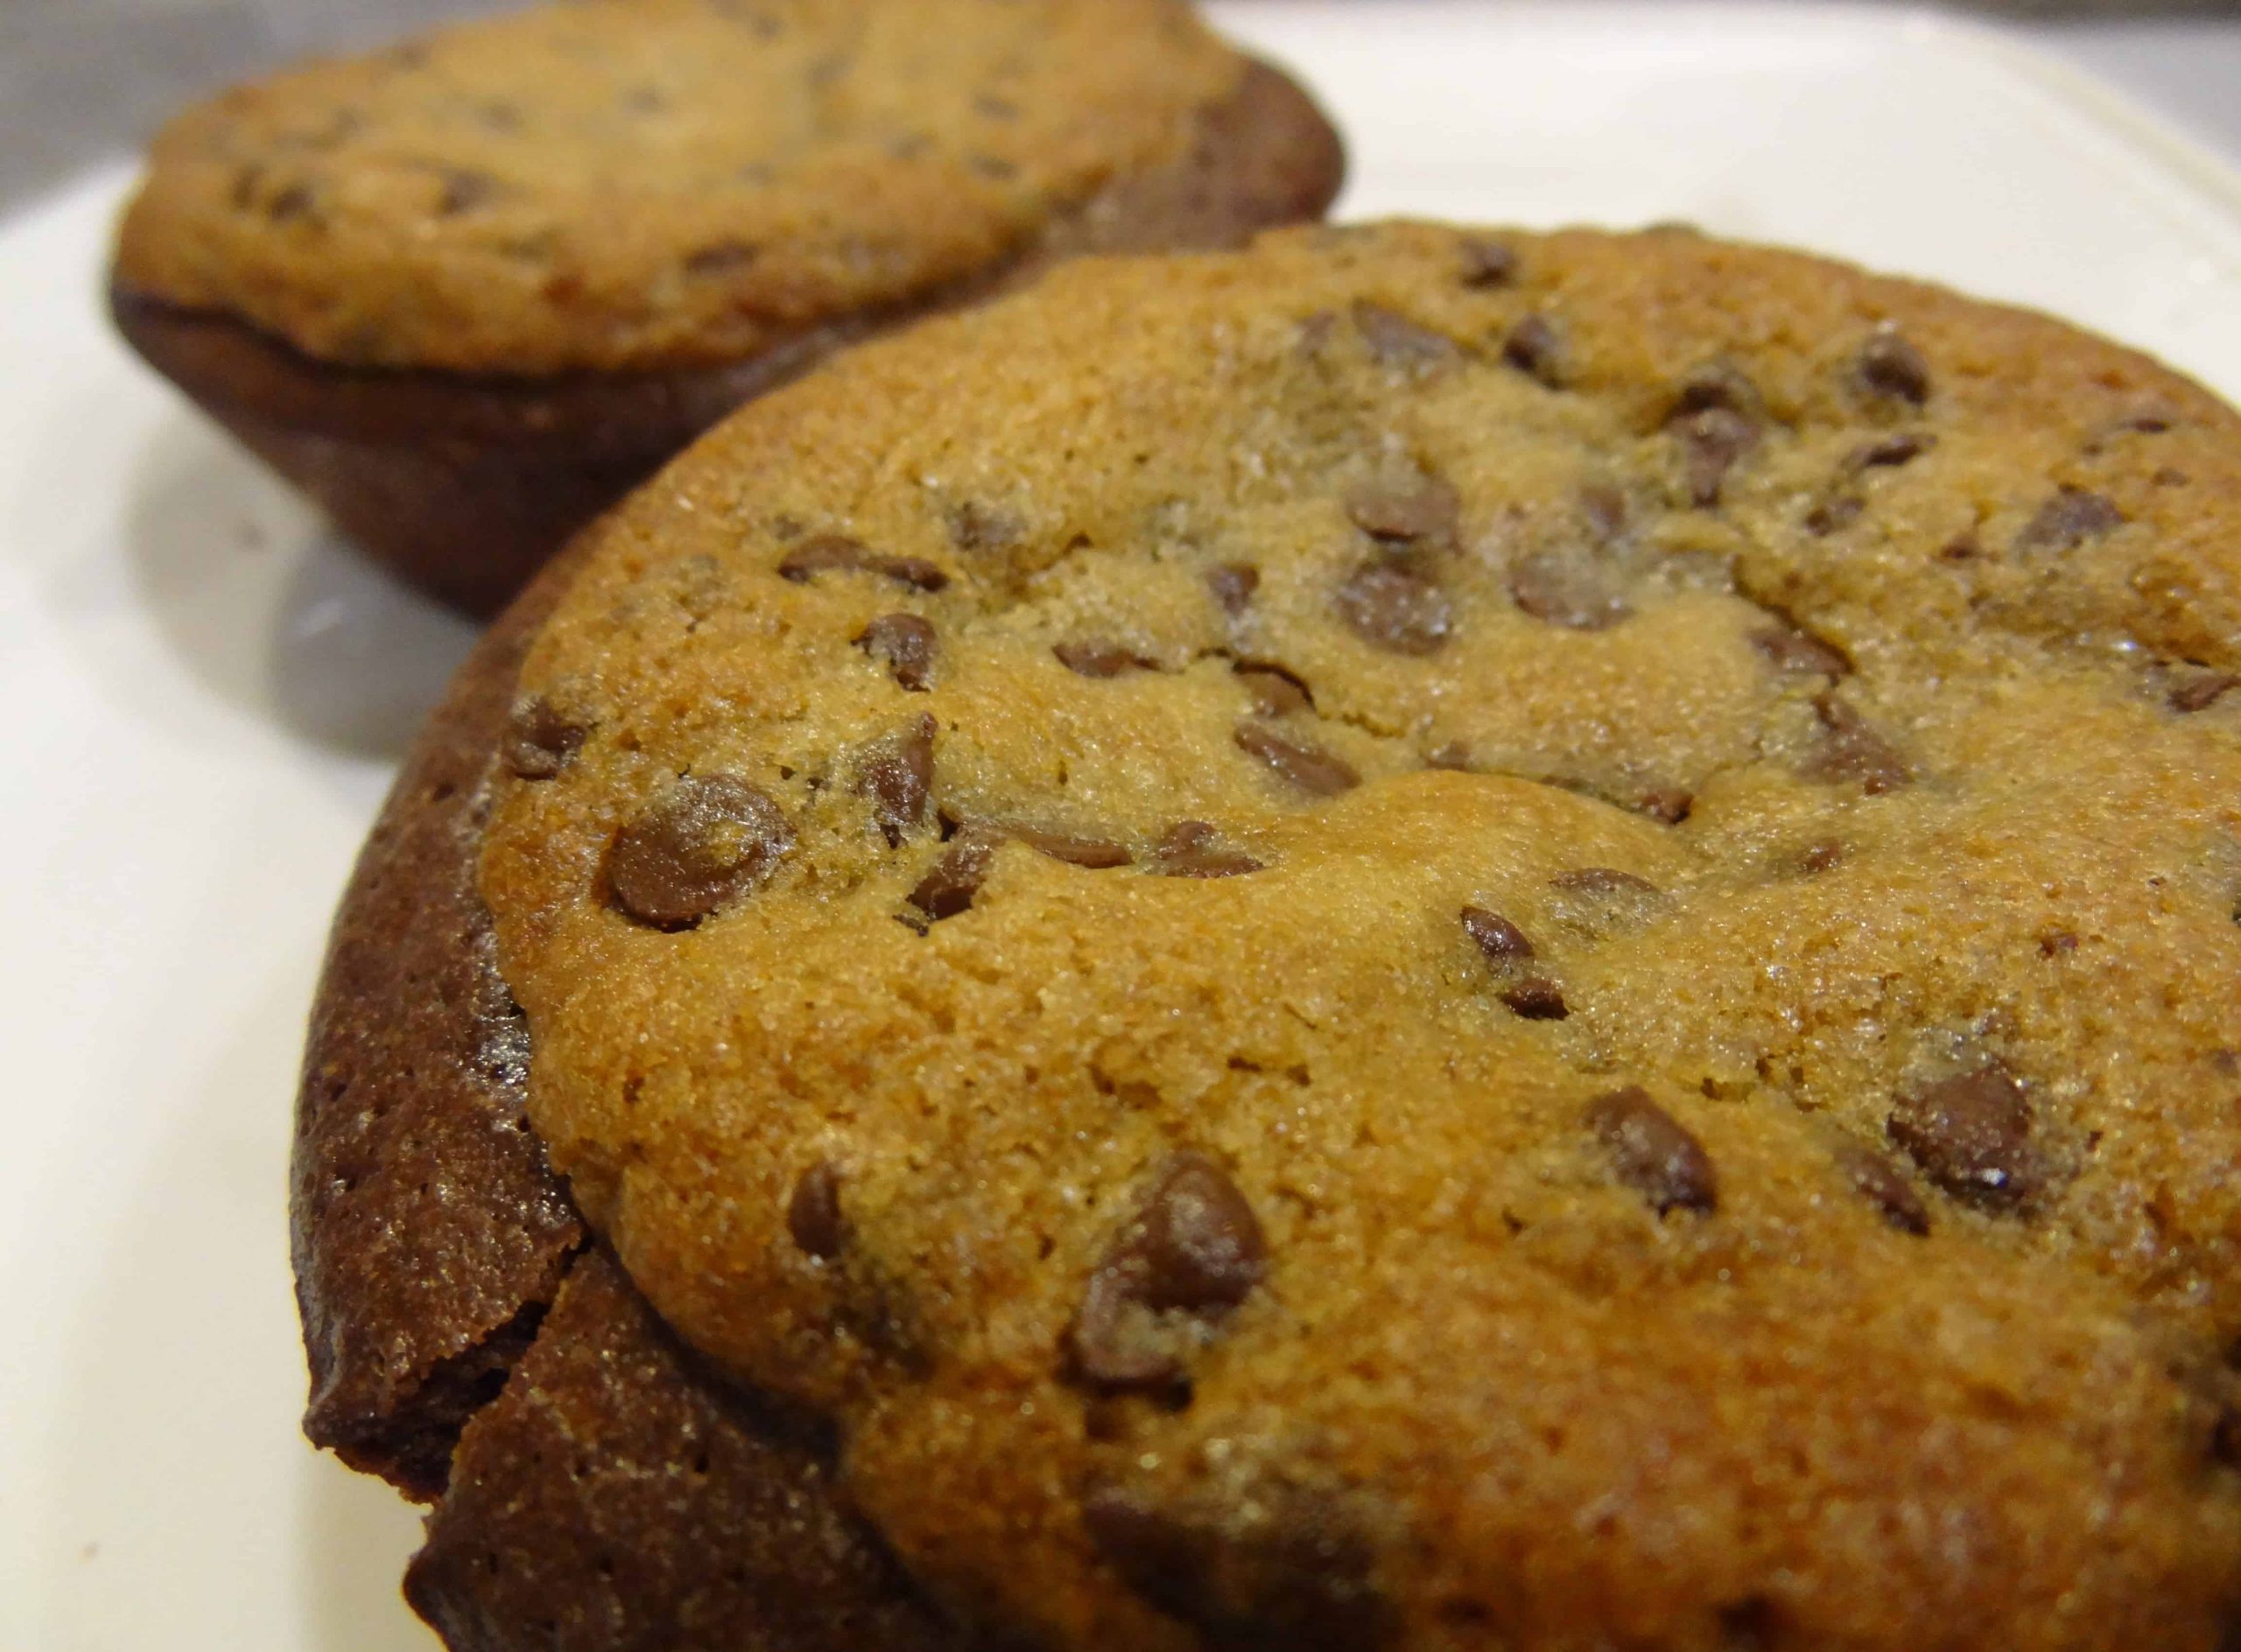
You can use the cupcakes and frosting of your choice– I used one of my favorites, Chocolate Stout Pretzel Cupcakes, minus the pretzel crunch topping.
Fondant Olympic Rings
The amount of fondant you use depends on the number of ring sets you want. I would say that a 1-inch ball of fondant will yield about one set. Since I didn’t plan to blog this, I didn’t measure my fondant out, but I would estimate that I used a baseball-sized amount of fondant in total, which yielded 24 sets and a few extra rings.
- Baking sheet lined with parchment paper
- White fondant (see note above)
- Gel food coloring in primary red, blue, green, yellow, plus black (or use pre-colored red & black)
- Small rolling pin
- Sharp ¾-inch circle cutter, or desired size
- Sharp ½-inch circle cutter, or desired size
- Small, sharp knife
- Small offset spatula
- Cupcakes of your choice (your desired quantity)
- Frosting of your choice
- Nonpareils, sprinkles, or sanding sugar in matching primary colors, optional
Color each piece of white fondant with a few drops of gel food coloring to create bright primary colors: red, green, blue, and yellow, plus black. I used pre-colored black and red because it’s hard to get true shades in those colors when adding color to white fondant; either way is fine as long as you are happy with your colors. (Reduce the amount of white fondant as needed if you are using any pre-dyed colors.) Wrap each piece tightly in plastic until you are ready to use them.
One color at a time, roll out the fondant pieces on your work surface to a thickness of about ⅛-inch. (I use parchment paper, which generally does not need to be greased or dusted with confectioners’ sugar/cornstarch.) Using your larger circle cutter, cut out as many circles as you can. In each circle, position the smaller cutter evenly in the center and cut out the middle, leaving a narrow ring. Carefully transfer your rings to the prepared parchment-lined sheet pan. Cover the rings with plastic wrap to prevent drying while you continue. Re-roll the fondant scraps and repeat the cutting process until you’ve used up the entire piece of fondant. Repeat these steps for each of the remaining four colors.
When all your rings are cut, retrieve one ring of each color and return them to the work surface. With your knife, make a single cut through each of the yellow and green rings in one spot, so that you can open the circles slightly for linking. Do NOT cut the entire rings in half– only cut through one spot in the ring. Each color will overlap each linked color once, and will pass underneath it once. I used a photo of the rings as my guide, which I would recommend doing so that you can see where to overlap/pass under the colors. I masked the cuts by rotating the rings so that the cuts were covered by an overlapping ring. (Remember, I did tell you that this was an OCD dream.)
You can link them in whichever order works best for you. I did the following:
- Link yellow and black, then link blue under yellow and over black
- Place the seam of yellow under blue and over black at the intersection point of yellow/black/blue
- Link green to black, then red to green and over black
- Place the seam of green over red and under black at the intersection point of green/black/red
Move the completed set of rings very carefully back to your sheet pan to dry. Repeat to make the desired number of ring sets. Allow to sit for several hours.
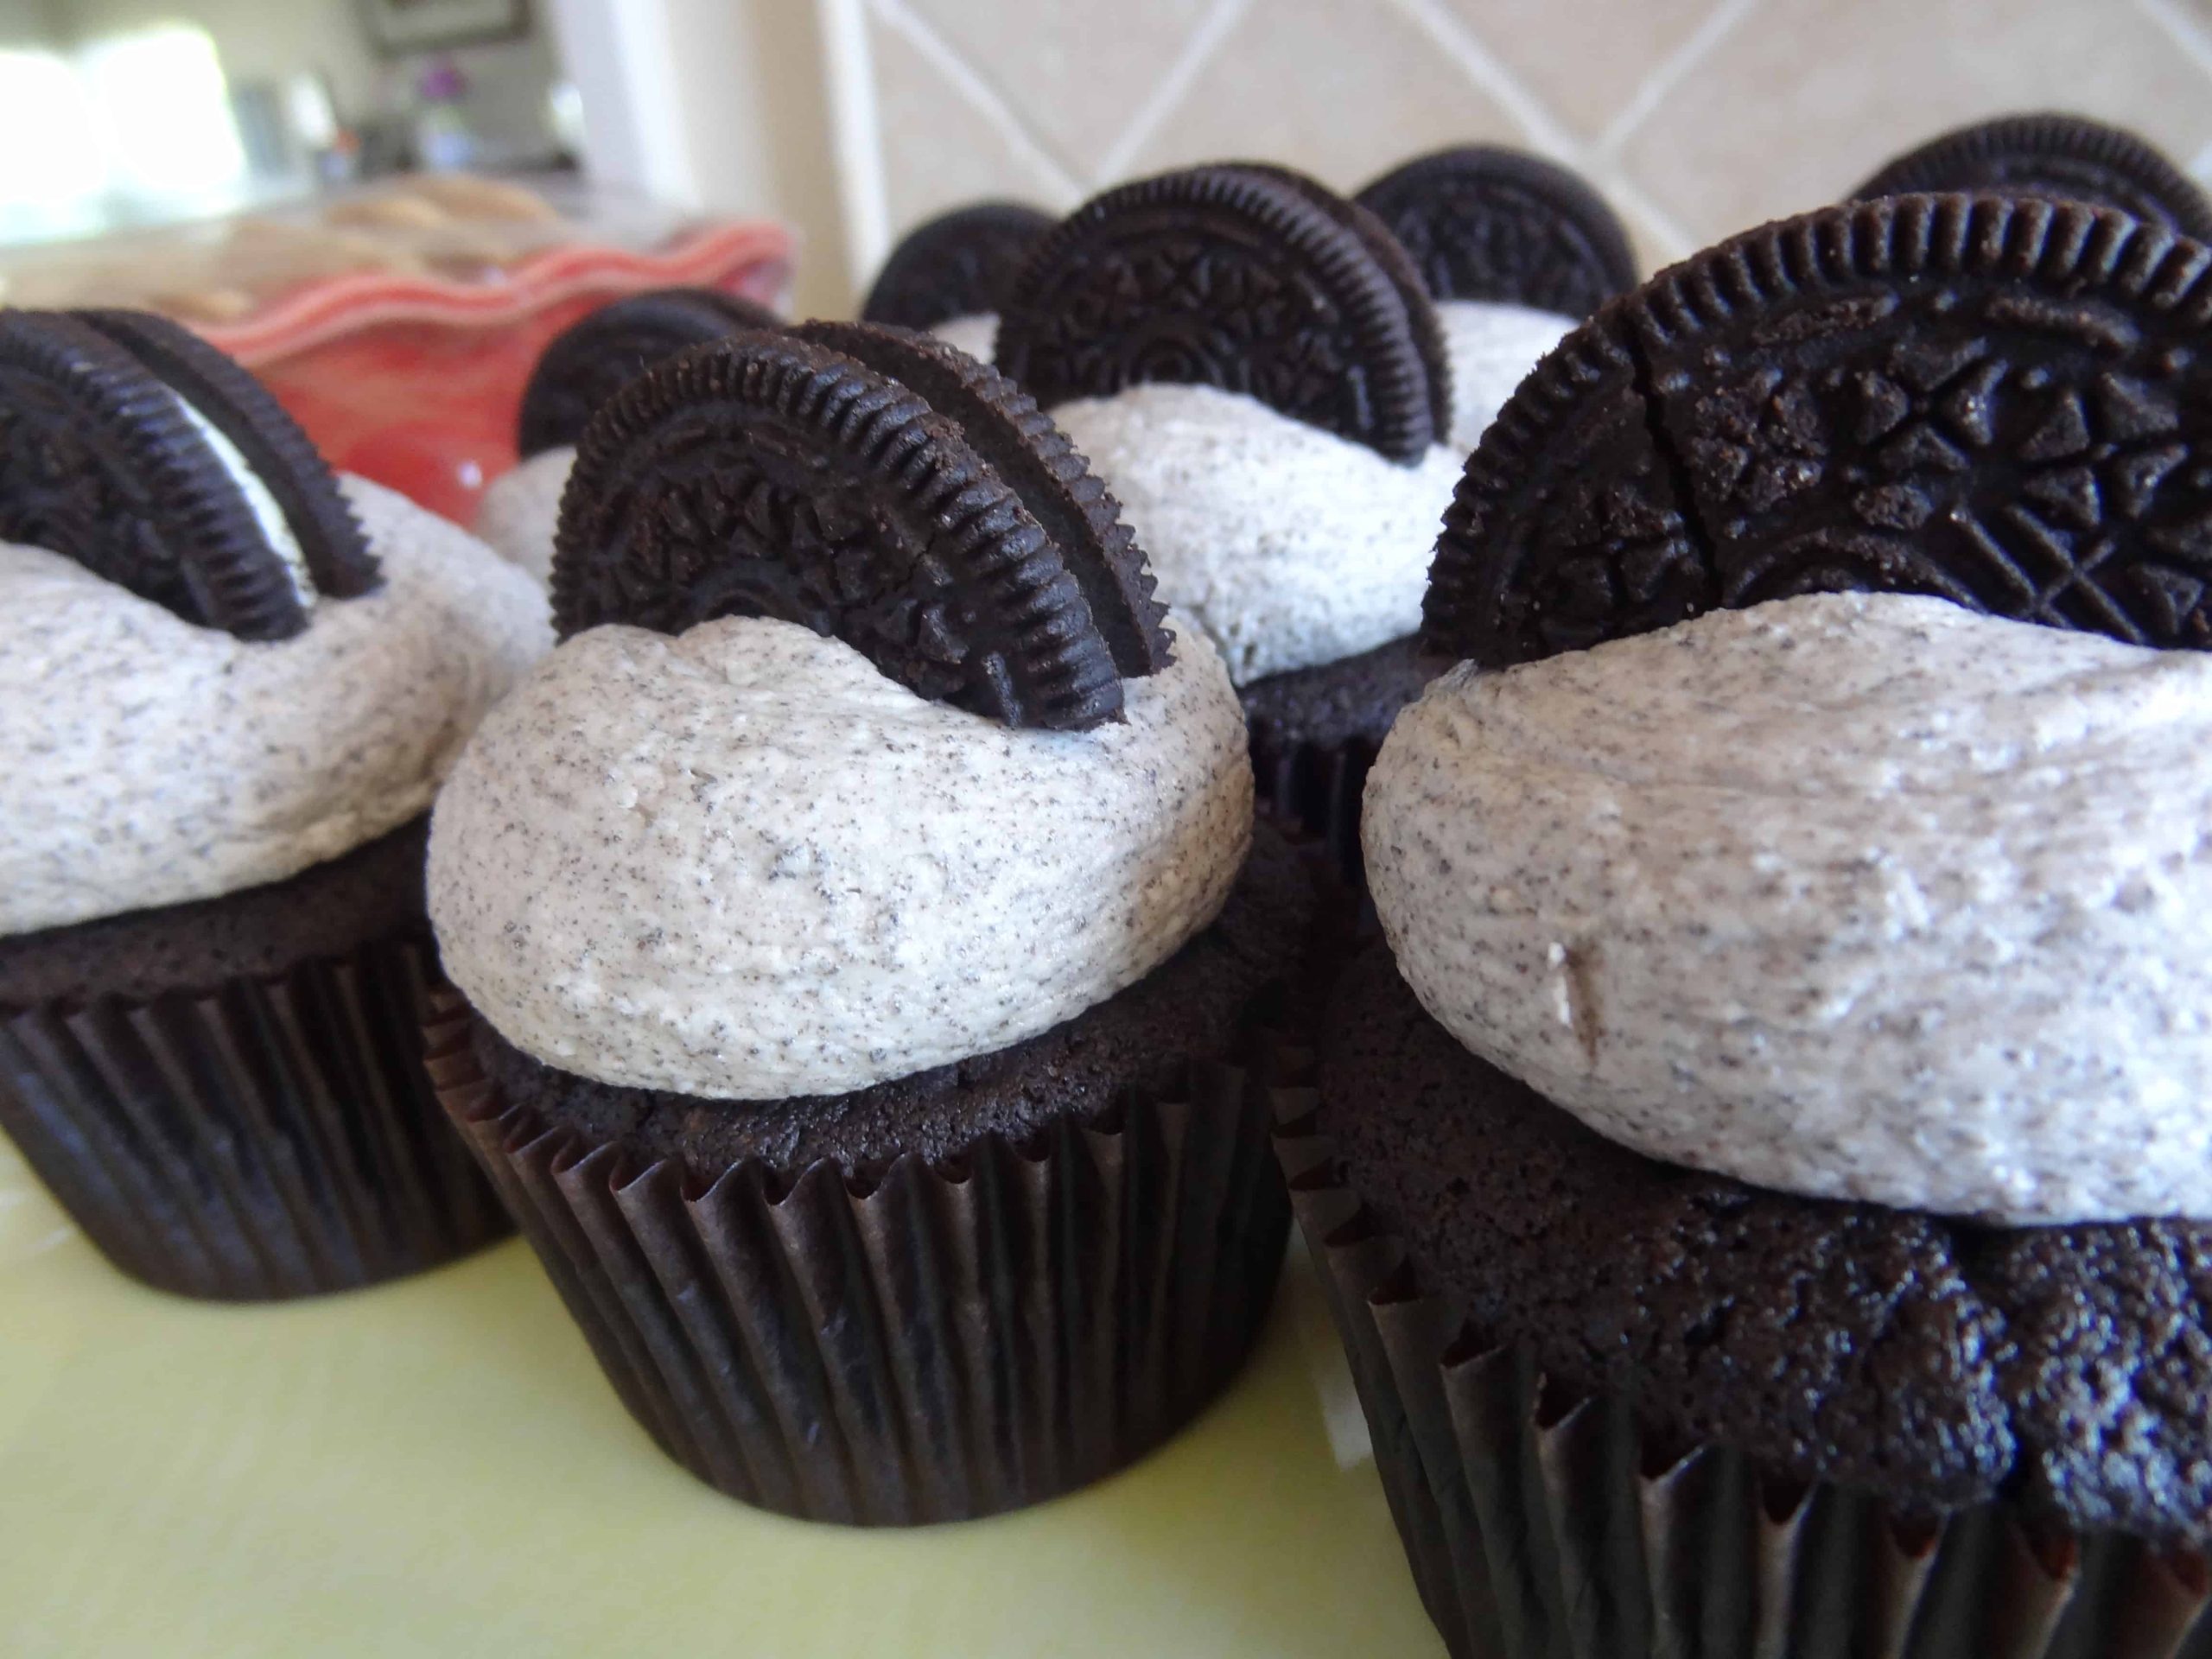
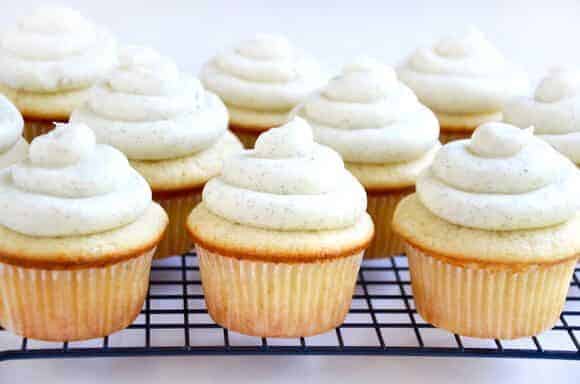
Once they are dry, frost your cupcakes using an offset spatula. If you want to cover the edges in nonpareils/sprinkles/sugar, pour all the colors into a small bowl and stir them together until evenly mixed. Create a flat top, and smooth the sides by moving the spatula all the way around the cupcake to remove excess frosting. Your cupcakes will have a “flat top” look, but not for long. Dip the frosting edge of a cupcake in the bowl of decoratifs and carefully rotate the cupcake all the way around so that the entire edge gets covered in bright colors. (You can also dust the tops with a little edible glitter, but I decided that they looked too blingy, so I only did this on a few cupcakes.) Set aside.
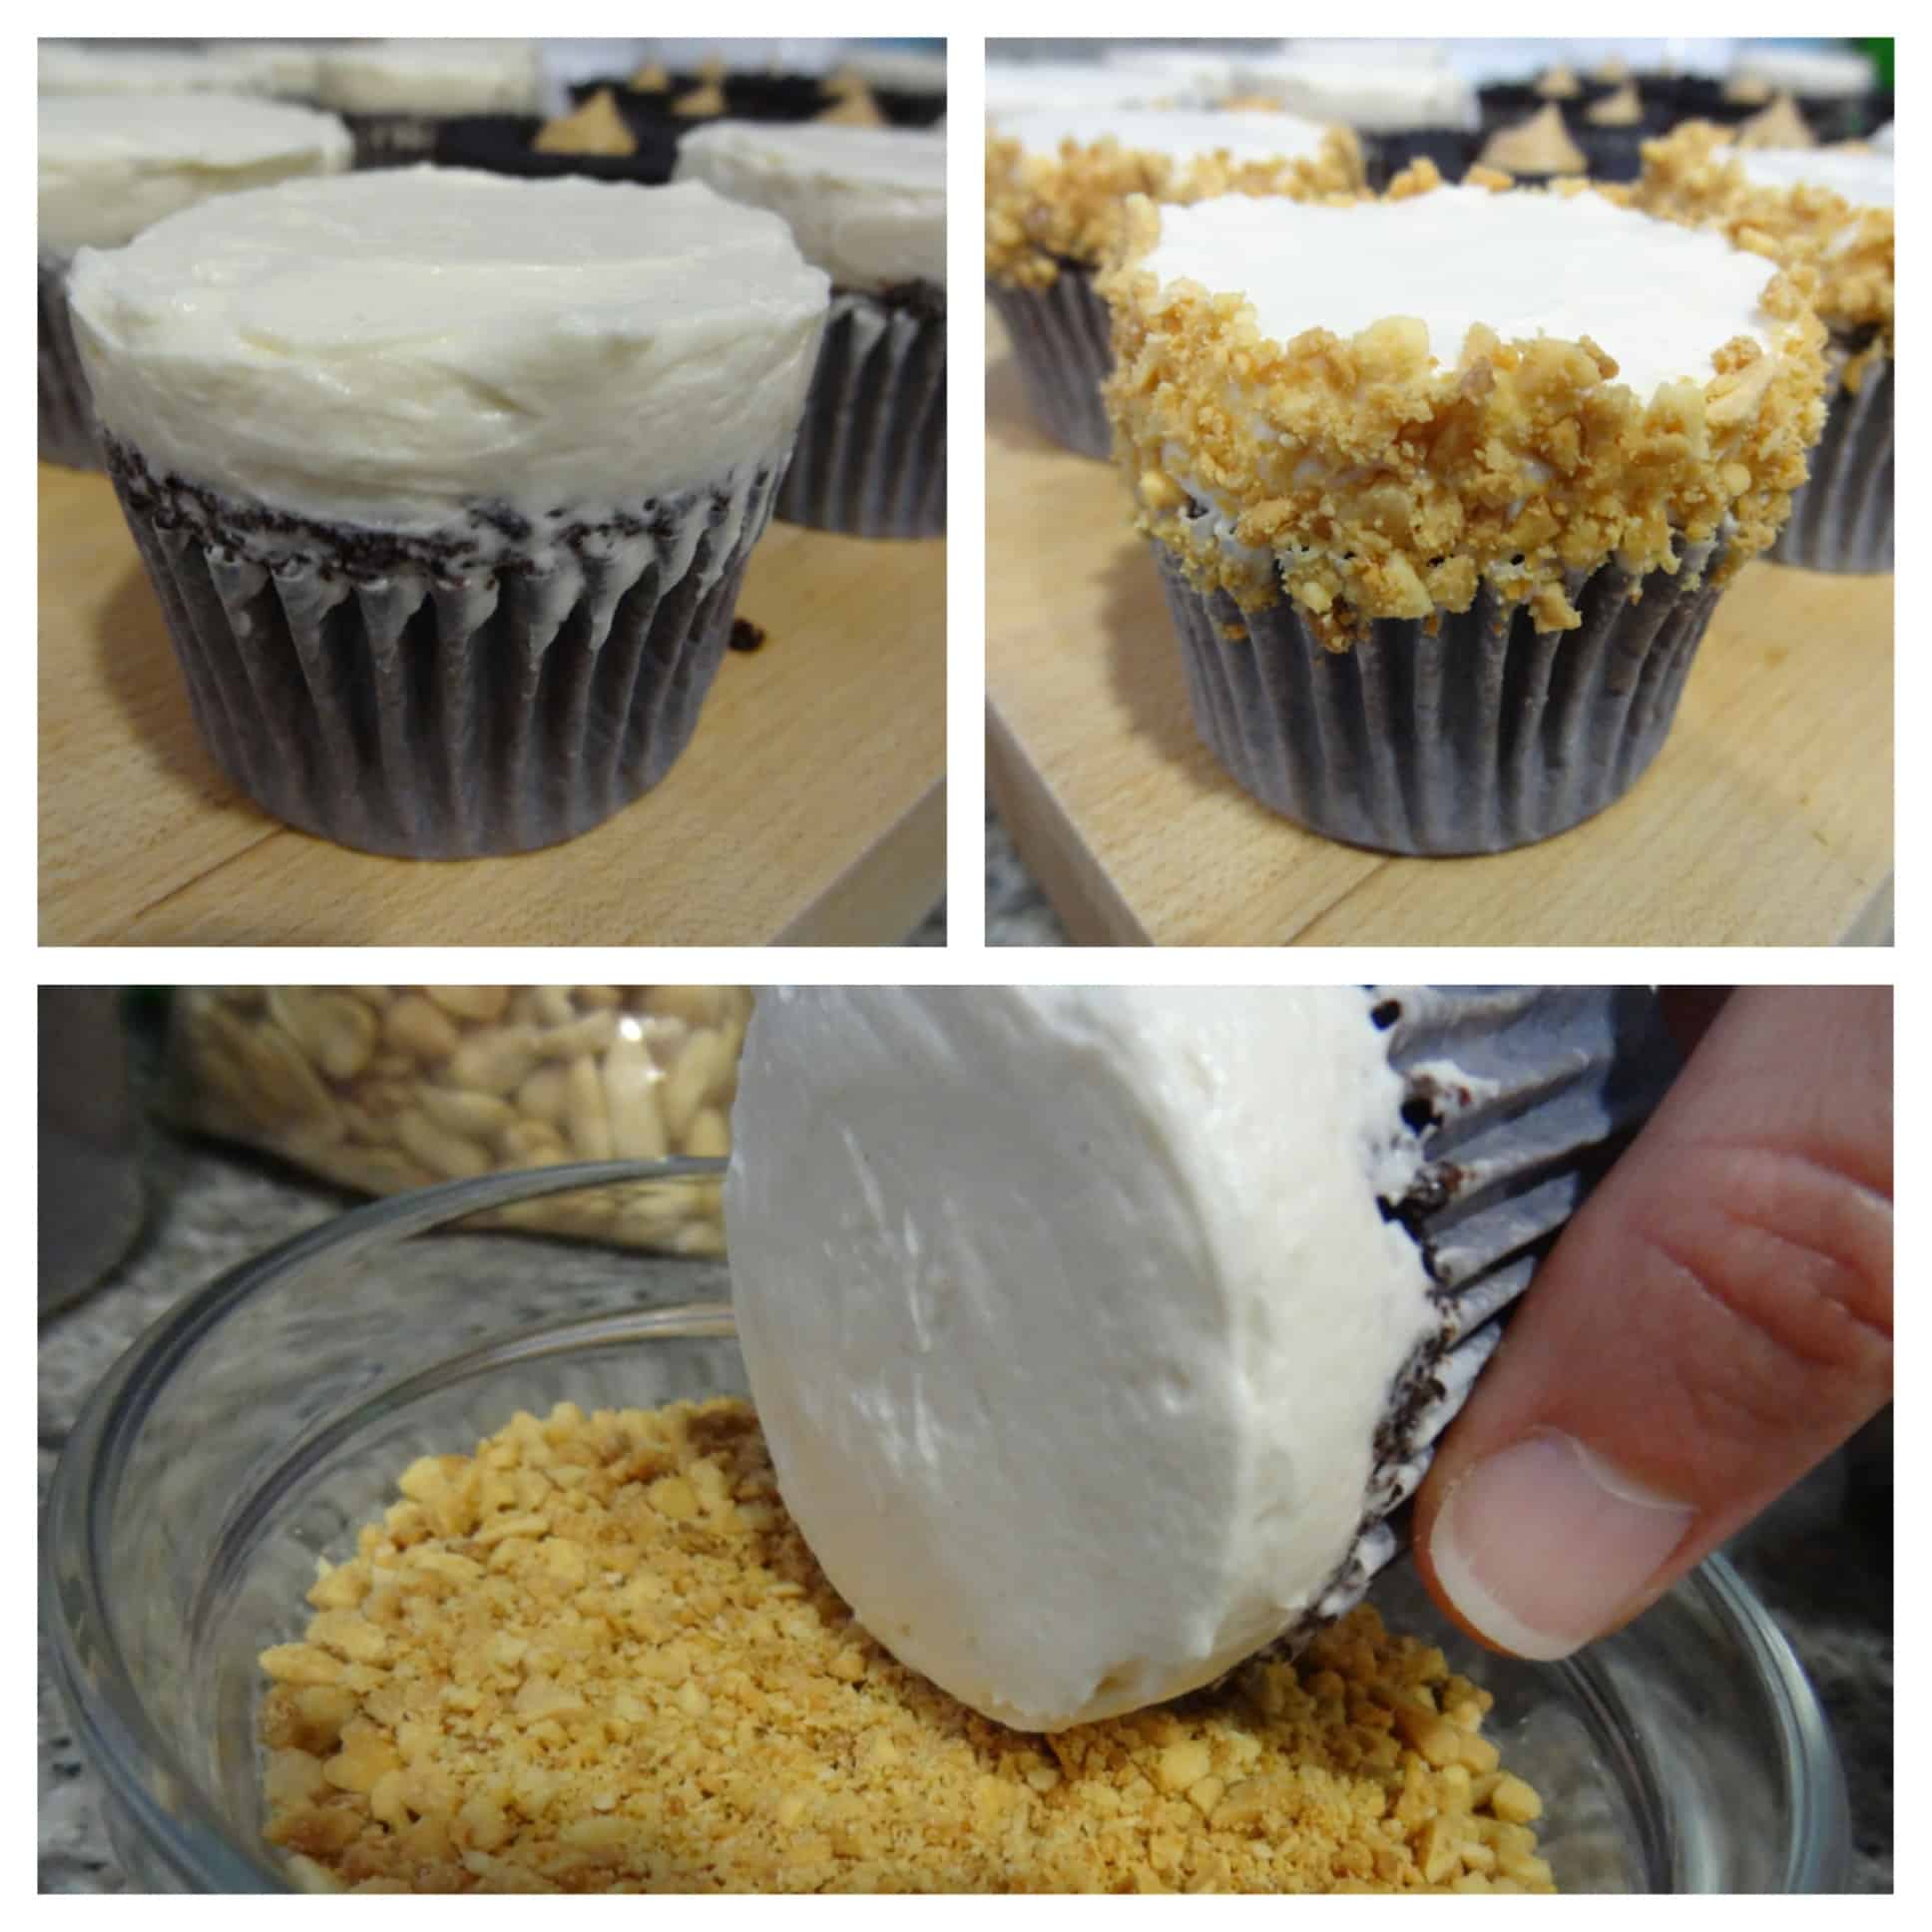 This photo is obviously from a different blog post, but you can see the frosting and dipping technique.
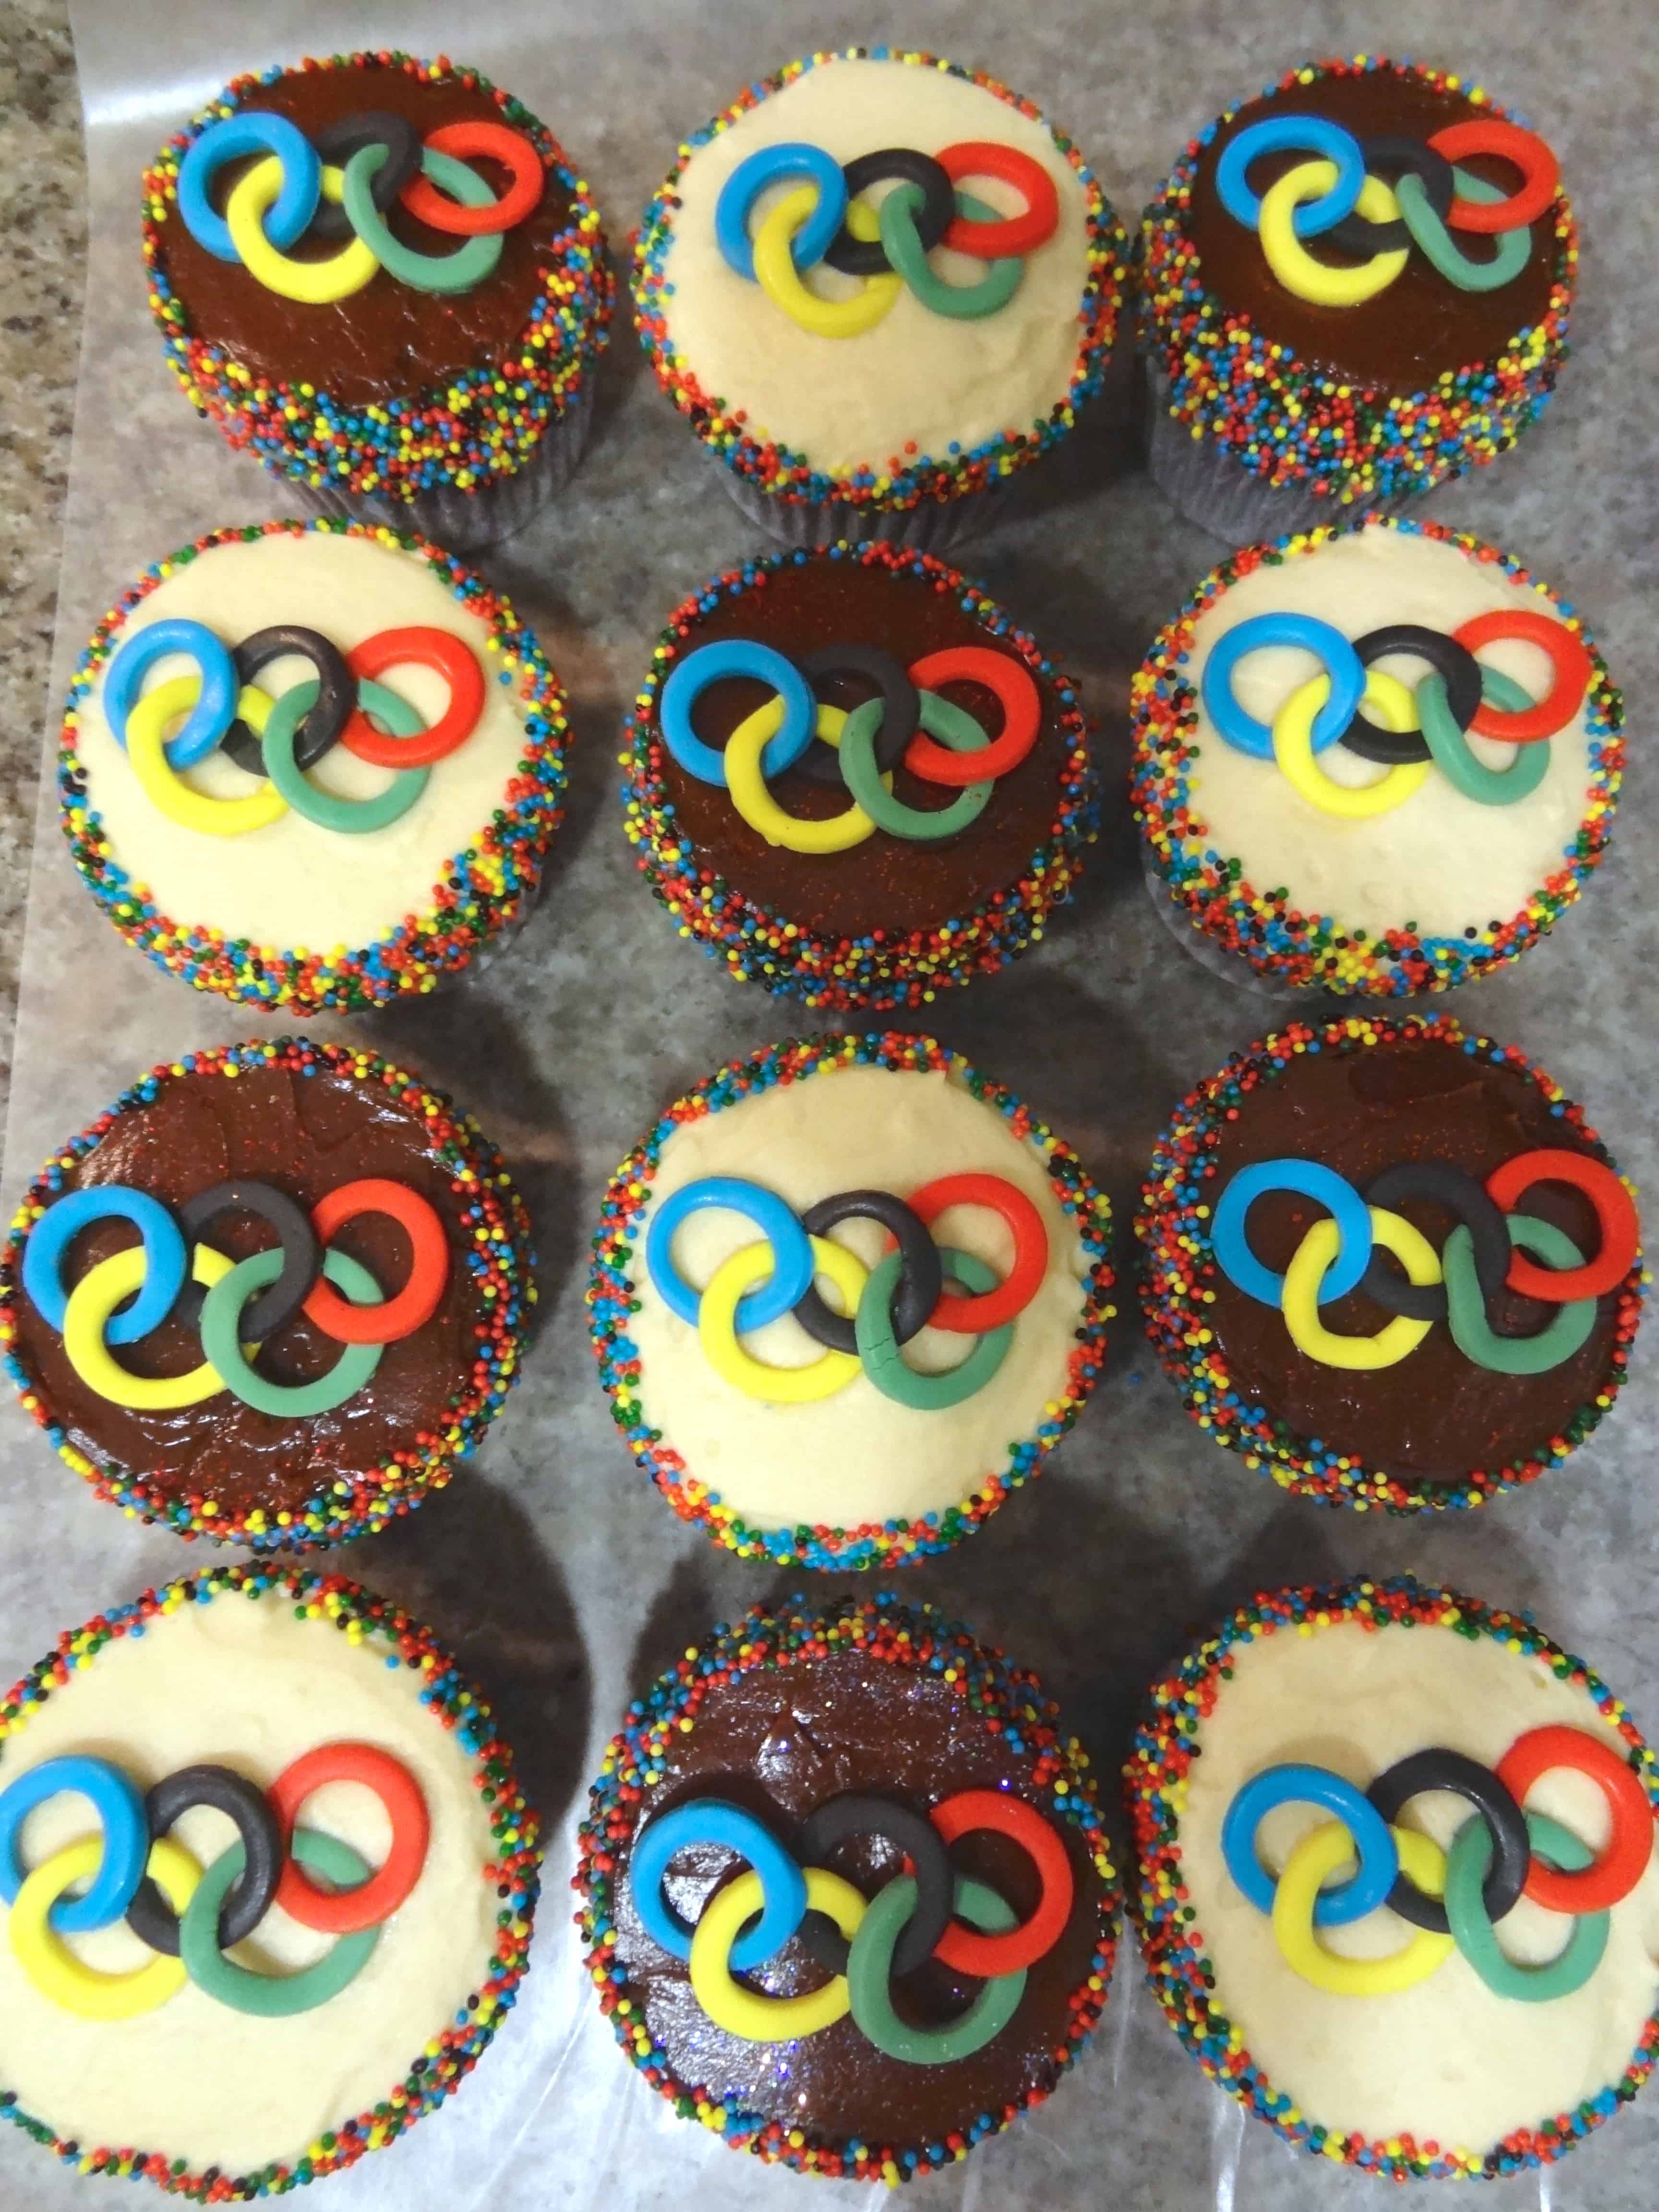
Once your cupcakes are frosted and smoothed, it’s time to top them with your crown jewels, the fondant Olympic rings. If you’re lucky, they will dry with all 5 rings stuck together, in which case you can transfer the whole piece easily to the top of a cupcake. (You could try “gluing” them together when they’re still soft by applying minuscule drops of water between the rings with a tiny paintbrush… but even the most obsessive of us have limits.) If the individual rings move around once they are dry, carefully arrange them evenly on the cupcake.
Store extra fondant rings in an airtight container at room temperature indefinitely. For the ones that stuck to the parchment paper, I cut out a small square around the rings, which helps to keep them intact. Again, this is optional depending on your level of OCD… 😉
Enjoy these festive cupcakes during opening or closing ceremonies, or during your favorite Olympic events– they’re great for Winter or Summer games. Incidentally, these are also great for teaching toddlers colors! Please feel free to contact me if you have any questions on how to create these rings.
© Dafna Adler & Stellina Sweets, 2014.

3 Responses
Love it! Great job.
So cute!