
Brownies twice in a row for Baked Sunday Mornings— I can definitely embrace this lifestyle. Two weeks ago, we made Pumpkin Swirl Cheesecake Chocolate Brownies, which I unexpectedly struggled with a bit. I felt like my brownie skillz were shaky all of a sudden, and if there’s one thing I’ve felt pretty comfortable with, it’s BAKED brownies. I had to go back and question some life choices to see where I went wrong, but I concluded that ultimately, it was a slightly different recipe than the deep, dark classic BAKED Brownie, and they were pretty damn tasty in their own right, so I’m letting that one lie. But while in the throes of that struggle, I thought back to the summer, when I made these Milk Chocolate Malted Brownies with Chocolate Ganache from Baked Occasions for the first time, and I remembered that those didn’t go exactly according to plan either. WHAT. IS. HAPPENING.
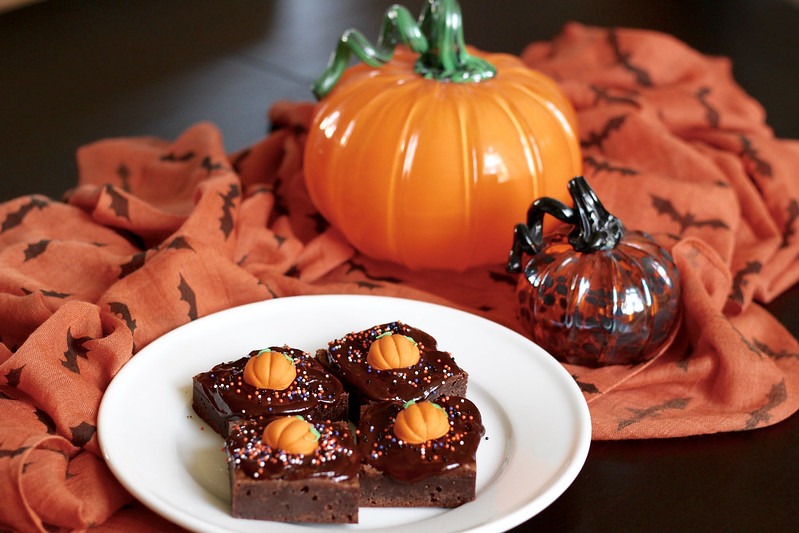
You guys. Do you have any idea how many years I’ve meant to decorate my house for Halloween/Fall? It’s A LOT of years. I finally got this little centerpiece together, which may not seem like much, but I’m considering it a huge life accomplishment. Don’t judge.
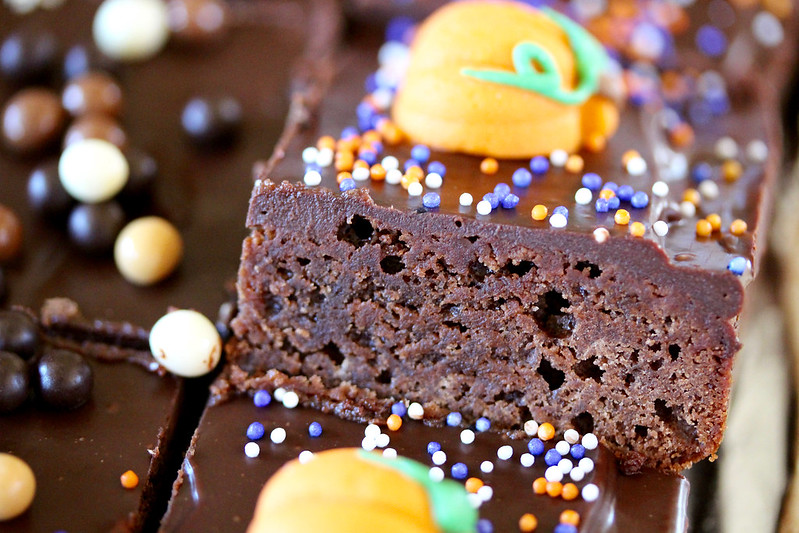
Although I liked that summer batch very much, they weren’t quite perfect and clearly it’s haunting me, so I decided to make another batch, since BSM is making them for Halloween anyway, and here we are at the end of October already. Because really, when is it bad to make another batch of brownies?! And I am so glad I did, because this batch was better (still a minor struggle, but not a big deal), and I would go so far as to say that of all the BAKED brownie variations that I’ve made over the years, they are probably my second favorite next to the classic version. (In fairness, I’ve actually not made the iconic Sweet & Salty Brownie, which should practically disqualify me from participating in BSM, but let’s not talk about that.) That first batch was slightly “off” in the texture of the finished batter, I guess kind of lumpy? The resulting brownies still tasted great, but there were lots of air pockets– just strange.
Don’t look at me, I’m hideous.
Anyway, the milk chocolate brownies are made using the same method as the classic recipe. You melt together milk and dark chocolate (Guittard 41% Éclipse du Soleil and 72% Coucher du Soleil, respectively) with butter over a double-boiler situation until it’s smooth and homogenous, turn off the heat and whisk in white and brown sugars, then remove the bowl from the heat. The mixture should be room temperature at this point, which is where I think I went wrong before. I’m pretty sure that my mixture was too hot when I made the pumpkin brownies, though I’ve never done anything differently. This time, I watched the chocolate like a hawk and kept the heat very low, and as soon as it was completely melted, I added the sugars. No issues whatsoever, and the temperature was where it should be.
You then whisk in 5 eggs– first 3, then 2– and I like to pre-beat them lightly because the recipe says not to overbeat at this stage or the brownies will be cakey. Since we definitely don’t want that (the horror), I beat them a little before adding to the batter. One more thing, and this is crucial: the eggs *must* be at room temperature. Cold eggs will not blend in as easily, and you may get rubbery white streaks from unmixed egg whites– been there, done that, and it ain’t pretty.
Anyway, the final step is adding the pre-whisked flour, cocoa powder, malted milk powder, and salt. I always add the malt powder at the last second to avoid the inevitable hardening. (Does that happen to other people, or am I malt-powder-impaired?) The batter should be thick and glossy, and just a touch of flour showing is okay.
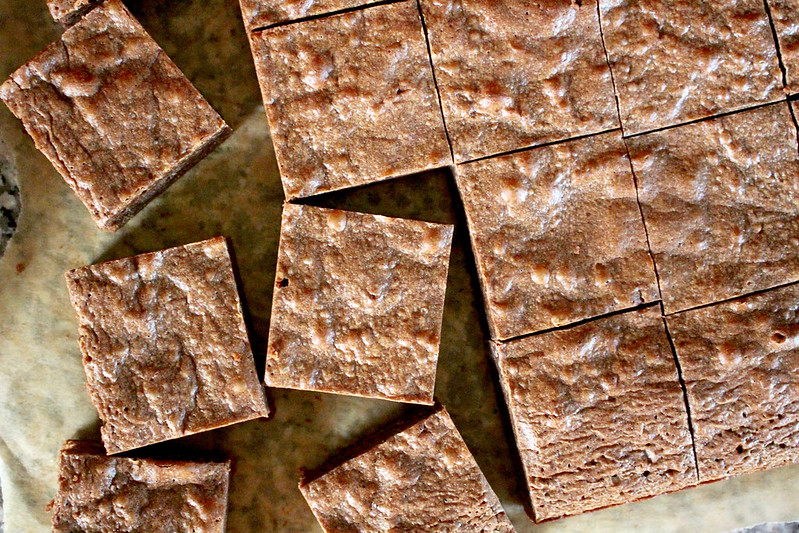
The brownies baked up in about 30 minutes (I actually forgot to reset my timer after rotating the pan halfway through, so I don’t know the exact time), though I was afraid I had overbaked them. Fortunately, the interior of the brownie slab hovered in that perfect, magical space between fudgy and cakey– I had to do a little quality control before adding the ganache. 😉
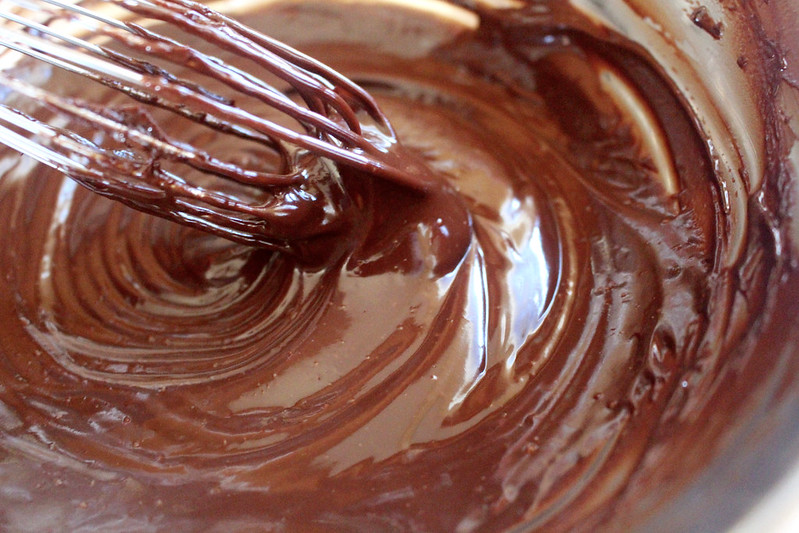
So yeah, that chocolate ganache… was the cause of a lot of headaches. Sometimes you think you’ve mastered certain baking concepts, but once in a while they knock you on your ass to keep things interesting. I had to make the ganache 3 times for the first batch of brownies, and it still wasn’t quite right. We are instructed to heat the cream just until bubbles form around the edge of the pan, then pour it over the chopped chocolate in a bowl and whisk it after a minute. You know, like how you make a basic ganache; this is not rocket science! However, there is a high ratio of chocolate to cream here, and the chocolate barely melted the first time with such a small quantity of cream. I put the bowl over a pot of simmering water and finally got it to melt… but it quickly became gloppy and separated, and totally unusable. For the second attempt, I poured the cold cream over the chocolate and put the bowl over the simmering water to melt the chocolate and warm the cream at the same time. It eventually melted and I was able to whisk them together, but the same thing happened, though to a lesser degree. I think the chocolate got overheated both times, especially the first time.
For the third (and highly exasperated) attempt, I knew I needed to be more careful. I used a shallower bowl that would allow the chocolate to be covered better by the cream. It was better, but there were still lots of unmelted chocolate chunks. What the frak?! So I cautiously placed the bowl over the pot of water yet again, but only for a few seconds at a time. I held it over the pot and whisked. Finally it melted together, but it was still a touch gloppy, though a huge improvement over the first two attempts. I was out of cream and had used 18 ounces of that Guittard 72% chocolate, so I decided to just use this batch. It spread thickly over the brownies, and somehow it didn’t “break”. I decorated the brownies, chilled them in the fridge, and they were just fine. I was thinking that in the future I would use ¾ cup of cream rather than ½ cup, as it would help the chocolate melt better. Alternatively, I could actually chop the chocolate as instructed; I don’t generally need to do this because the couverture wafers are usually small enough.
When I made the ganache for the second batch of brownies, I decided to just go with the quantities written in the recipe, because I did like the fudgy thickness of the ganache after it was chilled, but I went ahead and chopped the chocolate wafers. I decided to pre-cut the brownies because I’d had visions of individual brownie squares with luxurious ganache dripping down the sides… but unfortunately I again had the weird gloppy problem, so this, sadly, did not come to pass. The ganache was usable, but I had to work quickly with it because it was starting to separate. I’m really not sure what the problem was– I will investigate ganache ratios furthers before I make these again. But make no mistake, adding that ganache layer is well worth it! And honestly, unless I do manage to achieve the drippy chocolate look, I prefer the clean-cut edges (from the first batch) to the sloppy edges on those brownies that were individually spread with ganache.
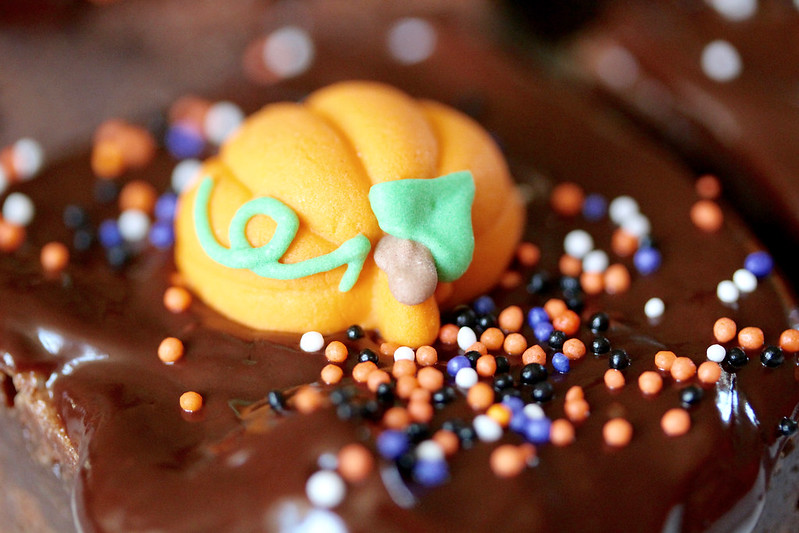
I had no desire to do the royal icing decoration in the book (ain’t nobody got time for that), but I had really cute candy pumpkins on hand, so I used those along with Halloween-colored nonpareils. I certainly wouldn’t restrict these to only Halloween, so I also decorated part of the tray with Valrhona chocolate crunchy pearls (dark, Caramelia, Dulcey, white) for a more elegant look. Now that I think about it, you could do all kinds of awesome Halloween decorating on these, such as covering the wet ganache with Oreo “dirt” crumbs and making a spooky graveyard, chopping up your favorite Halloween candy and sprinkling it over the ganache (Twix brownies, anyone?), or making a marshmallow cobweb on top of the hardened ganache. I’m feeling Batch #3 coming on…. 🙂
The milk chocolate and malt flavors in the pre-ganached brownies were very pronounced, but once I added the ganache, the malt was more subtle. I really, really liked that malty taste, so I’m curious about trying to make a malt ganache– maybe barley syrup could be added? OOOH– or chopped malted milk ball candies scattered on top! Anyway, these were pretty outstanding. They are best at room temperature with their perfectly chewy, dense texture, but seriously, you can’t go wrong even if they’re cold.
Whether you need a Halloween treat or want to try a fun twist on the classic version, check out the recipe for Milk Chocolate Malted Brownies with Chocolate Ganache over at Baked Sunday Mornings, and take a look at the other bakers’ cute brownies too. Happy Halloween to all the ghouls, goblins, witches, and brownie eaters out there! 🙂
Dafna Adler & Stellina Sweets, 2016.






2 Responses
Beautiful! Looks so yummy.
I applaud your commitment to making the ganache over again! Worth it in the end!