


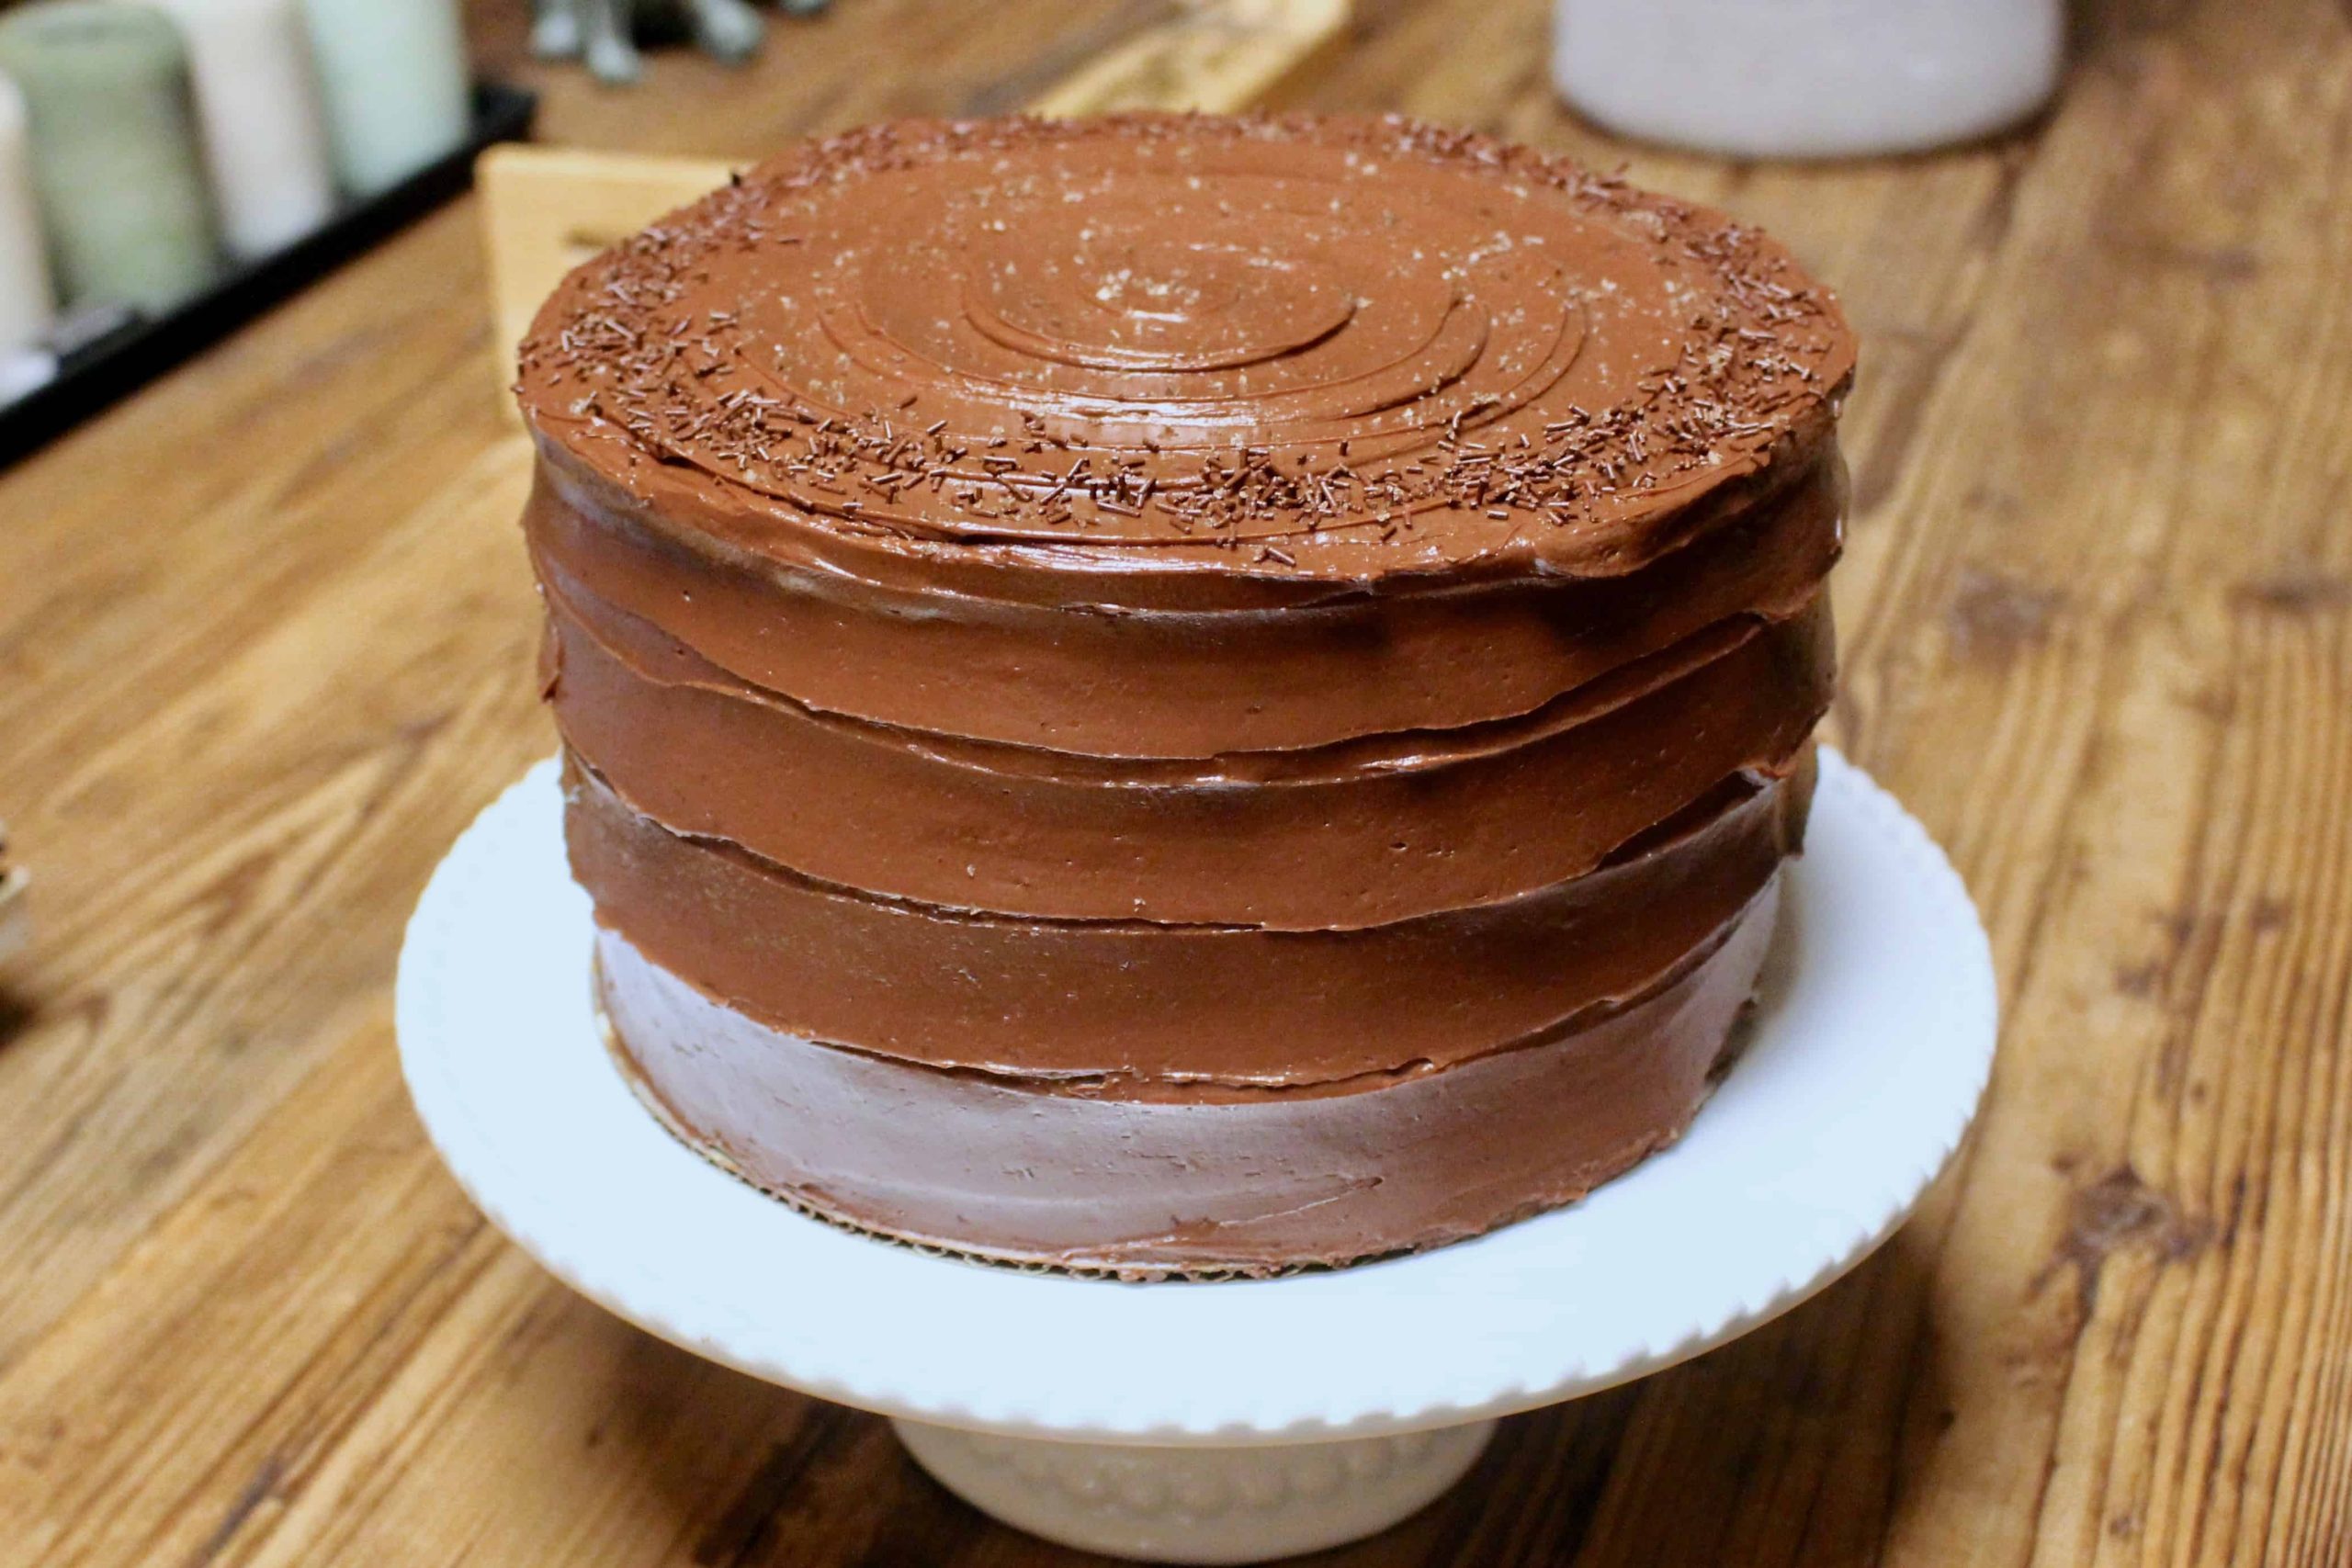
In the Great Life Debate of cake vs. pie, cake pretty much always wins in my book. (Unless there is chocolate and/or caramel in the pie. Then we might have to discuss further.) I will fuss with cake layers, frosting, crumb coat, the decorating turntable, and any other minute details to make every cake as beautiful and tasty as it can be. Pie is… good. Don’t get me wrong– I like pie. In fact, sometimes I LOVE pie. However, in terms of making pie, I have never had a natural instinct for dough, and despite evidence to the contrary, I always feel like pie dough is a hassle. (It’s really not.) It’s not one of my favorite things to work with, although one might argue that just like anything else (including cakes), it just takes practice to get a good feel for dough. And that may very well be true, but given that I don’t like pie nearly as much as I looooove cake, I’d generally rather practice cakes. Which brings me back to pie.

Baked Sunday Mornings is tackling the Classic Apple Pie from BAKED: New Frontiers in Baking this week, and it could not have come at a better time– that is, when I want to eat ALL THE APPLES. (There are literally 4 different apple cakes that I want to make this week.) Unfortunately it also happens to be the busiest month of the year for me at work, which presents an annual dilemma: Do my work in the evenings like a responsible adult… or f*ck it and just bake stuff… So, um, here’s an apple pie! 😉

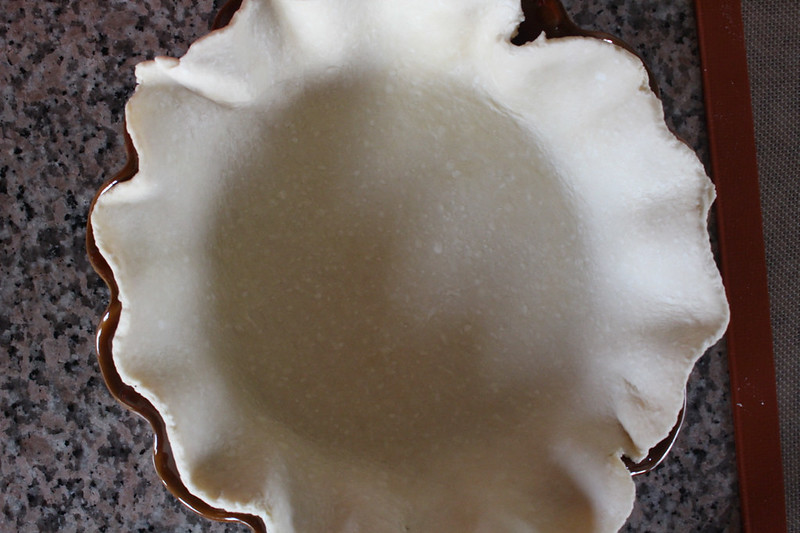
About that dough– I was pleasantly reminded of how easy it is to pull together. I had great success with BAKED’s pie dough in the past, so I was hopeful that this attempt would turn out well too. It ultimately did, but not without a little trouble at first. It is of utmost importance that your ingredients are cold, cold, cold. I think I was a little lax on that, and my first batch of dough came out very stick and kind of wet, with no visible butter chunks (which are necessary to create flakiness). I didn’t remember it being so sticky either, but I chilled it anyway, and then rolled it out. It just didn’t look right, so I tossed that batch of dough. I wish I had gone back to that previous blog post and looked at the recipe, which clearly says that the dough is stickier than one might be used to; however, the lack of butter pockets was no bueno, so I went ahead and made a second batch.

This time, I put my butter cubes and ice water in the freezer, which helped immensely. You can also chill the flour, but I didn’t think about that until later. No matter, as chilling the butter and water was sufficient. You’ll first toss the butter cubes in a mixture of flour, sugar, and salt, then transfer all of it to a food processor to pulse the butter down to the size of hazelnuts. Then drizzle in the water while continuing to pulse, until the mixture starts to form a ball. The second attempt turned out great– it was cohesive and elastic, but also had some loose bits that I smoothed together. When I rolled it out, the butter bits were clearly visible, and the dough was pretty easy to work with. In fact, it was the best circle of dough I’d maybe ever rolled out– rolling “shapes” is not my forté. Anyway, I was happy with my bottom crust and stuck it in the freezer as directed.
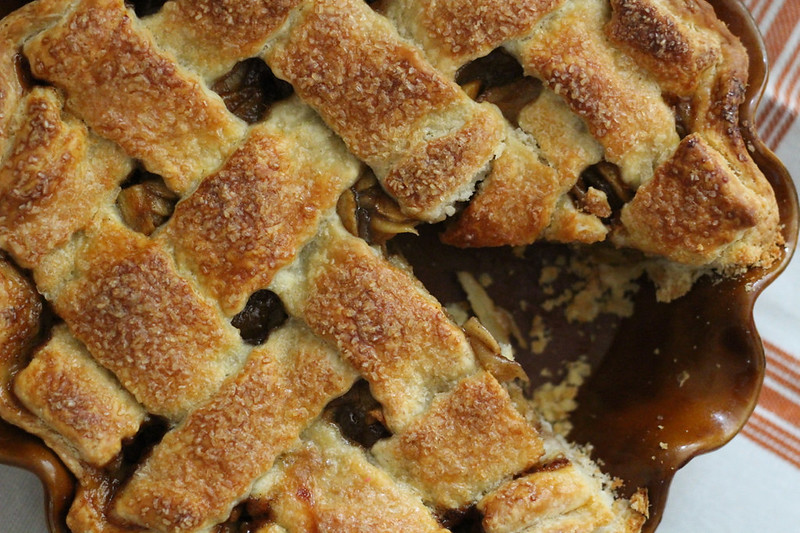
For the top crust, we are supposed to roll it out to cover the entire pie, but I decided that I wanted to make a lattice. I thought I would be smart and weave the strips together on a cookie sheet, then chill the dough and transfer the whole thing in one piece to cover the pie, but moving the whole thing at once proved to be too sticky and difficult. So I had to weave them individually on top of the pie after all, which was fine.

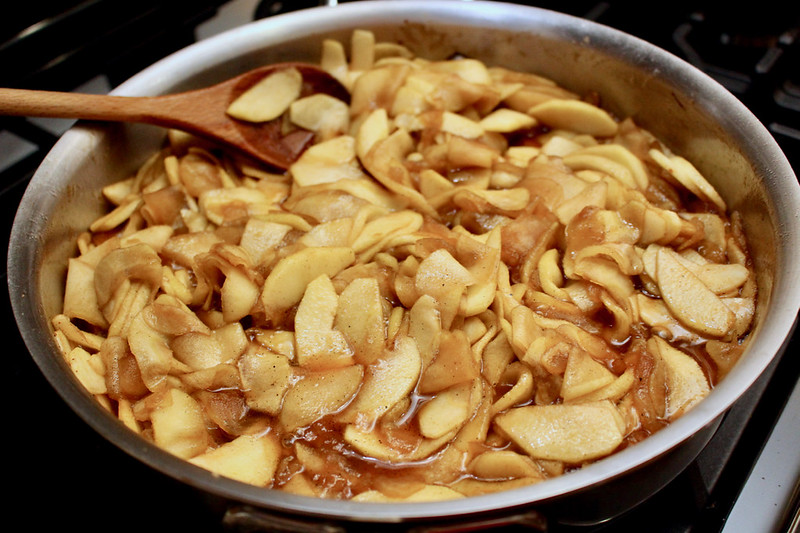
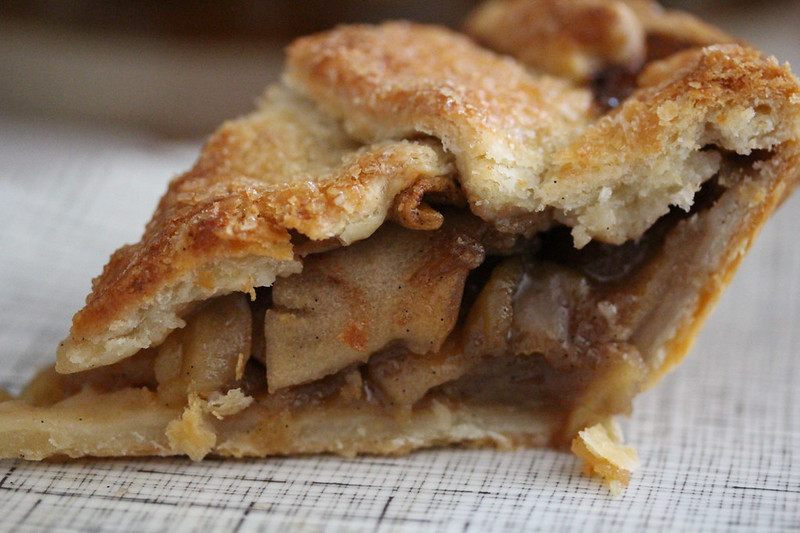
As for the filling, I browned the butter (which makes errrything better), cooked half of the apples until they softened, then added the other half, as well as brown sugar and cornstarch. Once the sugar was melted, I added the vanilla, whiskey, and cinnamon, and let the mixture bubble for several minutes. It’s supposed to thicken, but even after the prescribed 5 minutes, the liquid in the pan was still fairly thin. I didn’t want to overcook the apples, so I turned off the heat and hoped it would thicken a bit as it sat. The instructions don’t specify whether the filling should be cooled, but it seemed odd to pour hot filling right into a frozen pie crust, so I let it cool down for about 30 minutes. It was still quite warm though, and I’m wondering if letting the filling cool completely would be better for keeping the crust cold so the butter pieces don’t melt prematurely.
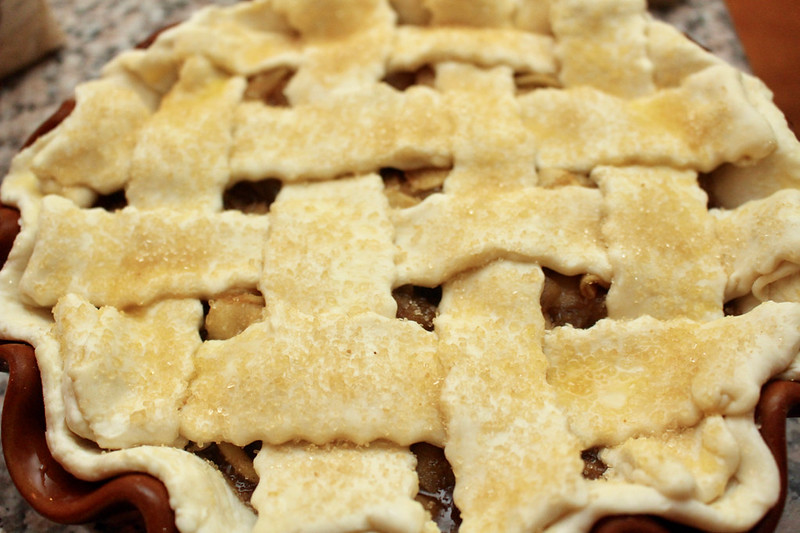
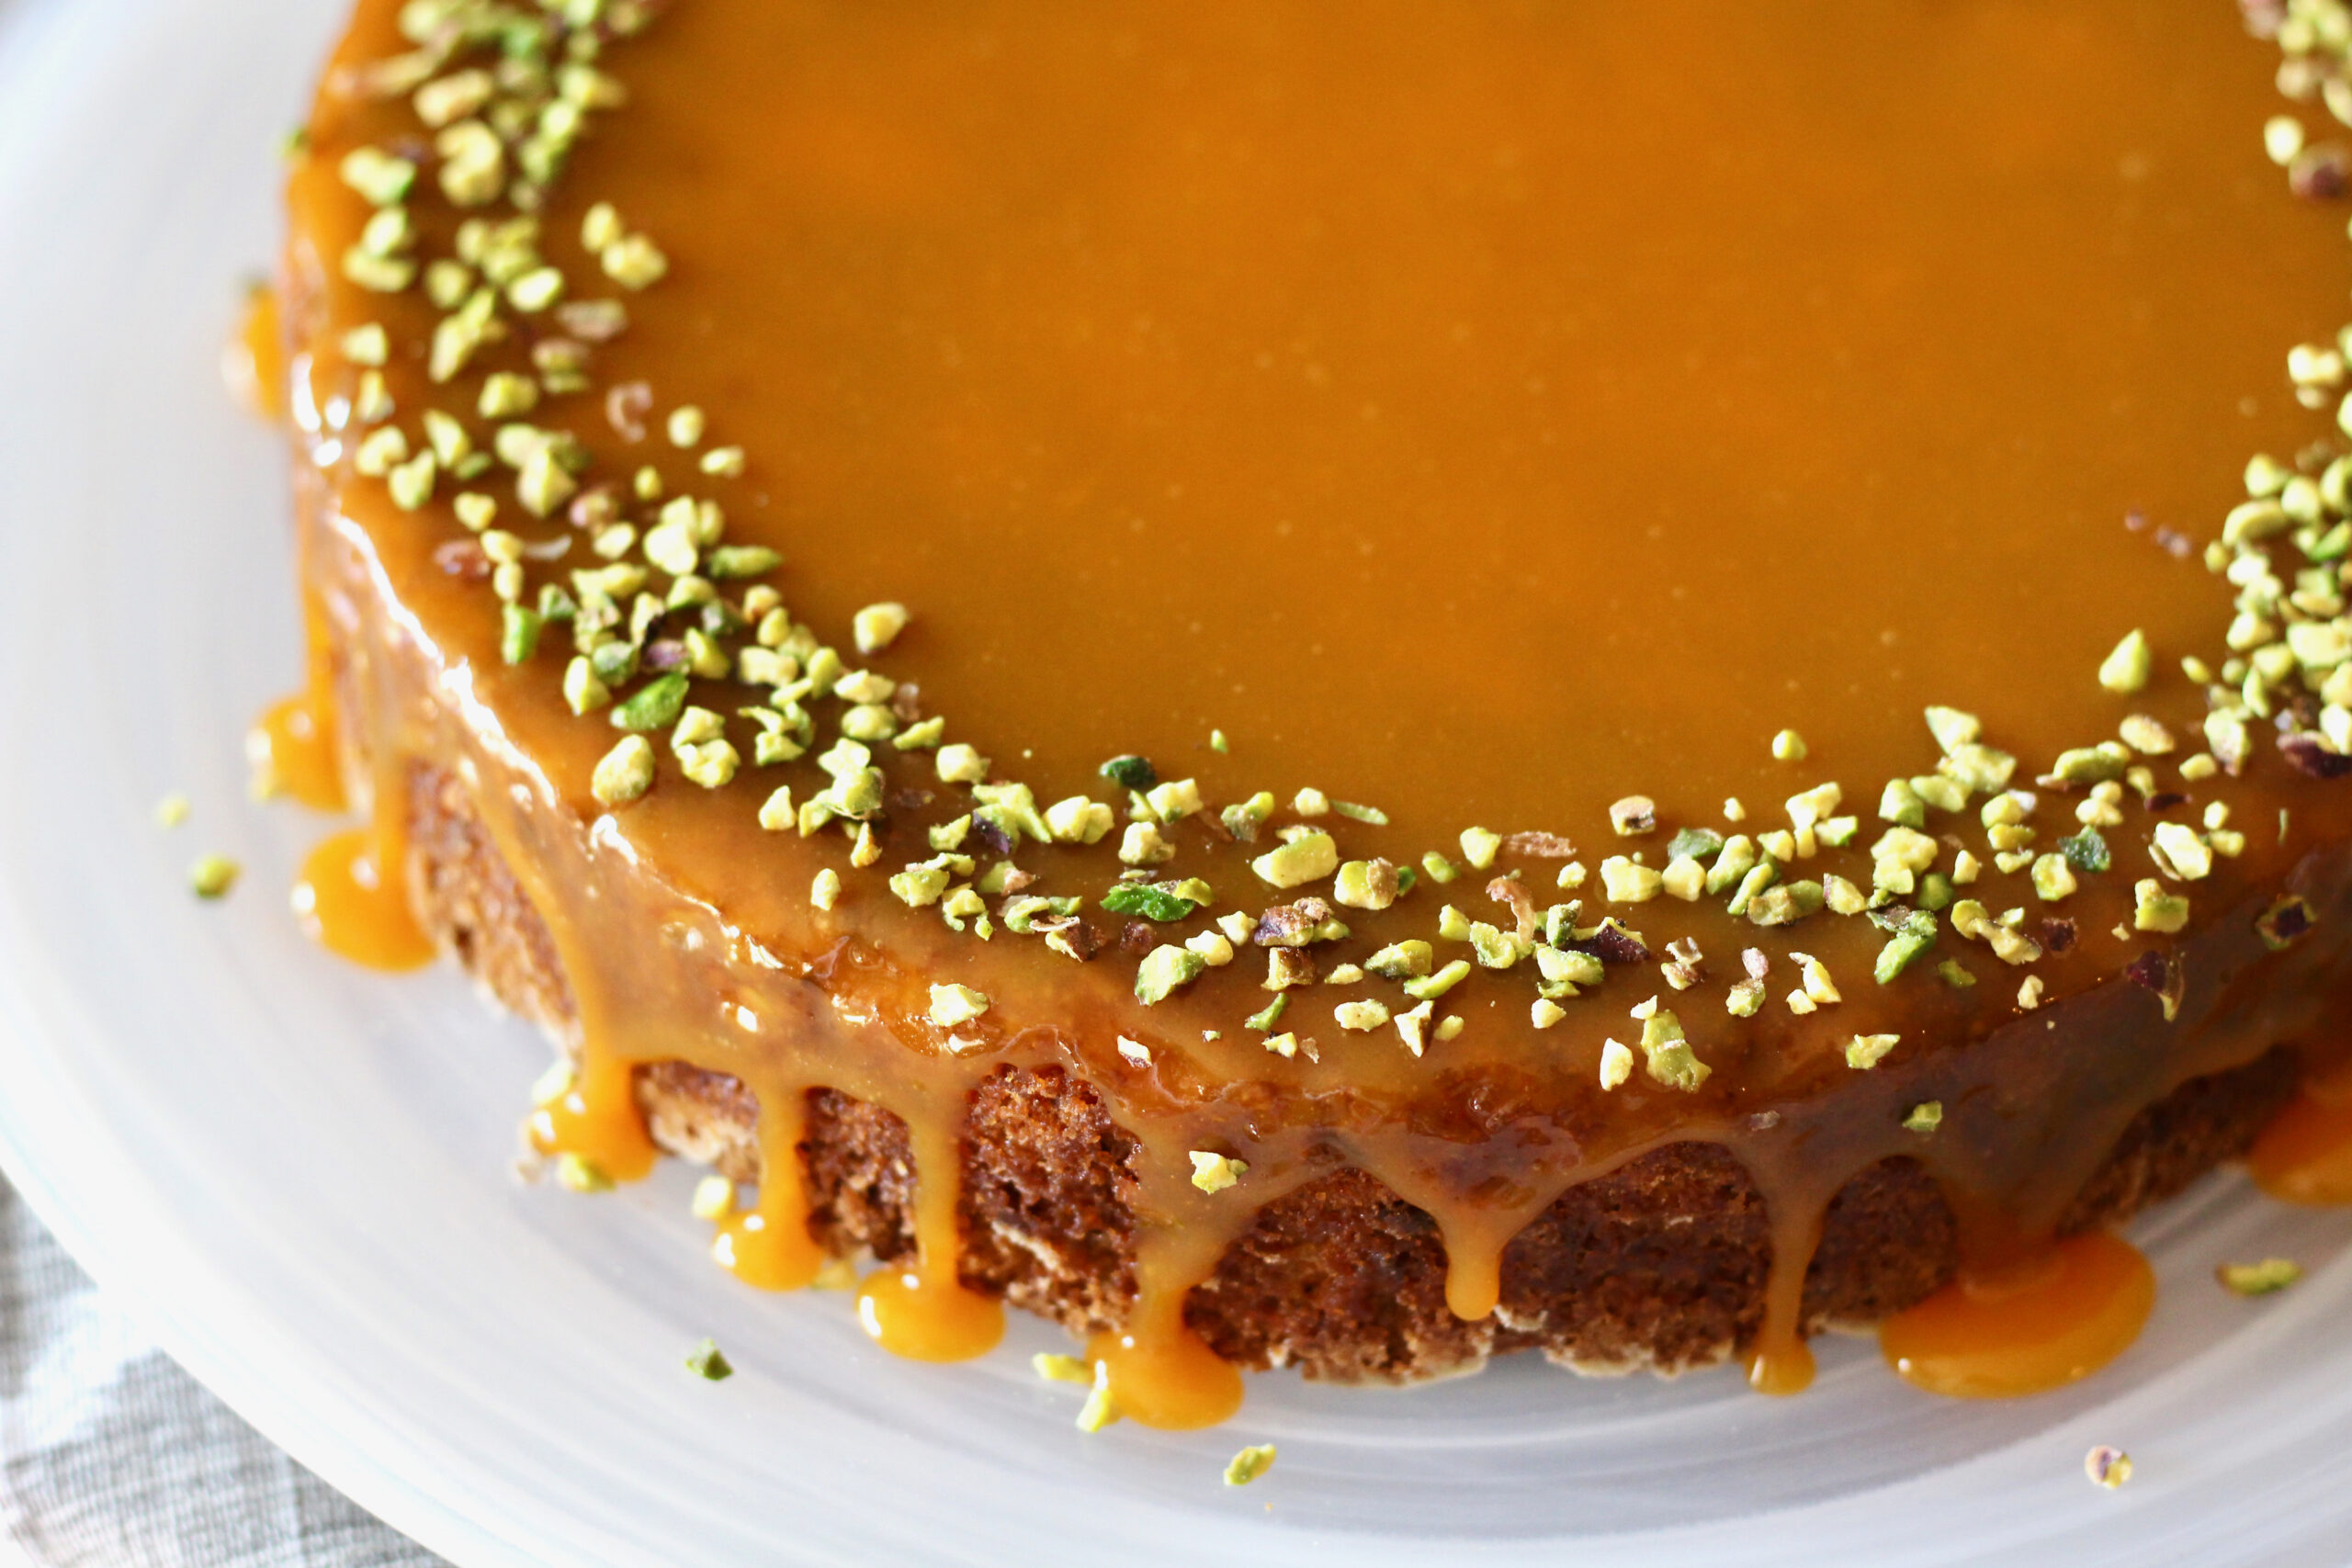
I then wove the lattice strips on top and trimmed the edges. (I thought that the deep ruffle pie pan would yield a pretty pie edge, but in retrospect, I wish I’d used a standard pan and crimped the edge by hand.) After brushing the top dough with egg and sprinkling with Demerara sugar, I baked the pie for 1 hour, until it was golden brown and very bubbly.
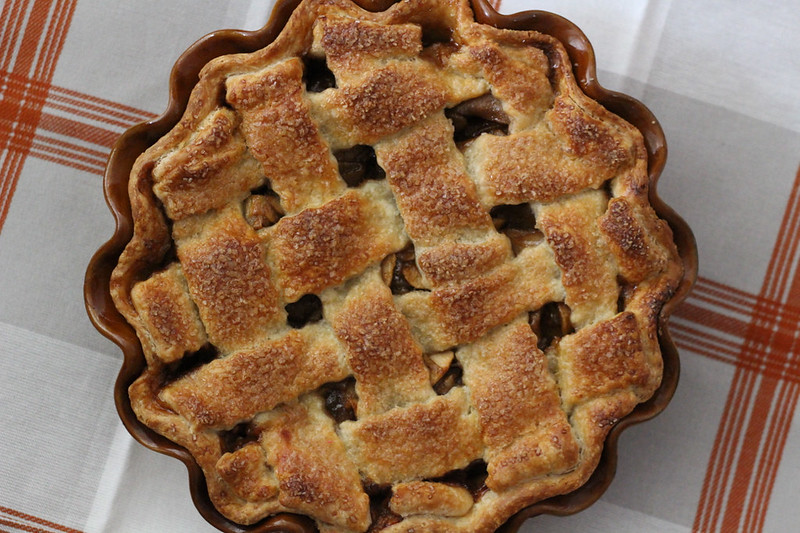
I was pretty happy with how the pie looked on the outside. The top crust was fairly flaky, although the edges didn’t puff up as much as I’d hoped. On the inside, however, the apples looked kind of grayish, and the liquid was still rather thin. The flavor was good, but I would probably not use this filling recipe again. I think I’d prefer thicker apple chunks, and probably not a pre-cooked filling at all. But, it was gone within 15 minutes of putting it out at work, so I guess it wasn’t terrible! And the bottom crust was adequately cooked, so I’d probably continue to use this crust recipe.
I still don’t think pie is my baking strong point, but I would still consider this one a success. You can find the recipe for Classic Apple Pie over at Baked Sunday Mornings, and please take a look at the other bakers’ beautiful pies too. I hope you’re enjoying apple season as much as I am! 🙂

© Dafna Adler & Stellina Sweets, 2017.

One Response
Lovely lattice. I thought about lattice for a second.? And then the reality of not being a pie gal came back to me.
I too like cake more than pie.