
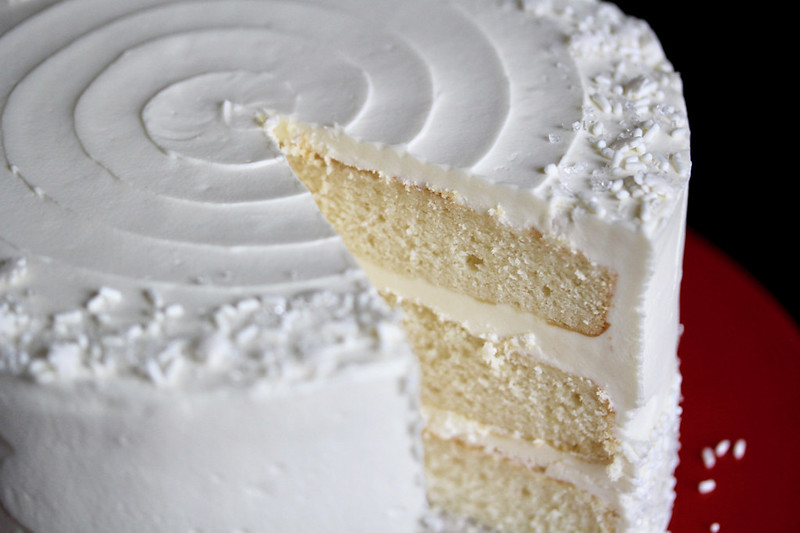
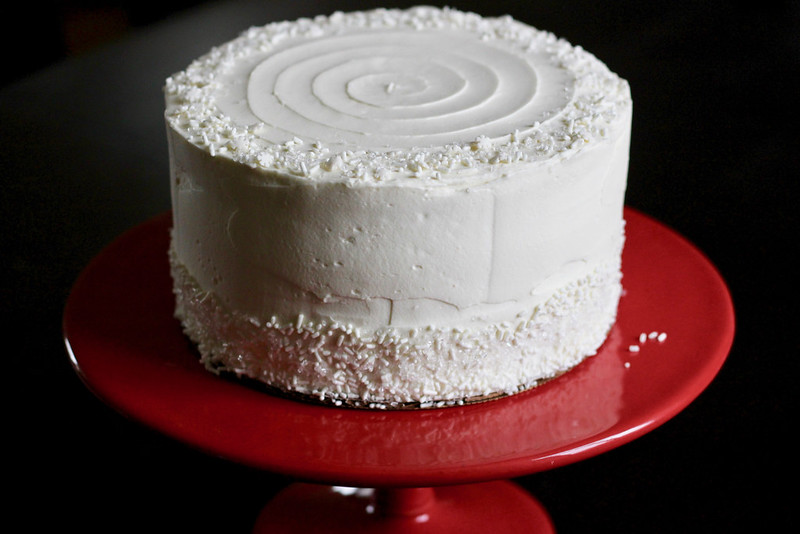
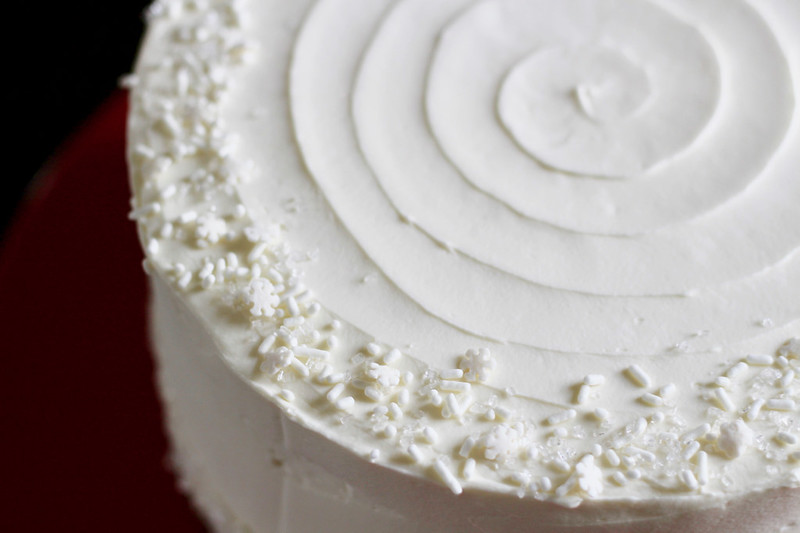
Winter White. There’s something so lovely and elegant about a white-on-white cake– simple, yet sophisticated. What a splendid way to close out 2017 for Baked Sunday Mornings. We haven’t made a layer cake in quite a while, and this Whiteout Cake is the first one we’re tackling from Baked: New Frontiers in Baking. This time of year always makes me think back to my very first BAKED layer cake in 2012, the Holiday Spice Cake with Eggnog Buttercream, which remains one of my all-time favorites to this day. I didn’t have the right pans, my frosting was a mess, and my cake decorating… well, let’s just say I’ve come a long way in 5 years. I used to dread layer cakes, and now I always get excited when we have them on the baking schedule!
This cake consists of a white chiffon cake filled and covered with white chocolate frosting. My first thought was, “OMG, CAN I MAKE THIS A DULCEY CAKE??” For those new to Dulcey, it’s a caramelized white chocolate (aka blonde chocolate) made by Valrhona with a toasty, golden flavor. BAKED serves their own Dulcey Cake in their bakeries, but it’s not a public recipe. I tried experimenting a while back to come up with my own recipe, but I ended up with a pile of fluffy crumbs that wouldn’t hold together in the form of a cake, and I haven’t had a chance to come back to it. This particular cake does not contain any white chocolate, so it wouldn’t necessarily work here (or could I just add some?!), but you absolutely could make Dulcey frosting from this exact frosting recipe by substituting an equal amount of Dulcey for the regular white chocolate. I considered it, but since I was bringing the cake for Christmas dinner, I thought the bright white cake would be prettier for this particular occasion.
Anyway, like any layer cake, this is quite a project. I always make my BAKED layer cakes over the course of 2 days– bake the cakes on Day #1, then make the frosting and assemble and decorate the cake on Day #2.
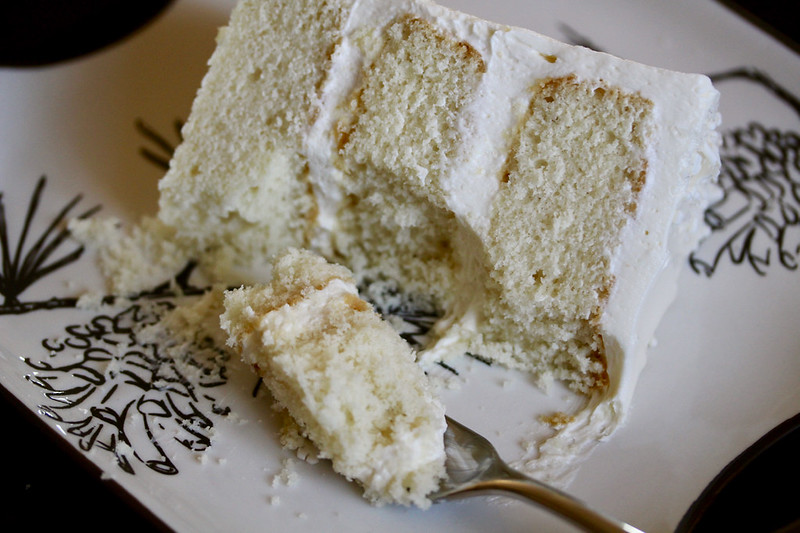
The cake layers are made by creaming butter, vegetable shortening, sugar, and vanilla, adding an egg, and then alternating additions of the dry ingredients (cake flour, all-purpose flour, baking powder, baking soda, salt) and ice water. The last step is folding in beaten egg whites. My batter was thick and smooth, though I always seem to have a little liquid egg white that doesn’t whip up properly, which I just folded in (because what am I going to do at that point?). My cakes baked up in 38 minutes (a little under the recommended time), but they didn’t rise much in the oven, which was a bit disappointing. This has happened before for me with BAKED’s white cake, and I don’t know if I’m doing the egg whites wrong, or if it’s due to something else. Still, the cakes were easy to work with and totally usable. (If anyone has any tips on how to get these rise higher and more evenly, pretty please comment below.)
This frosting! I was apprehensive as I prepared my ingredients due to past difficulties; I never feel like I can be too confident with this recipe. However! I had absolutely zero problems this time, and that confidence is definitely growing. The frosting is made by cooking a roux-like mixture of flour, sugar, milk, and cream on the stove until it is thick and boiling. This hot goo gets poured into the bowl of stand mixer and beaten until it’s cool. You then add 3 sticks of butter and whip the frosting on high speed until it magically turns into a beautiful, fluffy cloud of white frosting before your eyes– that is *literally* what happens, though you need to have patience, as it takes several minutes. Finally, beat in the white chocolate and vanilla and voilà!
The descriptions of BAKED’s frosting recipe have gotten better and more detailed in subsequent books, so I’ll impart a handful of tips that I’ve learned for success:
- Stir the roux mixture somewhat frequently so it doesn’t stick in the corners of the pan. The book says it should take 20 minutes for the mixture to be ready, but it’s never taken that long for me– usually around 15 minutes.
- You can cool down the hot roux faster by placing a bag of frozen peas under the bottom of the mixer bowl, but I actually rarely bother with this because it only takes about 5 minutes of mixing.
- Perhaps most importantly: Add the butter G-R-A-D-U-A-L-L-Y. Do not dump it into the mixer all at once; add it about a tablespoon or so at a time, and let it blend in as much as possible before adding the next piece.
- The butter temperature is also very important– the description of “soft but cool” is spot-on and will help you achieve the right frosting texture. If the butter is too soft and melty, the frosting may be soupy. If the butter is too firm, it won’t incorporate easily and the frosting will look separated. There is definitely a Goldilocks situation here!
- Also regarding butter– for some of their cakes I’ve felt that the frosting is too buttery and considered cutting back by about 4 tablespoons (½ stick). I almost did that here, but decided against it since I would be adding white chocolate. I’m glad I went with the original amount, as the frosting texture was perfect as written.
- At first, the butter will blend in fairly easily and quickly, but as you add more, you may find a lot of little unmixed pieces swirling around. This is perfectly fine, as long as they were the right temperature to begin with. Once you’ve added all the butter and crank up the mixer speed, the bits will smooth out very quickly.
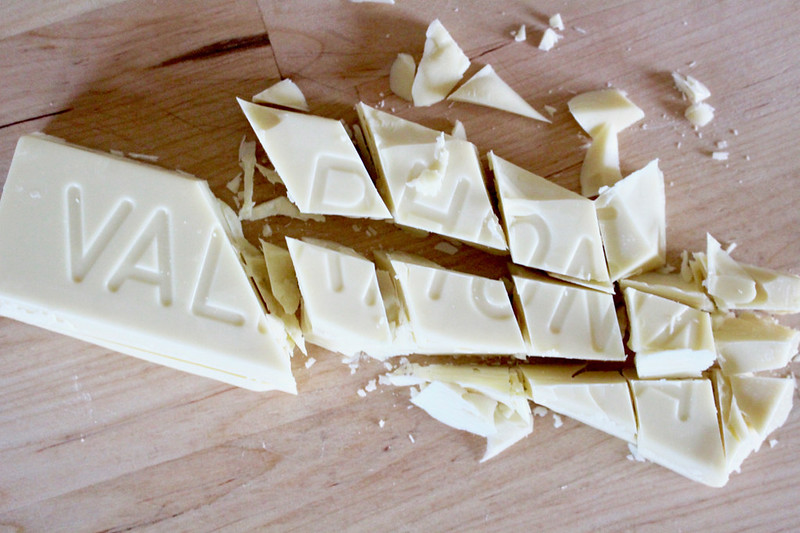
- I highly recommend using good-quality white chocolate here, as you can definitely taste it in the finished frosting. I used Valrhona 35% Ivoire for its not-overly-sweet flavor and especially for its smooth melting properties. Chocolate in the neighborhood of 32% cocoa butter melts into more of a paste than a liquid puddle, which is probably fine, but I didn’t want to take any chances. Also, I can’t hoard my Ivoire forever, so that was another good reason to put it to use here. 😉
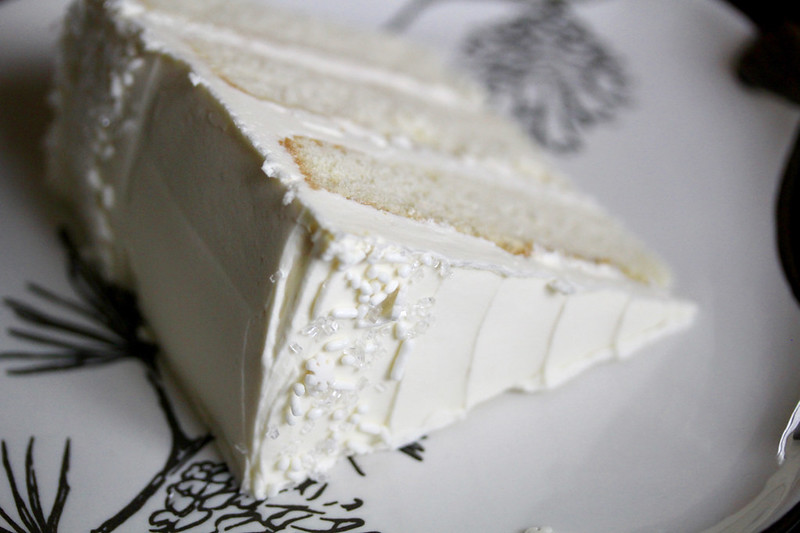
Constructing the cake was standard issue– all the parts behaved as expected. I thought that the frosting looked pretty smooth, but I see in my photos that there were a fair number of imperfections on the sides, so that’s one of my 2018 Baking Goals– get better at smoothing out frosting!
So how did this white whirlwind taste? Well, I didn’t love either the cake or the frosting that much on their own, to be honest; the cake tasted a bit floury (more vanilla, please), and since I’m not a huge white chocolate person, the frosting was not my favorite of all the BAKED frosting variations. BUT! Eaten together, I loved it– this cake is greater than the sum of its parts. You can think of it as a palette for pretty much any frosting flavor that you want, and accordingly, this cake works great for any occasion. I do think my favorite presentation is the elegant white-on-white with white sprinkles, but it would be gorgeous with tiny heart candies for Valentine’s Day, for example, or you can dye the frosting to any color you want.
Visit Baked Sunday Mornings for the Whiteout Cake recipe, and please take a look at my fellow BSMers’ gorgeous cakes while you’re there! I thank you for reading my blog posts in 2017, and I plan to bring you many more sugary treats in the new year. I wish you and your loved one a joyful and healthy 2018! 😀
© Dafna Adler & Stellina Sweets, 2017.
SaveSaveSaveSave
SaveSave






2 Responses
wünsche das beste Frohes neues Jahr! ?
Just gorgeous! Going to give it a try for a friend’s birthday this week. Keep your fingers crossed!